Businesses tend to grow when they listen keenly to their customers and offer them viable solutions to problems they are facing with your products or service. Providing support in an easy to use and efficient manner means happy customers, repeat purchases, customer referrals all of which leads to more business. Setting up a helpdesk system is an excellent way of offering support to your customers.
Usually setting up a helpdesk system will involve expensive SAAS solutions. We want to also help you hence, we have put together this guide on how you can set up a helpdesk system in no time, for free using the Awesome Support – WordPress HelpDesk & Support Plugin. WordPress is a reliable platform for building websites and one of the major reasons for its success is the ability to add new functionality easily via fabulous plugins.
Why Do You Need A Helpdesk System on Your WordPress Site?
Helpdesks are useful for any website that is selling products or services. They can be used to answer customer queries such as payment, delivery or technical issues with your products. If you are providing a digital service, a helpdesk can be used to provide tech support. Helpdesks can also be used for customer care agencies and call centres.
While you can do this over email there are a number of inefficiencies with email. Helpdesks allow customers to submit tickets from the front end without leaving your website. They are also better organized than email as you can keep the chat history and attachments in a single place. You can also generate reports such as customer satisfaction with the solutions offered. Having the support history in a single place can also help you analyse what common problems your customers are facing and modify your product or service to better serve your customers. For example is most of the complaints are about delivery, you might want to get in touch with your logistics partner.
How to Setup A Helpdesk System in WordPress?
Install the Awesome Support plugin
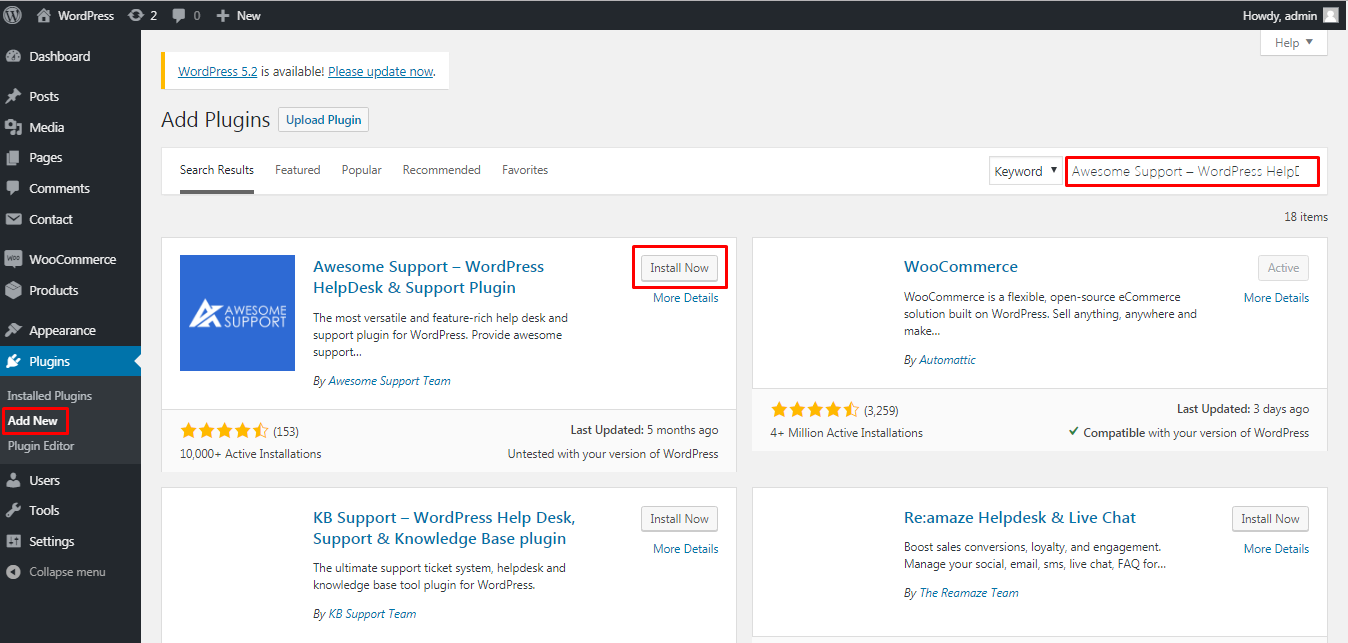
Login to your WordPress dashboard, under the plugins menu click on add new. Search for Awesome Support – WordPress HelpDesk & Support Plugin, install and activate the plugin.
Once you activate the plugin you will get the following notification.

Setup the plugin and create a support system
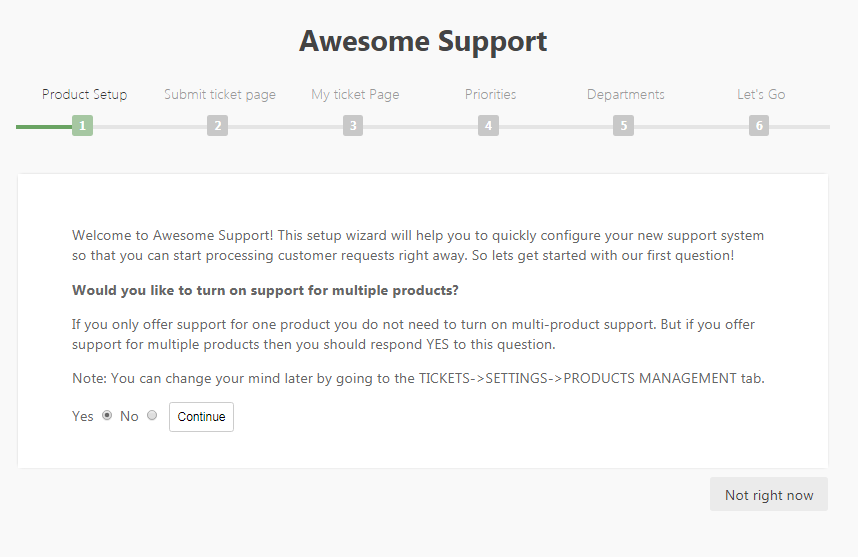
Click on click here to get started with setting up the plugin. There are 6 steps you need to follow to get the plugin setup and start offering stellar support to your customers.
In the first step you need to select if you want to offer support for multiple products. We want to offer support for multiple products hence selected yes. Click on Continue.
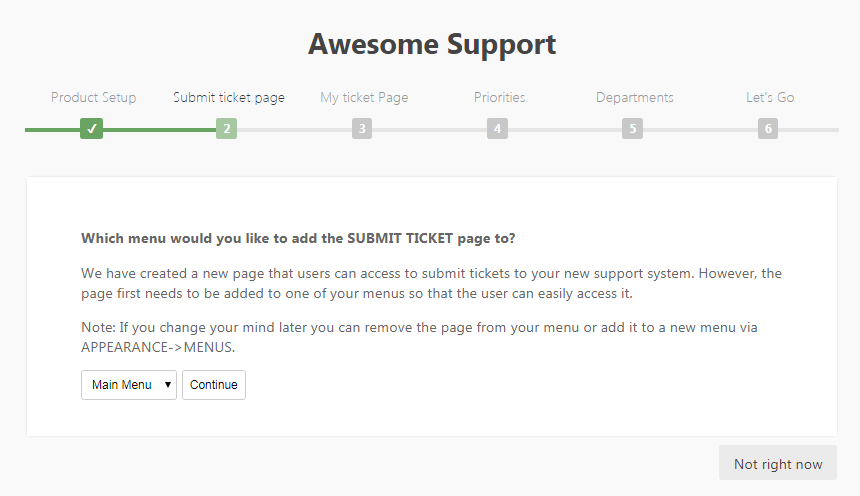
The plugin will automatically create a page from which users can submit support tickets on the front end. You need to select which menu you want to add it to. Click on continue after selecting the menu.
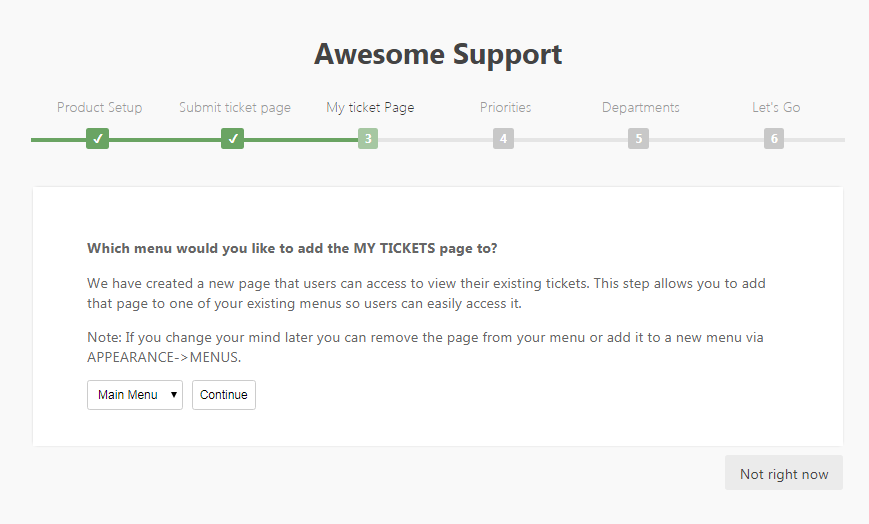
Another page required by this plugin is the My ticket Page. The plugin automatically creates this. For this also you need to select which menu you would like to add the page to. Click on continue after selecting the menu.
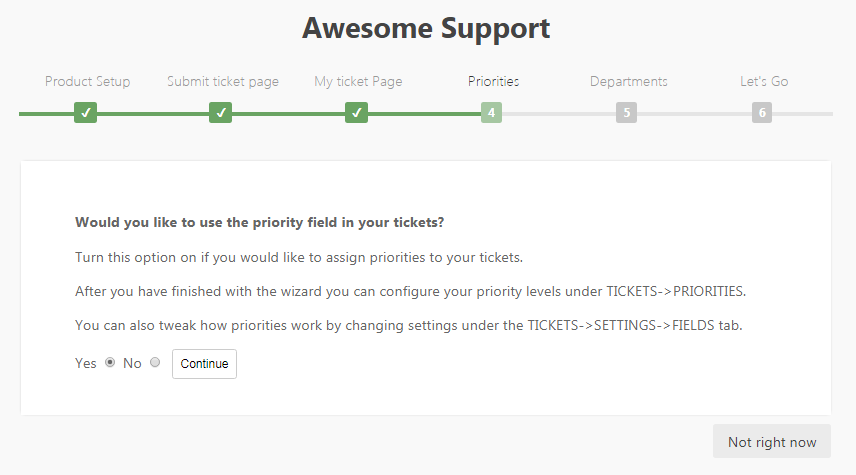
Next you need to configure if you would like to use priorities for your ticket. This will allow you or your customers to classify support tickets and help you identify which ones need urgent attention. It is recommended to use priorities in your support ticket. Click on continue after configuring this as per your requirements.
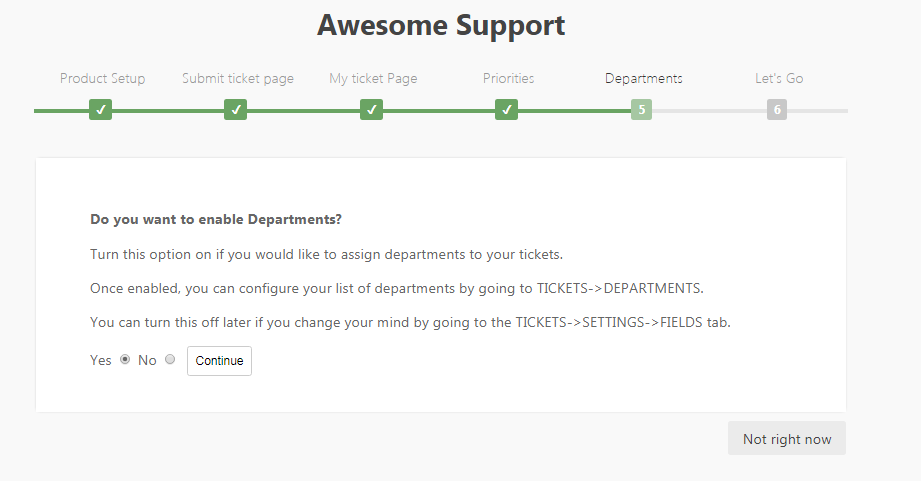
Departments allow you to create another classification for your support tickets. This will allow the right staff to address the relevant query. For example you can allow logistics department to answer delivery queries and technical support to answer technical questions. We recommend you enable departments. Click on continue
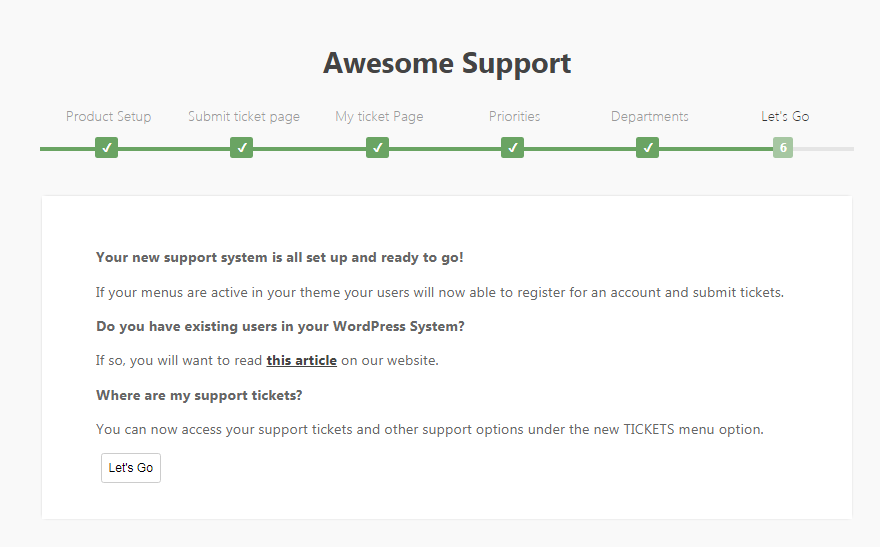
The final step is just a confirmation that your support system is ready and you can start using it. Click on let’s go. This will redirect you to the dashboard.
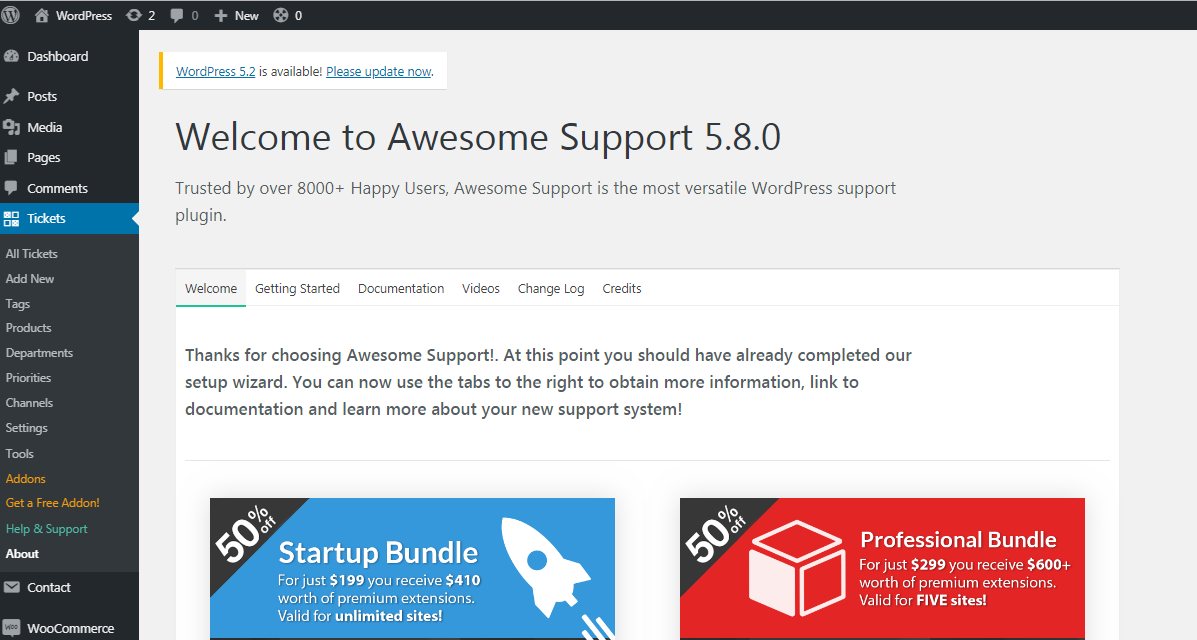
In the newly created tickets menu you can view tickets, add new ones, create and edit tags, create and edit products, set up departments, priorities, channels and configure settings as well.
Using the plugin and configure the support system settings
There are 3 things you need to add before you can start using the plugin.
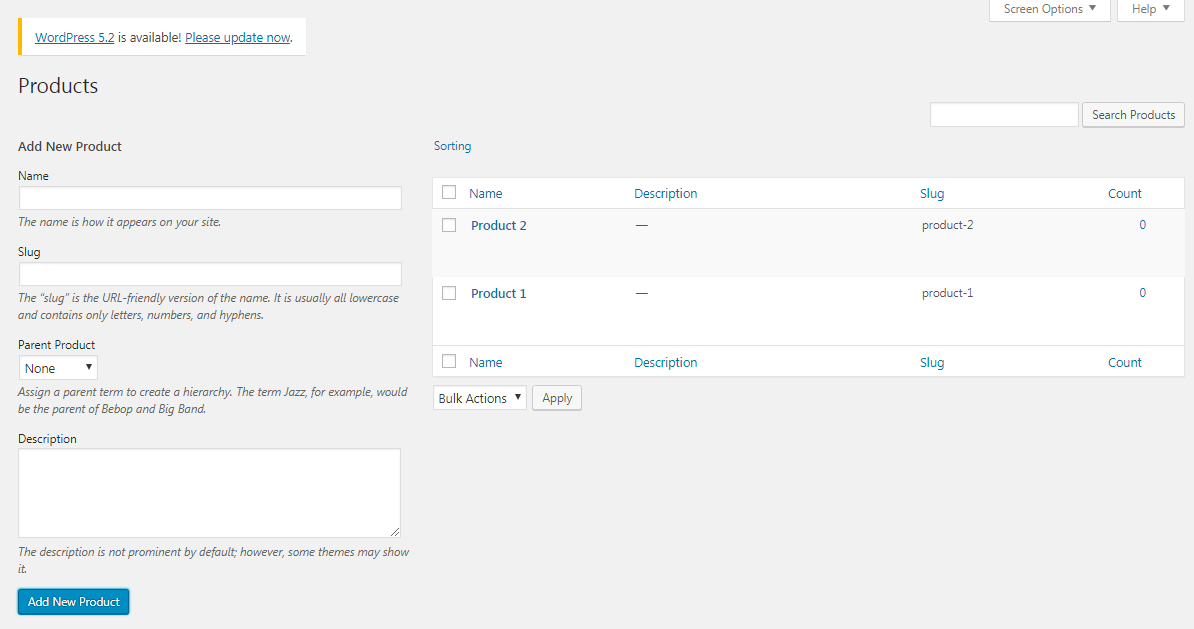
- Products – In the products tab you can add or edit various products as shown. We have added 2 products for demonstration purposes.
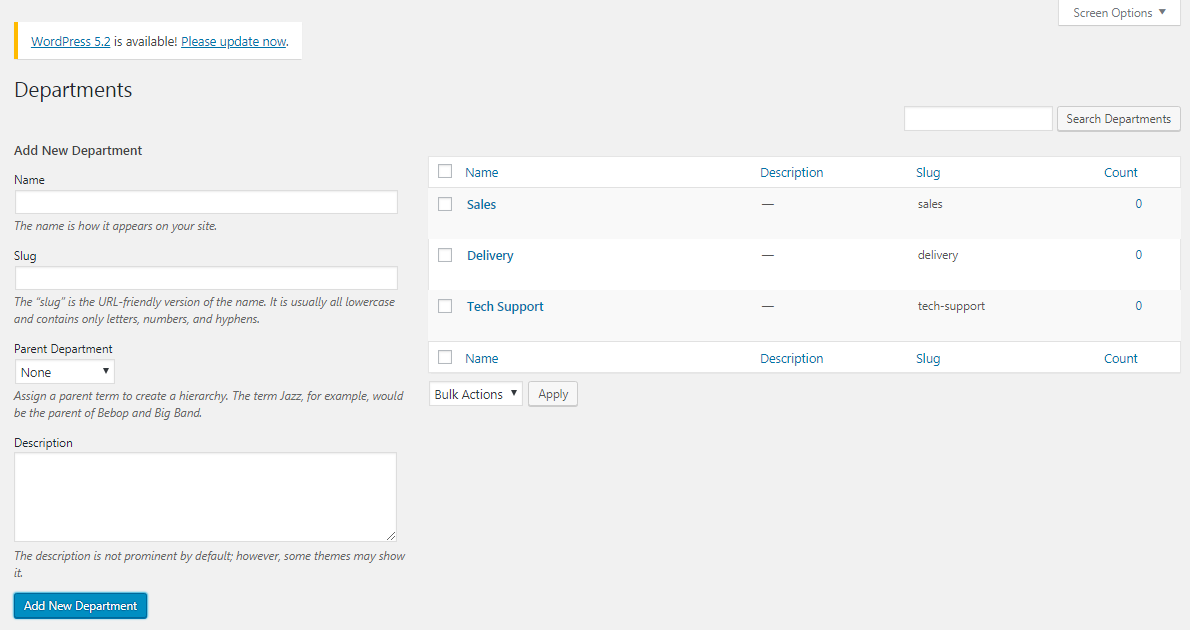
- Departments – You need to create various departments to easily classify support requests. We have created 3 departments as shown
- Priorities – This should be easy to understand for your customers. We have set up 3 priorities as low, medium and high. You can also select the colour of a priority when setting up a new one.

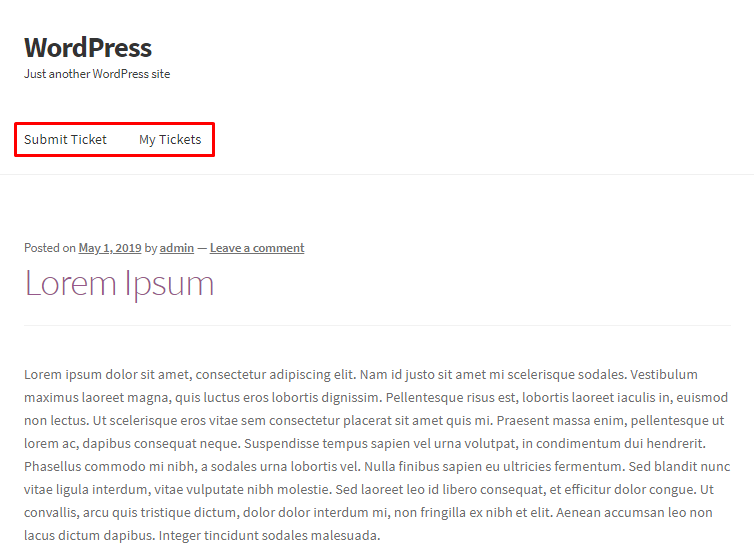
If you visit the front end of your website you should now have 2 new menu items: Submit a Ticket and My Tickets
In the submit ticket page users can now submit a new ticket.
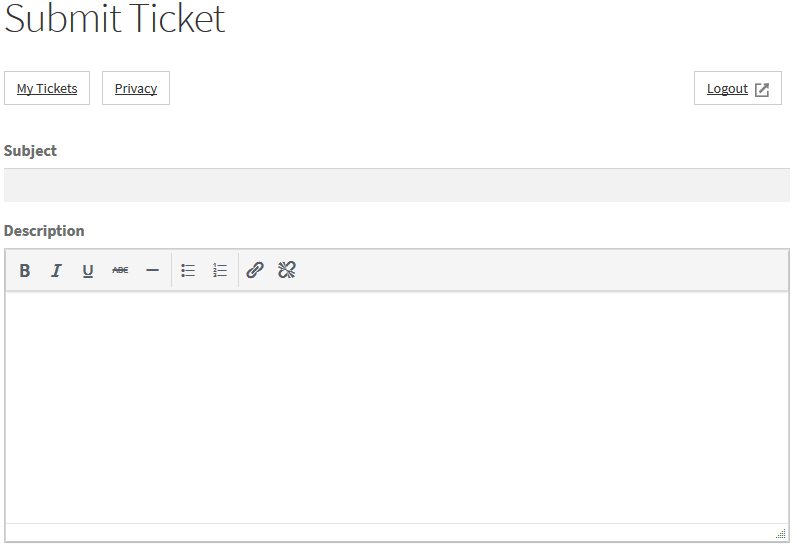
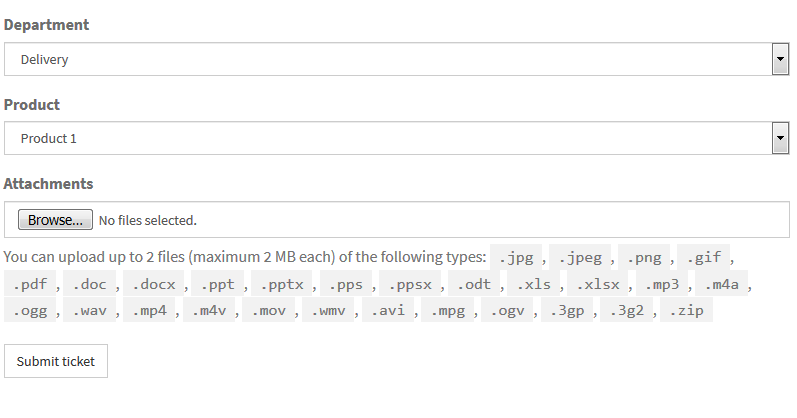
As you can see the users can choose the departments and the products that we had created earlier.
The plugin is one of the best solutions available in the market for setting up a help desk system. This is because of the numerous features that are available. In the settings page you can access many of this features and configure them as per your requirements.
There are 15 tabs here with lots of options. The most important settings you should configure are:
- General Settings – Set up the default assignee and various other options such as the order of replies, the replies per page and the ticket count.
- Registration Settings – Enable disable user registrations, set up GDPR notices and define terms and conditions.
- Privacy Settings – Control how the privacy button appears to the user and the options available with it
- Email – In this tab you can set up various email templates such as confirmation of a ticket submission, replies by agents and define sender and reply to email addresses.
- File Uploads – Here you can enable or disable file uploads, and define allowed file types.
Conclusion
There are many other plugins available for adding help desks to your WordPress website. The most important features you need to consider include: user roles, capabilities, email piping, reporting agent assignment. The Awesome Support – WordPress HelpDesk & Support Plugin has all of these features and additional ones as well, making it a complete and easy to use solution for anyone looking to add a help desk to their WordPress website.
I hope you found this article helpful. If in doubt or stuck, you may also be glad to know these best free CRM WordPress plugins to maintain healthy relationship with your customers.