Managing permissions and user roles can be a daunting task, especially for websites that has many registered users, or users who needs a variety of permissions.
When you first install WordPress, a single user is created for you. This user; the Administrator, can do everything you need to be able to work on your WordPress website: Create and edit posts and pages, upload files, add themes and WordPress plugins, edit widgets, edit menus and edit categories, manage users and much more.
All of these actions are called capabilities. By selecting capabilities for your registered users, you control what your users can do on your website.
To make user management easier, WordPress has grouped different capabilities together into six user roles:
- Administrator – Has access to all the administration features within a single site.
- Editor – Can publish and manage posts and pages, including the posts of other users. Can also upload files, manage private posts, edit comments, post categories and modify links.
- Author – Can publish and manage their own posts and upload files.
- Contributor - Can write and manage their own posts but cannot publish them.
- Subscriber – Can only manage their profile. This is the default role for new users who registers on your website.
- Super Admin – Administrator for multi-site networks.
User management
Take a moment and log in to your WordPress site and check which roles your current users has. Making sure that no user has access to more than they need is an important security measure.
In the WordPress admin area, select the Users screen. Here you will find a list of all users, their roles and the number of posts they have written:
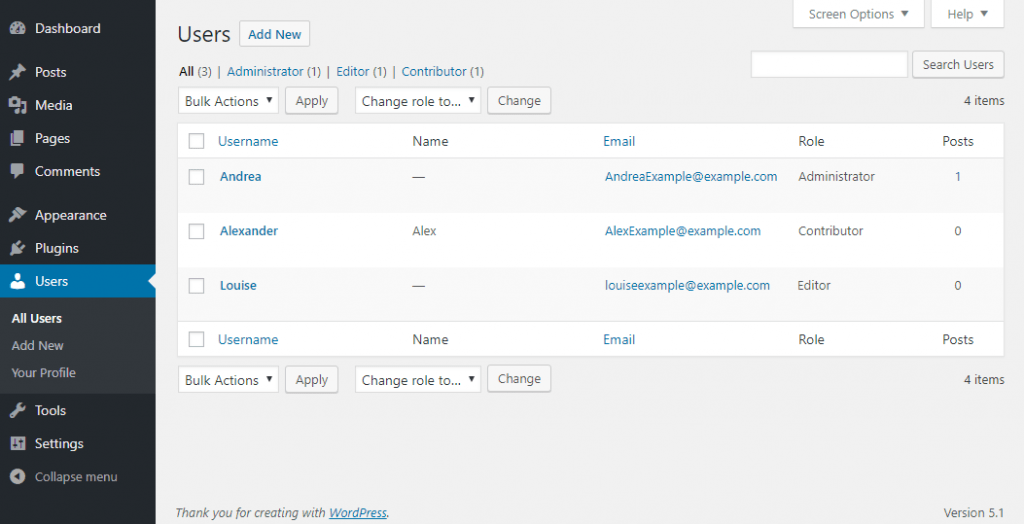
While logged in as an Administrator you can add new users, delete users, edit them and change their roles.
Don’t be alarmed if you find that there are more user roles to choose from than the ones mentioned above. Some popular plugins like WooCommerce plugin adds their own user roles.
Editing the user roles
But what if you need to change the capabilities? Besides assigning a role to a specific user, you will find that you can not manage or edit the user roles with the default user interface. To change the capabilities or create new user roles, you need to install a plugin. For this we recommend a plugin called User Role Editor.
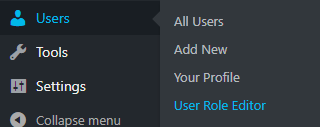
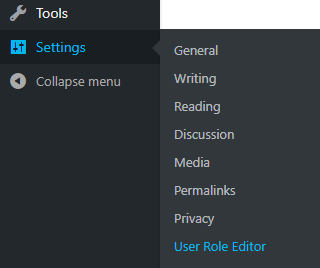
After installing and activating the plugin, select User Role Editor from the Users menu:
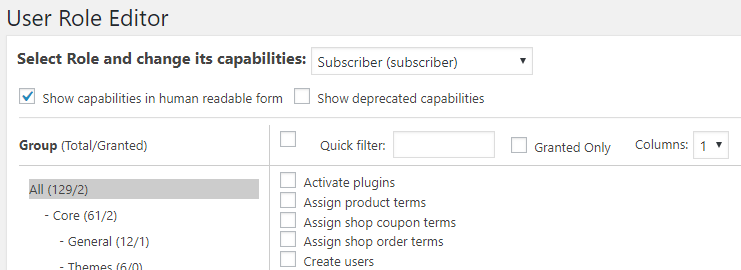
At the top of the options page, you will find a list of roles that you can edit. The plugin arranges capabilities in groups, displayed in the left column. If you are not sure which group a capability belongs to, you can select all. The column to the right displays a list of available capabilities:
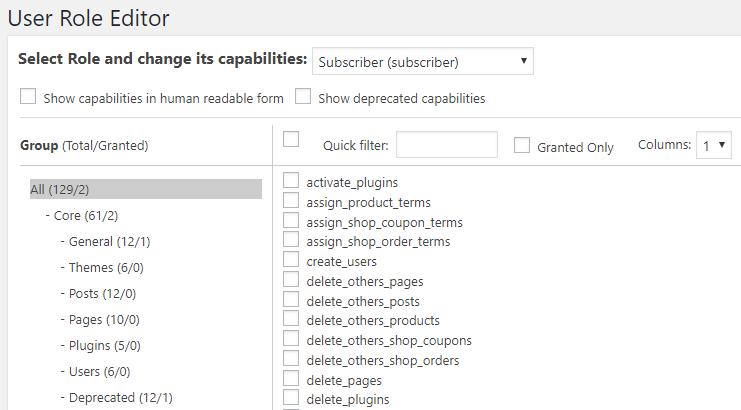
The names of the capabilities can be confusing at first. Check the option Show capabilities in human readable form to make the setup easier:
Removing capabilities
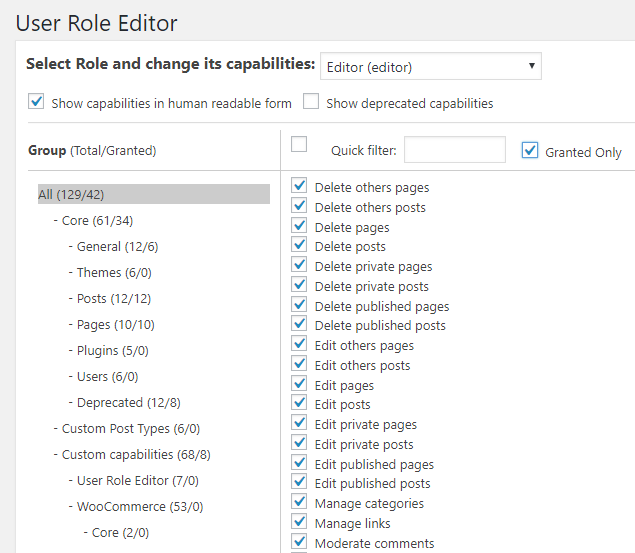
To see what capabilities a user role has, select a role and check the option Granted Only.
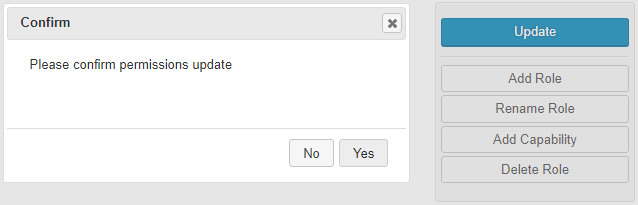
To remove a capability, uncheck the box next to its name and select Update. You will then be asked to confirm the change:
Adding capabilities
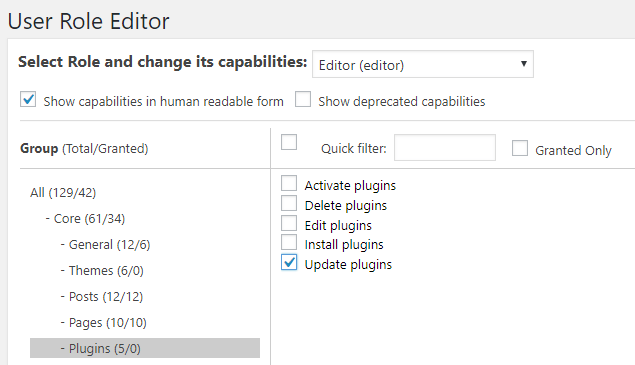
First, select the role that you want to change. Then locate the capability that you want to add. In the example below, we want to give Editors the capability to update plugins.
We have selected the Plugins group in the list to the left, and the capability Update plugins in the second column:
Once the capabilities have been selected, click the Update button in the menu, and confirm the changes.
Creating new user roles
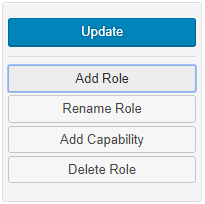
In the plugins menu, select Add Role:
Select a name and ID for your new role. The ID can only contain Latin characters, digits, hyphens or underscores.
You can create a role without any capabilities, or make a copy of an existing role
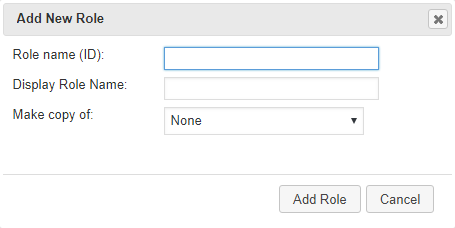
Select Add Role and continue to add the capabilities.
Renaming, deleting, and resetting roles
The plugin includes a few more ways to manage and edit your user roles.
To rename a role, select the role from the list, and click the Rename Role button in the menu. You will then be asked to provide a new name.
To delete a role, select the Delete Role button in the menu. You can only delete roles that does not have any users. Select one or all roles and click the Delete Role button to confirm:
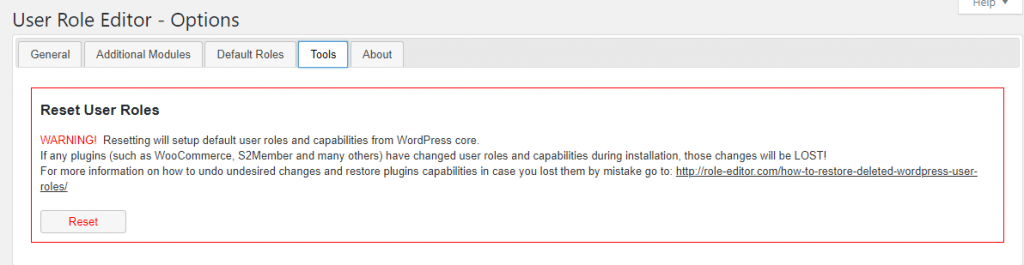
Select the Tools tab: Read the information carefully before choosing to reset!
The user management in WordPress does not include any advanced options for role and capability management. For many websites, using the default settings is enough. But if you need to make changes or create new user roles, you have to install a plugin like User Role Editor plugin we have used in this tutorial.
Now you know the steps to edit user roles in your WordPress site, you may also want to learn how to log out inactive users on your site.