This article will help you learn how to create an event calendar on a WordPress website exactly.
If you are running events offline and are looking at ways of showcasing these events and activity online, then this is for you.
Better, if you intend to start an event based business – promoting other peoples events or allow other people to add events on your website for a fee or for free.
As usual, since the WordPress CMS powers your website then we shall look into the WordPress repo for the perfect plugin that can help us complete the task.
When you think events, no other plugin gives you the features you need unless you are forking out money than The Events Calendar.
Here are just a few features that you get with the events calendar.
- On top of the list, is the ability to create events fast.
- Customizable templates
- Save event venues & organizers
- Various ways to display the calendar; month view, daily view, event list view.
- Ability to search for events
- Google maps
- Use a Widget to show Upcoming events
- Use Events Taxonomies (Categories & Tags)
- Export events to Google Calendar and iCal
- Plus a lot more features.
Now that you know what to expect from The events calendar let us use it to create an event calendar on our WordPress website.
Step by Step: How to Create An Event Calendar on Your WordPress Site?
Step 1: Install the Events Calendar plugin
Using an account with administrative privileges login to your WordPress admin area.
Once in, from the left menu go to Plugins then click Add New.
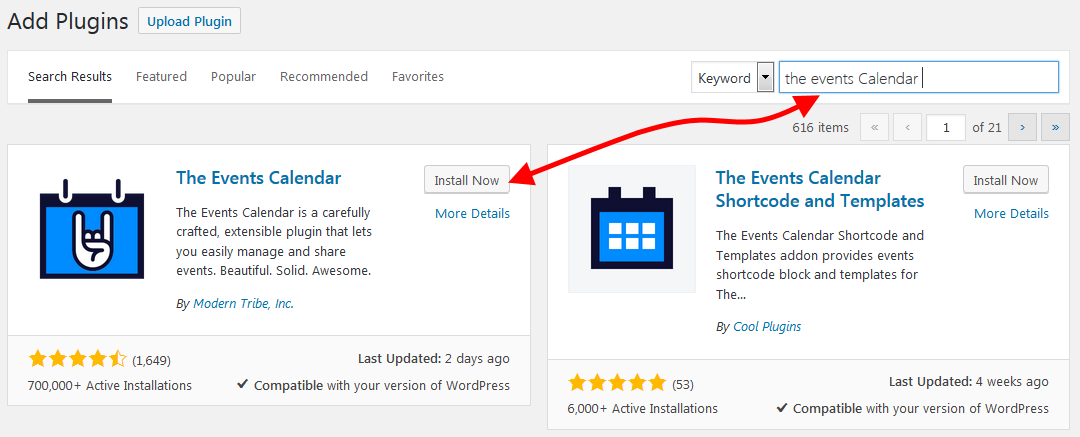
On the page that opens, enter the events Calendar in the search box to search the WordPress plugin repo.
Give it a few seconds to load the results.
You should now see The Events Calendar. Click Install Now and then activate the plugin.
Step 2: Create an event calendar
On installation, you can start adding events to create an event calendar right away.
We shall go through the settings in a little bit, first let us go through the Events menu.
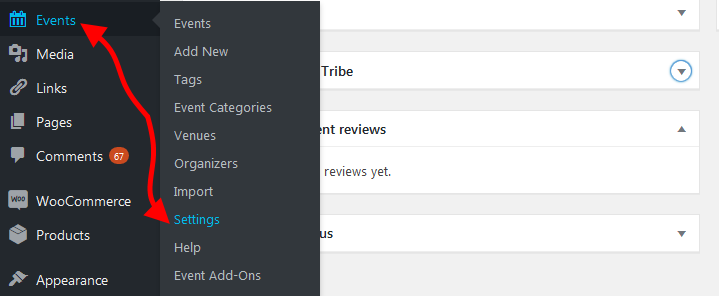
On the left menu, you will find Events, under it are several sub-items.
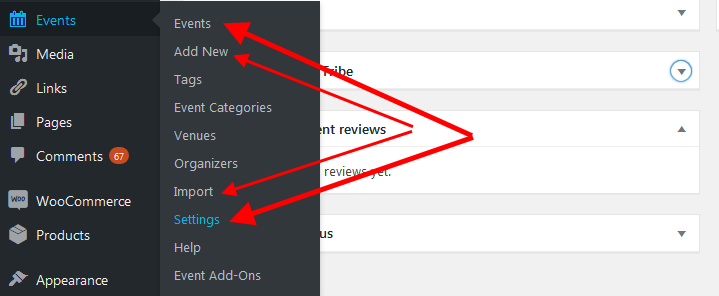
- Events – this is the dashboard where you will see and manage all the events you create.
- Add New – click here to add a new Event.
- Tags – adds taxonomies to your events – tags are keywords used to identify your events.
- Event Catagories – lists all the categories on your event calendar. You can also create new categories here.
- Venues – as it sounds, all venues of events are viewable here, you can also add new venues from here.
- Organizers – if you are using this plugin to create an event website that allows other people to create events, then these people are saved here.
- Import – from the import section you can import events to your database from an external source.
- Settings – this section provides you with options to customize and refine your events calendar.
- Help – has the details on how to contact the developer.
- Event Add-ons – from here you can view and purchase additional features to extend the functionality of your events calendar.
We shall not go through some of these sections – like Tags, categories, venues, et al., I only wanted to let you know where you can accomplish some of the tasks.
In this article, we shall create all those different items directly as you create the event.
Step 3: Create an event
From the left menu, under events, click Add New.

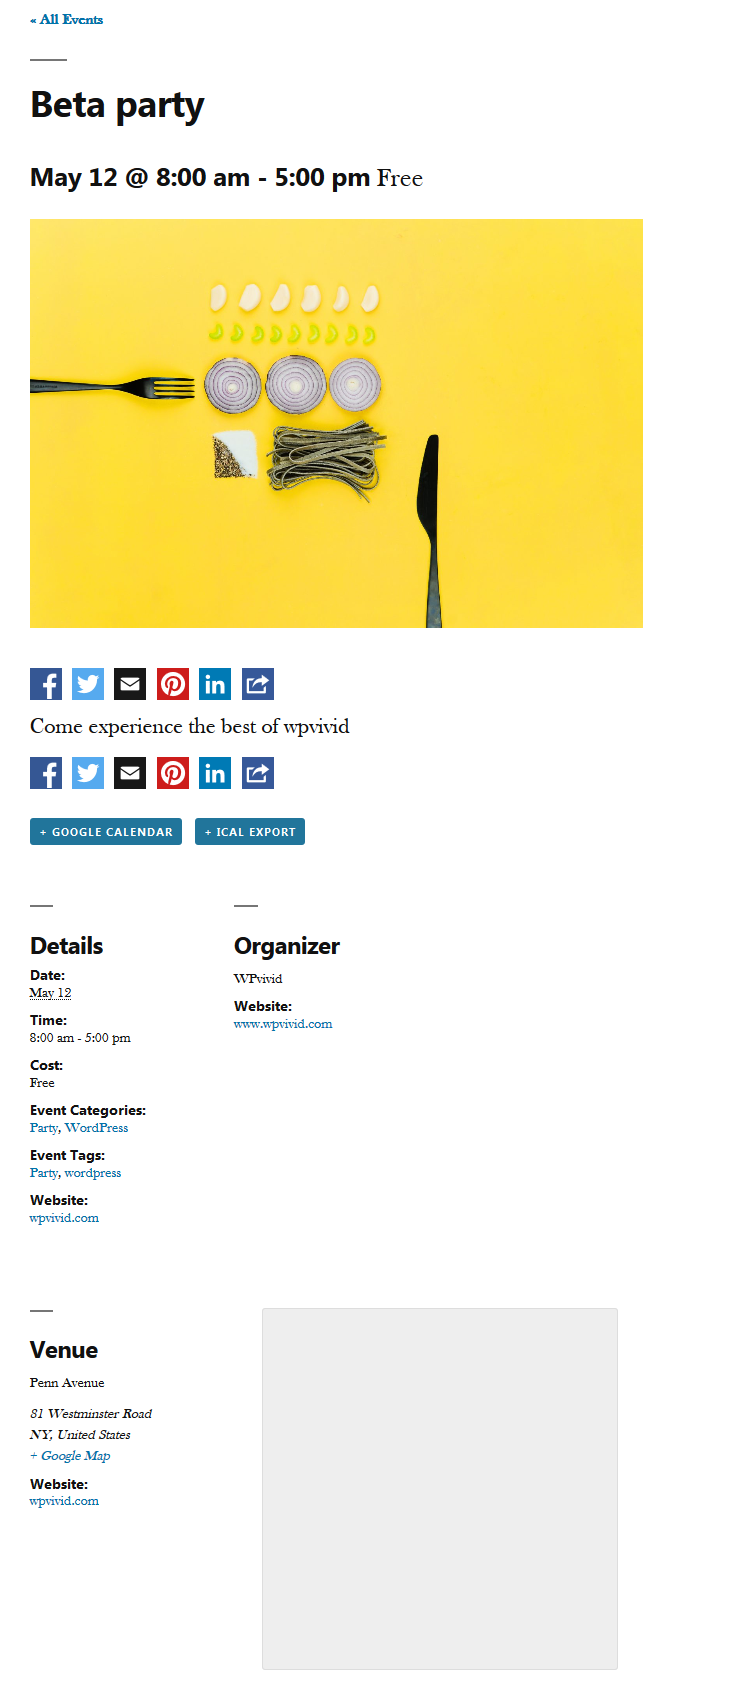
In the next page, you can provide all the details for your event, then hit the publish button.
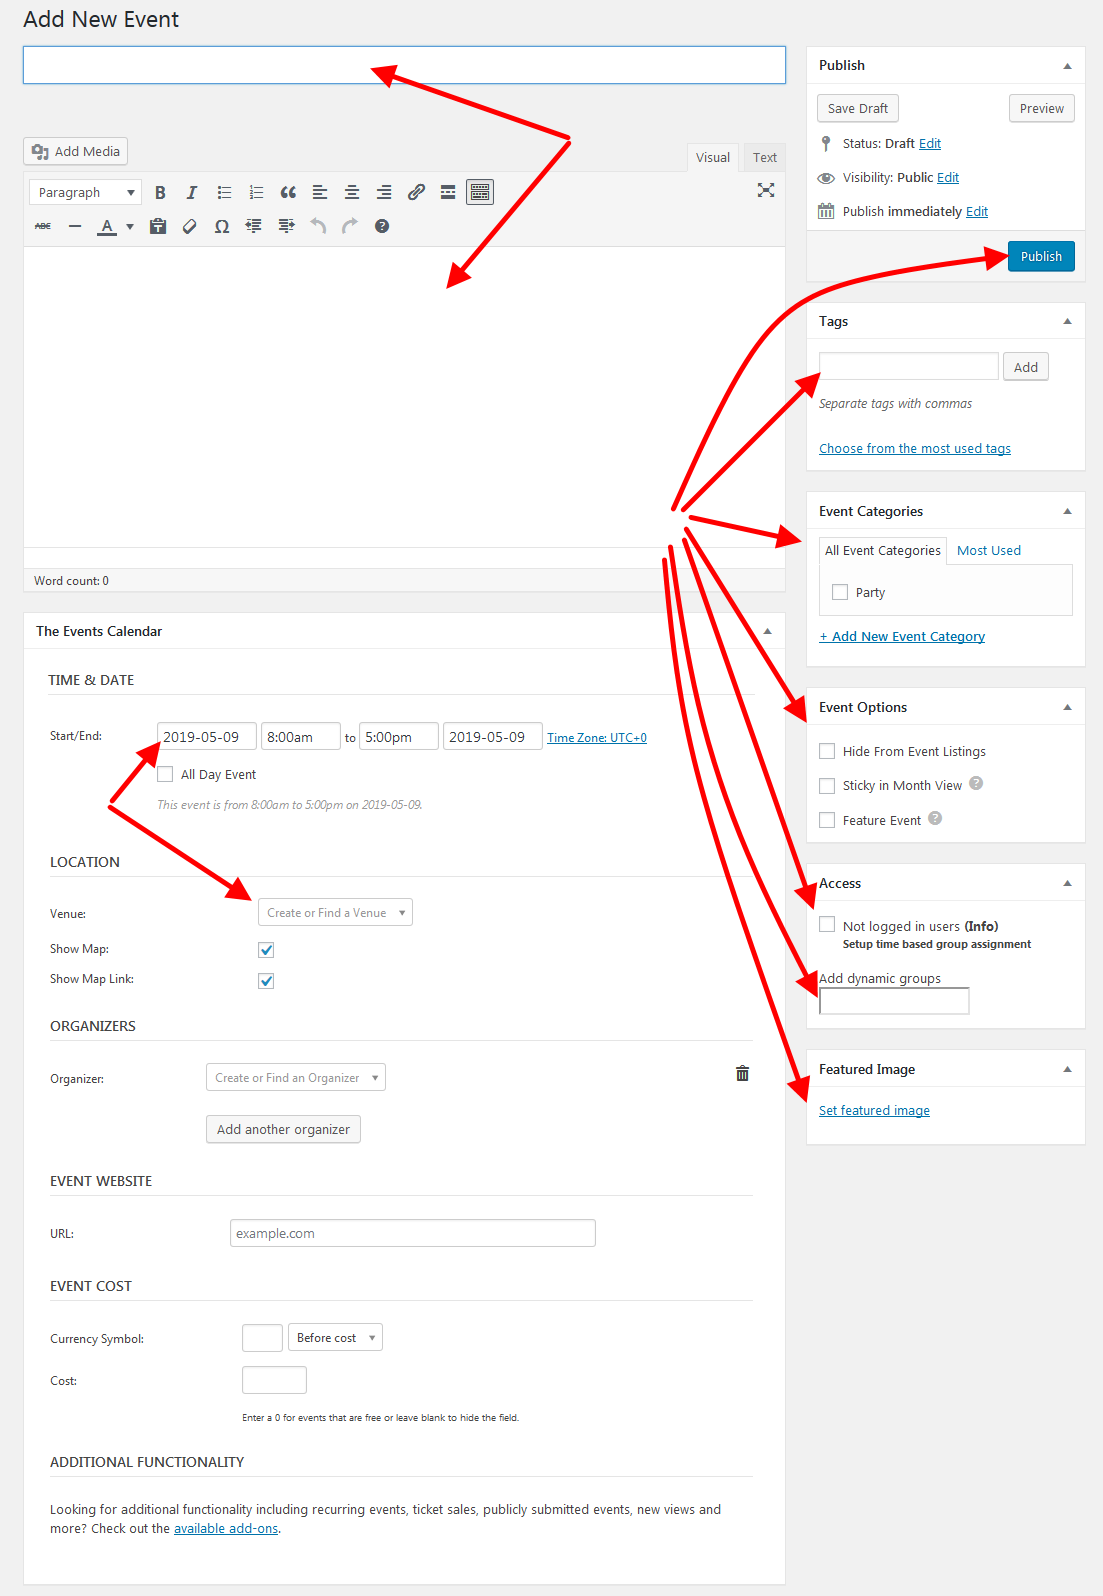
Add the event title, in the text area, provide the event description, add the event tags, categories, options, dates – start and end date, location, organizers and on the right set the featured image.
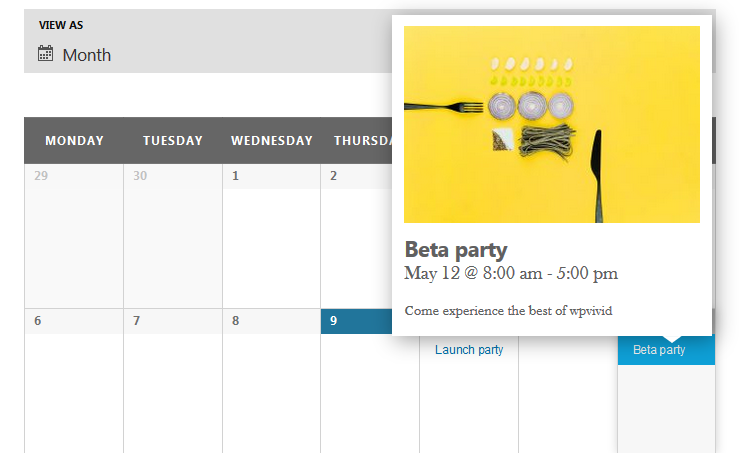
Once you publish you can view your single event.
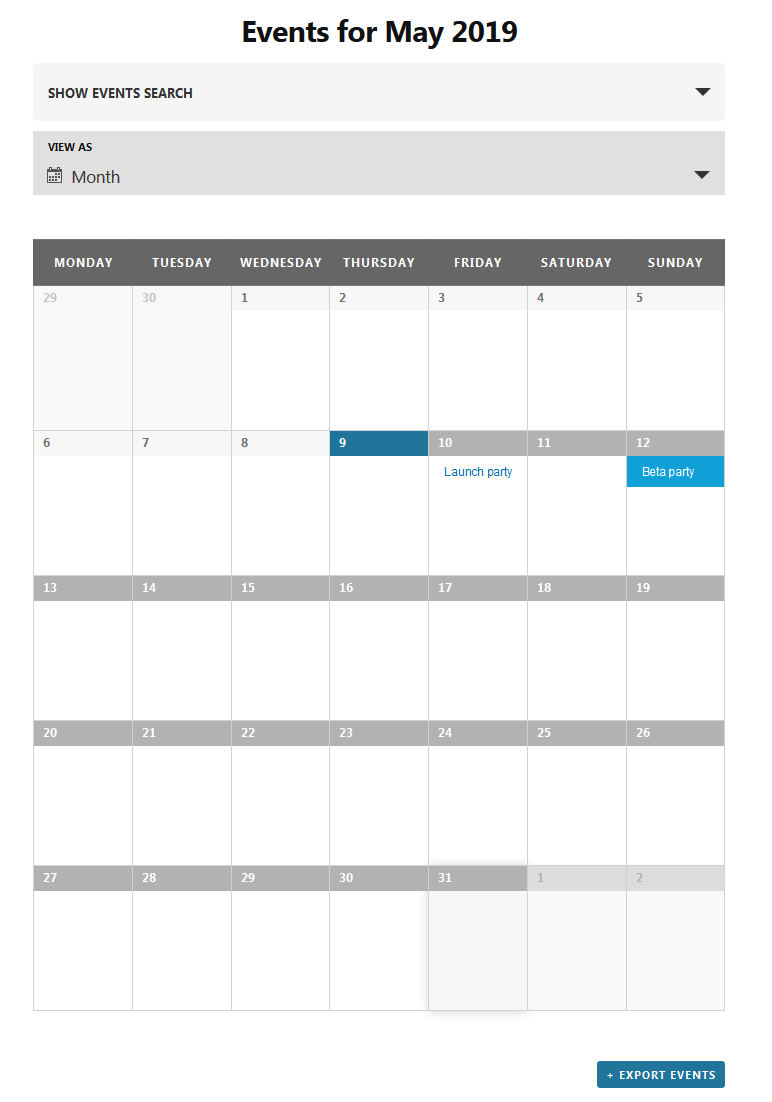
Moreover, then, we can view the events calendar.
When you activate the plugin, a page is created automatically for the events calendar.
https://yourdomain.com/events/
The default settings work just fine, but if you need to fine-tune your event calendar, then you can go ahead and configure the events calendar.
Step 4: Configure the events calendar
Note: The plugin developer recommends that you use a geographic timezone such as “America/Los_Angeles” and avoid using a UTC timezone offset such as “UTC+0”.
Choosing a UTC timezone for your site or individual events may cause problems when importing events or with Daylight Saving Time. Read more
Head to Events, then to Settings
In the settings page under General settings, define the specific parameters that you need for your events calendar.
Step 5: Configure the display settings
Define the look and feel of your event calendar in the display settings tab.
Change event templates and stylesheets, define event views, date formats and more.
Wrapping Up
You have been introduced to The Events Calendar, a decent plugin to help you create an event calendar on a WordPress website.
You should be able to install and configure the plugin.
You should also be able to add or create events.
The Events Calendar plugin makes it easy for anyone to create a robust events calendar, perfect for a small website that just wants to showcase its events online but also sturdy enough for large sites purely built for event businesses.
Beside the Events Calendar, there are many more alternatives you can use to create an events calendar on a WordPress website; here is our handpicked list of the best free WordPress event calendar plugins for your consideration.