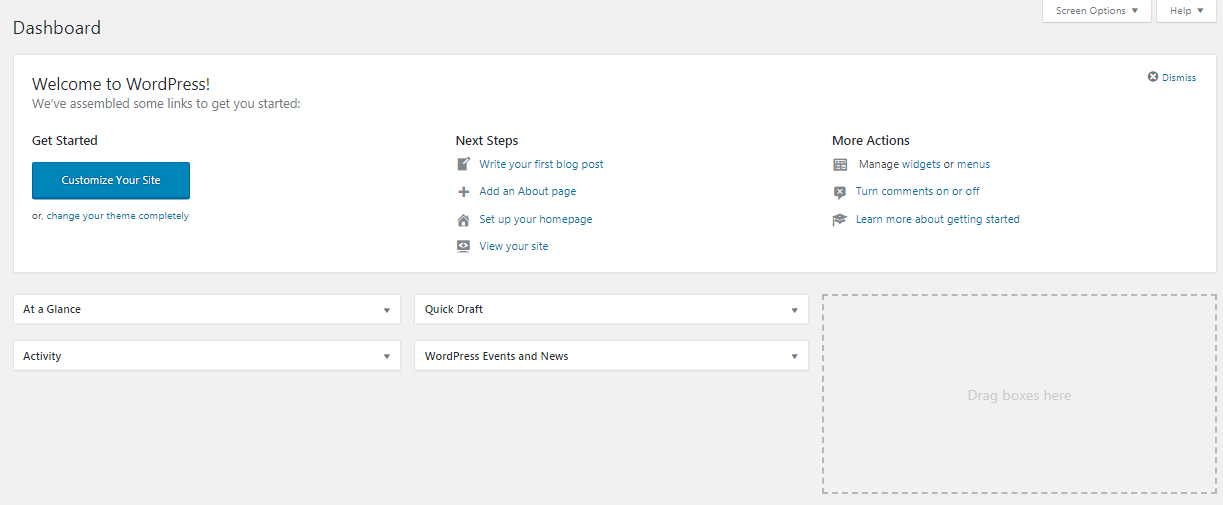
If you have a WordPress website that has a number of users who log in, you may want to hide WordPress dashboard menu items from certain users. This can help you give them access to areas of the dashboard that they require and keep other areas that they don’t require secure. For example you can create a client dashboard for your clients and only allow them to access posts and pages where they can update content and hide theme options or other settings menus from them.
By default WordPress shows most menu items in the dashboard to most users. Some are not relevant to them and it makes them keep looking around for items they need to access. Using a plugin such as Adminimize you can customize the WordPress dashboard. As the name suggests admin-minimize it helps you to hide/remove/minimize menu items based on user roles.
Why You Need to Create Client Dashboards in WordPress ?
Creating custom dashboards for different users enhances the user experience by removing clutter and allowing users to focus. It also helps keep certain areas of the website secure and prevents unauthorized access or changes.
If you have multiple authors or multiple people who are managing different areas of the site the plugin can be extremely useful. For example is you are running a hotel booking site, you can give full access to a manager and allow a booking editor to only view and edit bookings. Such access rights can be applied to a whole lot of situations.
If you are creating a website for a client, for someone who may not have used the WordPress dashboard, it can be overwhelming. You can make life easier for them by removing unnecessary menu items and only allowing them to see posts, pages or other relevant sections that may need access to. Delivering a custom client dashboard can also be used as an upsell or a selling point to stand out from the crowd.
Step by Step: How to Create a Client Dashboard in Your WordPress Site.
Installing the plugin
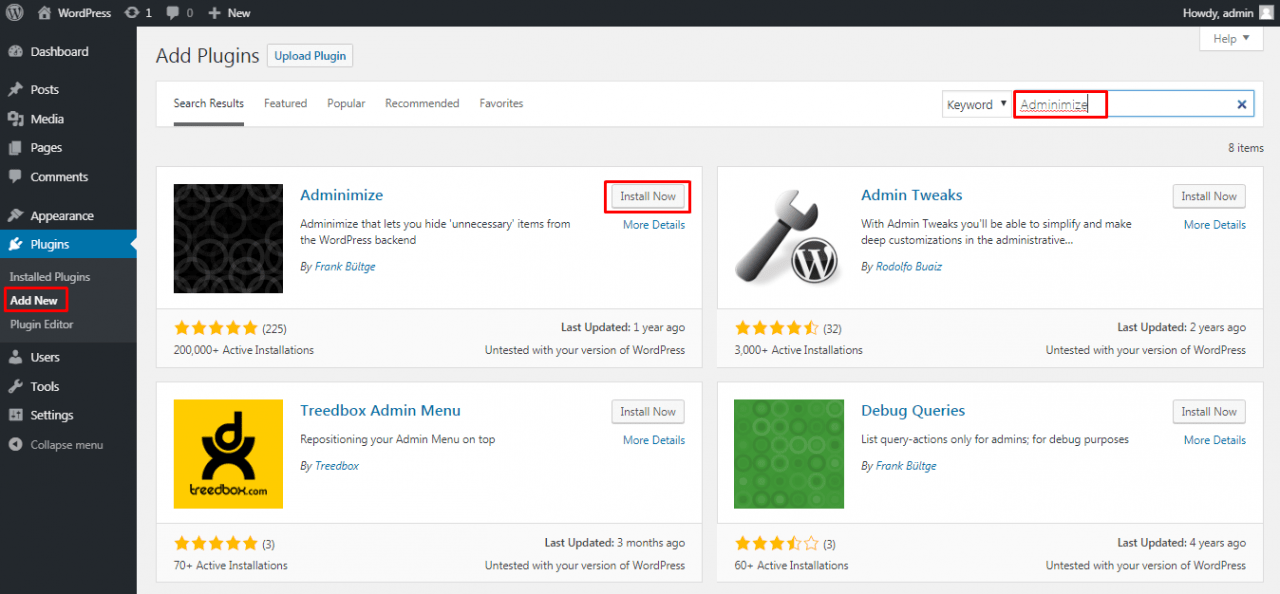
Login to your WordPress dashboard, under the plugins menu click on add new. Search for Adminimize, install and activate the plugin.
Setting up / using the plugin
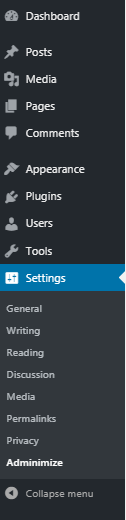
After activating the plugin, under the settings menu you will find a new menu item, Adminimize. Here you can configure options for various sections of the WordPress dashboard. Clicking on any of these will expand the options available for that section.
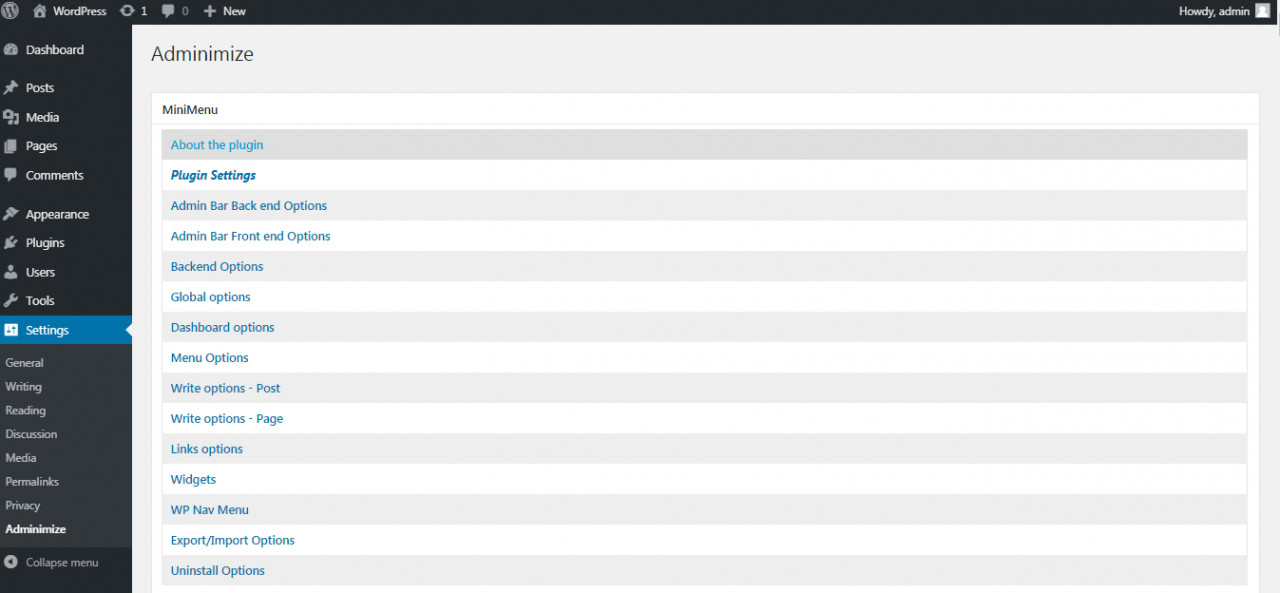
Here is a brief overview of what each section can allow you to configure:
- Admin bar back end options – This is usually at the top in the WordPress dashboard. In this section you can hide items that display in the admin bar.

- Admin bar front end options – This is also the admin bar but displays in the front end of the website. It has a few different options than the back end admin bar. You can hide any of the front end admin bar links from here.

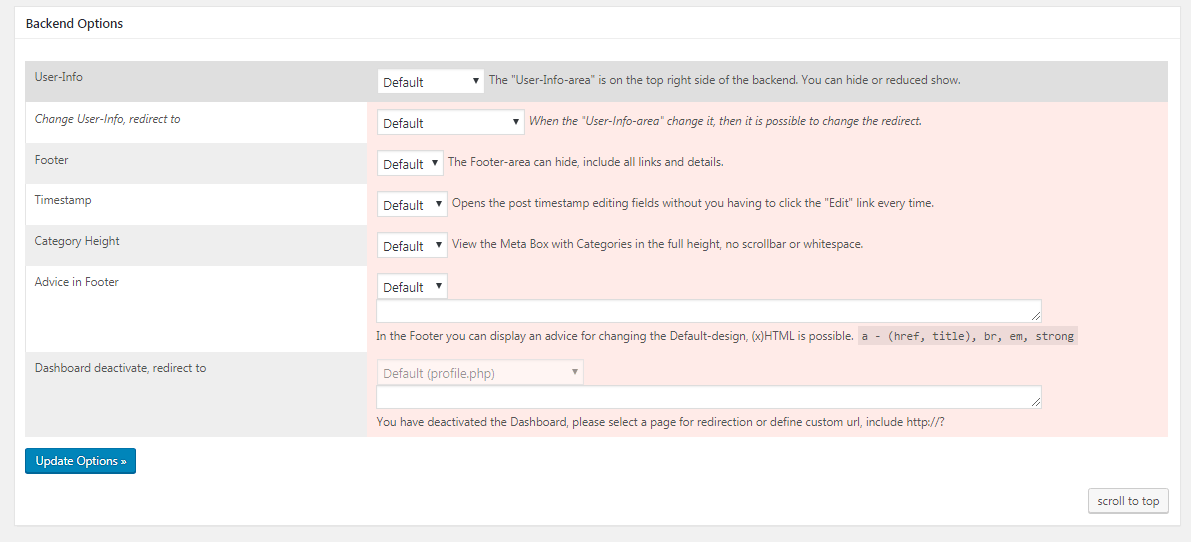
- Backend options – Here you can configure global options. Any changes you make here will be for all the users and you cannot select a user role here.
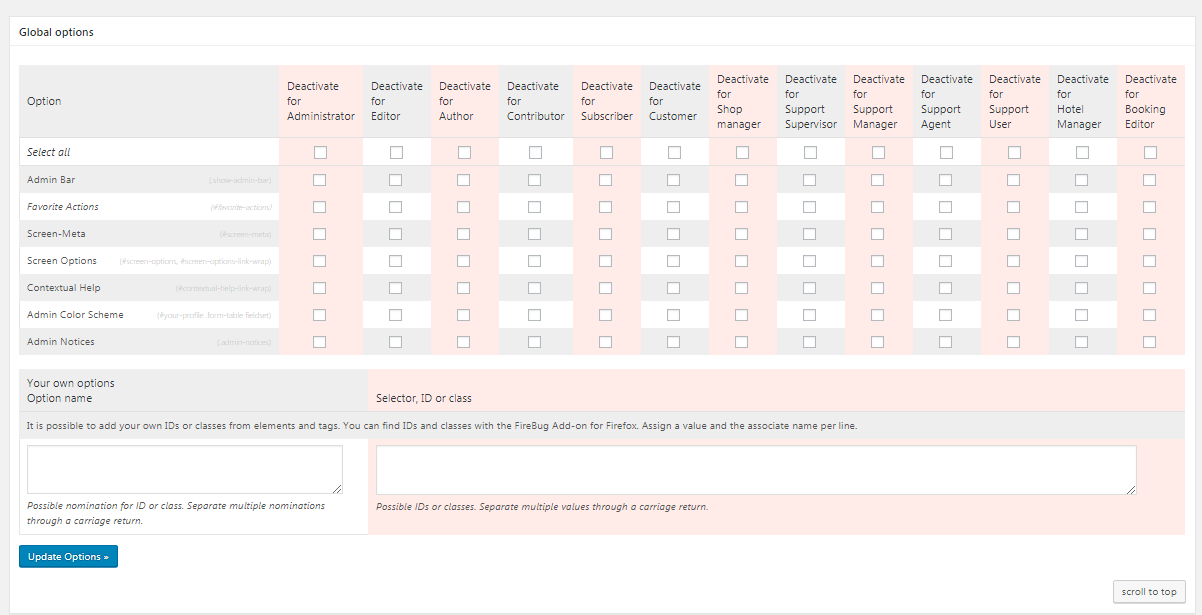
- Global options – Activate or deactivate particular settings for various users
- Dashboard options – Allows you to hide WordPress dashboard widgets
- Menu options – Hide items in the WordPress dashboard menu that appears on the left in the dashboard
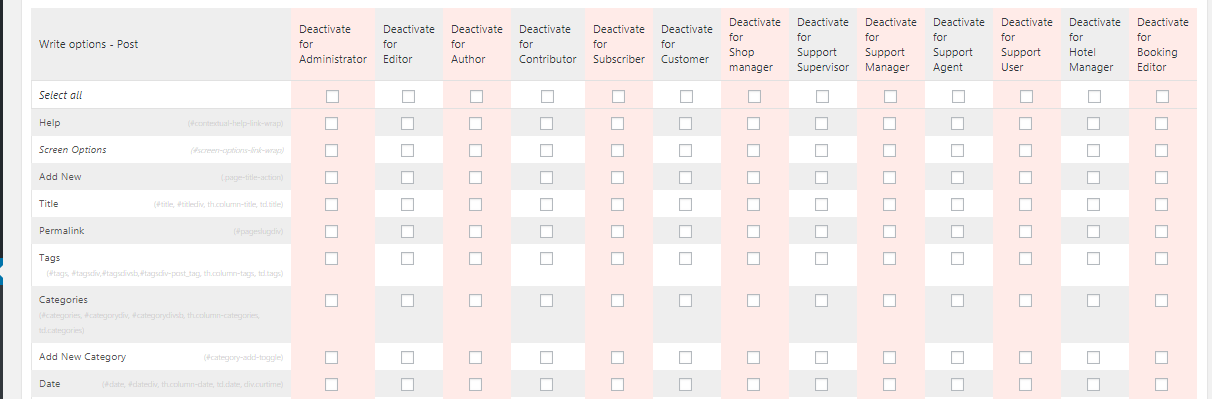
- Write options post and page – Hide any menus, meta boxes or other items that appear when creating or editing posts or pages
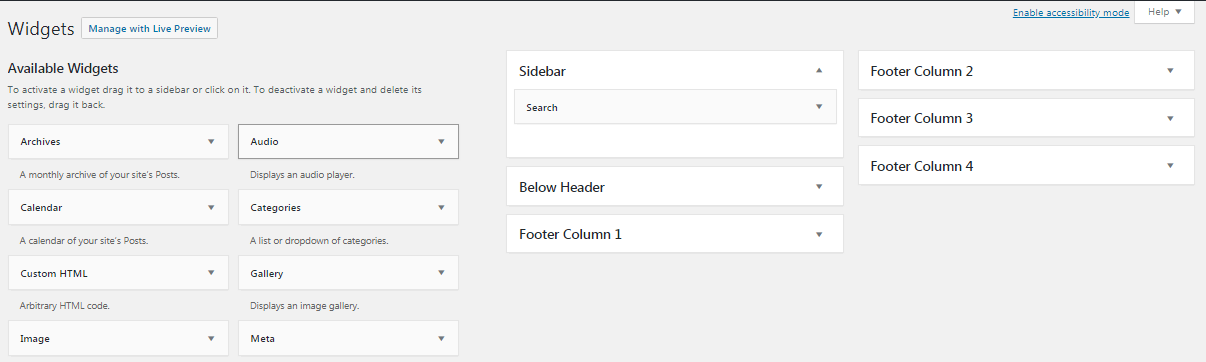
- Widgets – This section allows you to hide items from the widget screen
- WP Nav Menu – Allows you to hide items under the menu configurations.
If you click on any of the sections you will see options similar to what is shown below:

To hide any of these links/menu items from different user roles, simply check on deactivate for that user role and save your changes. In the example above we have hidden the edit my profile link from authors. This can prevent authors from editing their bio. Similarly you can select any option that you want to hide from any user roles.
Importing and Exporting Settings
One of the best features of the plugin is the ability to export and import settings. This gives you the option to apply the same settings on multiple WordPress websites.
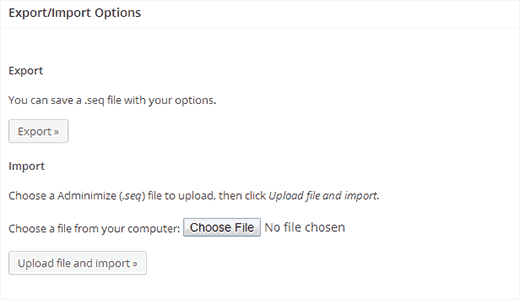
If you click on export the plugin will generate a .seq file which can be downloaded. You can then use the downloaded copy of the seq file and upload and import options to another WordPress website.
Deleting the Plugin
An important step to take before deleting the plugin is to delete the plugin options from the database. Simply deactivating or deleting the plugin might not remove the options from the database.
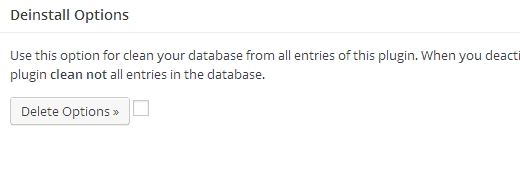
If you want to deactivate or delete the plugin scroll to the Deinstall Options section and click on Delete Options. This will ensure any WordPress dashboard menu items that you may have hidden from user roles are reactivated for those user roles.
Conclusion
You need to be slightly careful when disabling some items for users as this can result in limited functionality for them. Overall the plugin gives you a great amount of flexibility when it comes to hiding items in your WordPress dashboard from users. It is a neatly put together solution and the best part is it’s available for free.
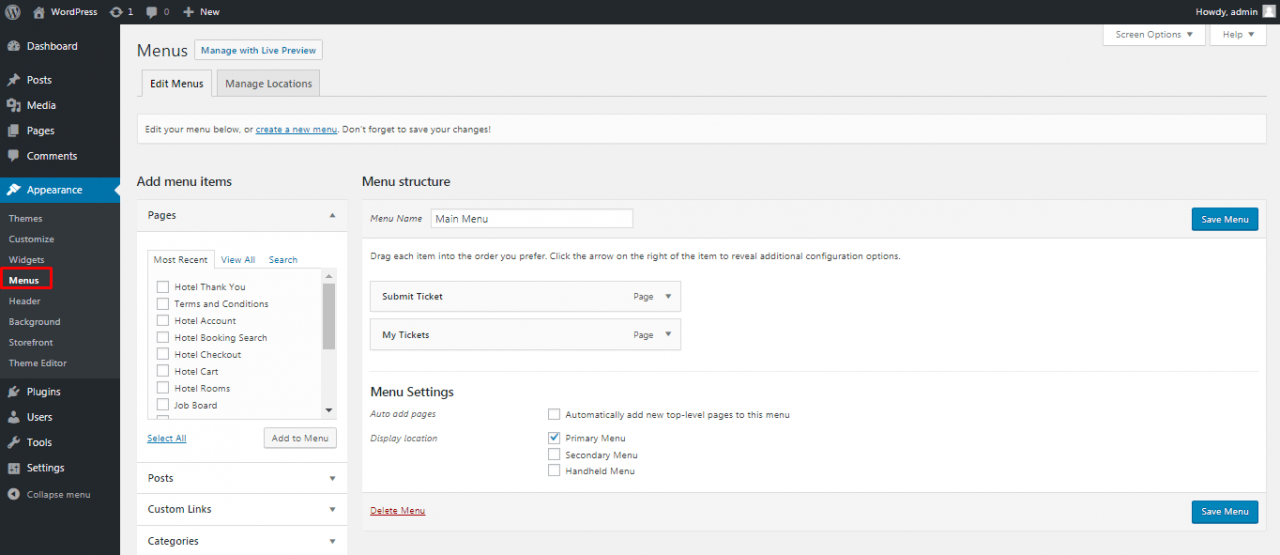
You may also want to create a front-end page to enable visitors to submit posts without accessing your WordPress admin dashboard.