Countdown timers can be found on all types of websites, from professional blogs and podcasts to e-commerce sites.
Most often a countdown timer is added to promote the start of a sale or event, or to bring attention to a time-limited offer.
They can also be used to announce recurring events like a weekly newsletter or for example a live-streaming event.
When planning for your countdown timer, you want to consider the following:
Positioning: Where to place your countdown timer?
Carefully select the placement of the countdown timer. If you are planning a big one time event, you may want to make the timer large and visible. But it should not outshine your event introduction.
For a recurring event, the timer can be placed in a sidebar, or even in a post.
What happens when the timer reaches 0?
Do you want the timer to stay at 0? -Do you want the timer to restart, or do you want to display a different message all together?
Selecting a Countdown timer plugin.
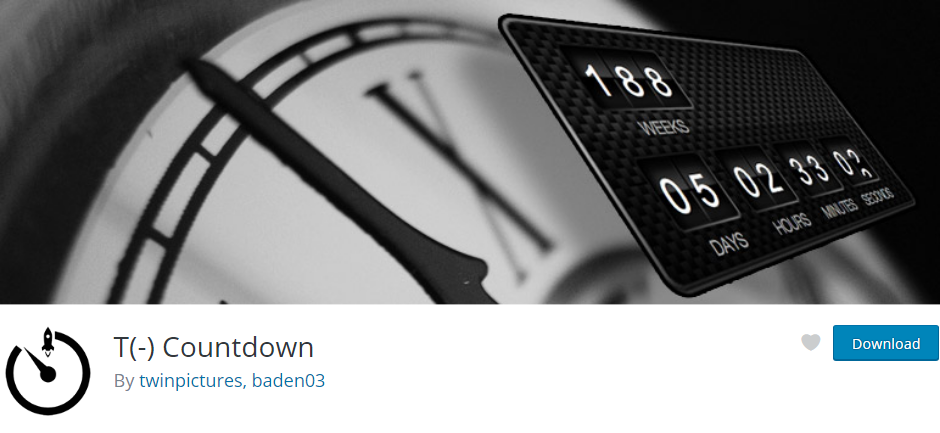
The plugin that we will use today is called T(-) Countdown. The plugin can be downloaded for free from the WordPress.org plugin directory.
This plugin is fun to use: There are 13 different graphical styles to select from and they are named after Starwars. But to make full use of all the plugins features you need to know HTML, CSS and how WordPress loads JavaScripts. -That is why we only recommend this plugin for advanced users.
Below are a few of the styles that you can use:
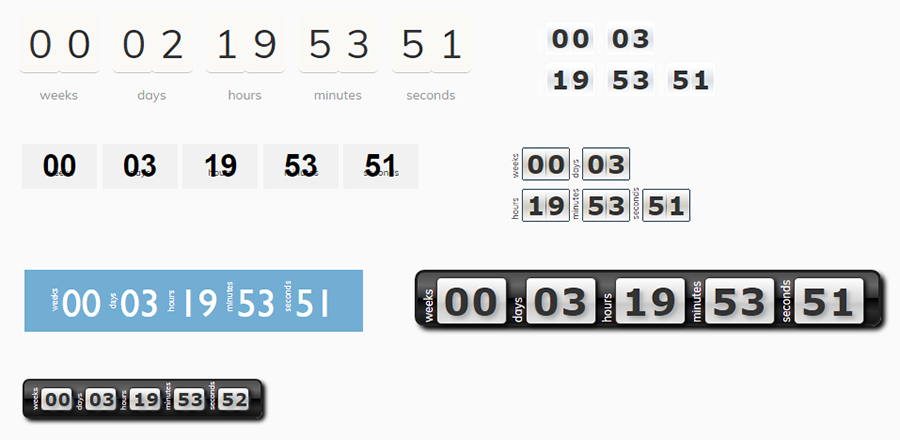

While there are many styles to choose from, we found that not all styles work for mobile phones and tablets. If you want to use more than one countdown timer, the plugin slows down your site significantly.
T(-) Countdown does not include functionality for scheduling recurring events. For that you need to purchase the PRO version.
Widgets and shortcodes are used to show the timer. This means that you can place it anywhere on your website where there is a widget area, or in your post or page content.
Step by Step: How to add a countdown widget using T(-) Countdown plugin?
After installing and activating the plugin, you need to enable the extra features.
With the Rockstar Features enabled you can add additional texts above or below your timer. Most importantly, you can control what to show when the timer reaches zero.
In the WordPress Admin area, open the Settings menu and select T(-) Countdown.
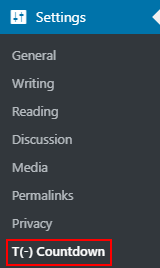
On the settings page, check the box to enable the rockstar features. Select Save Changes:

 Adding a Countdown widget
Go to Appearance -> Widgets.
Select the T(-) Countdown widget and drag it into a widget area.
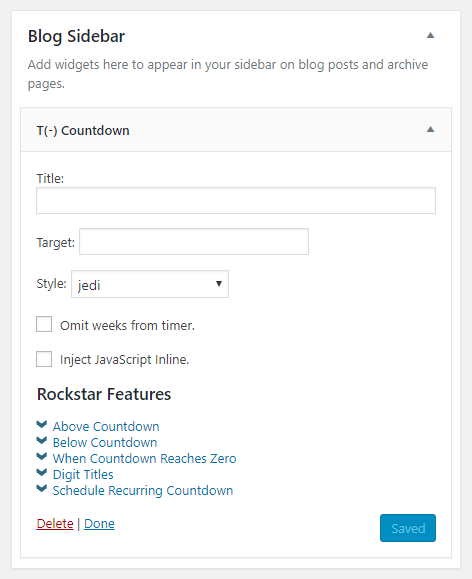
You can add a title or leave this field empty if you prefer.
Click on the Target option to add a date:
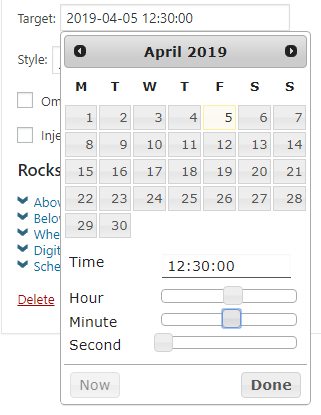
You can add the date manually, or use the date picker. You can adjust the times by sliding the levers to the left or right.
The plugin separates year, month and day by either a dash (-), slash (/) or dot (.). You can use either DD/MM/YY or YY-MM-DD, and the HH:MM:SS 24 hour format.
– A drawback is that if you are adding the widget in the customizer, there is no date picker and the date has to be added manually.
There is an additional option to hide the weeks, but there is no option to hide the time and only show the number of days.
Select a style from the drop-down list.
Click on the link that says When the countdown reaches zero to expand the next setting:
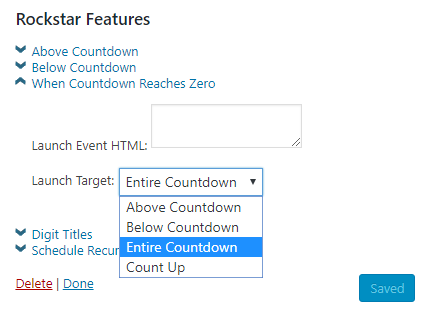
In the text area with the label Launch Event HTML, you can add HTML or plain text.
As an example, you can include links or a text that says that the event has started, or that your offer has ended.
With the Launch Target option, you can select whether to show the text above or below the countdown. Select the Entire Countdown option to replace the timer with your custom content. The last option in the list, Count Up makes your timer go backwards once it reaches zero.
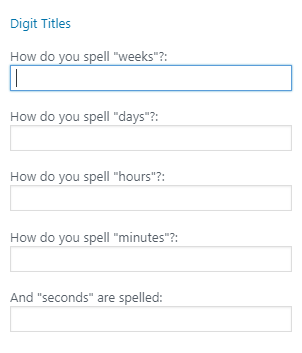
You can customize the text that is shown in the timer under Digit Titles.
This is useful for example if you wish to translate the words into a different language.
Add a shortcode
Go to the Edit screen of the post or page you want to add the counter to.
Add a Shortcode Block, or switch to the code editor.
The name of the shortcode is tminus. First we need to specify the date. Then we can add a style as our second attribute:
[tminus t="2019-04-20" style="carbonite-responsive"/]In this example, the text in between the shortcode tags are shown when the timer reaches zero:
[tminus t="20-04-2019”]Text to be displayed when the countdown reaches zero.[/tminus]Remember to save the changes and to test the timer.
To read more about the shortcode options, visit the plugins documentation page.
Alternative plugins
Countdown Widget is another free plugin that can be downloaded from WordPress.org.
This plugin has a settings page where you can change the text of the timer. All the other options are in the widget itself:
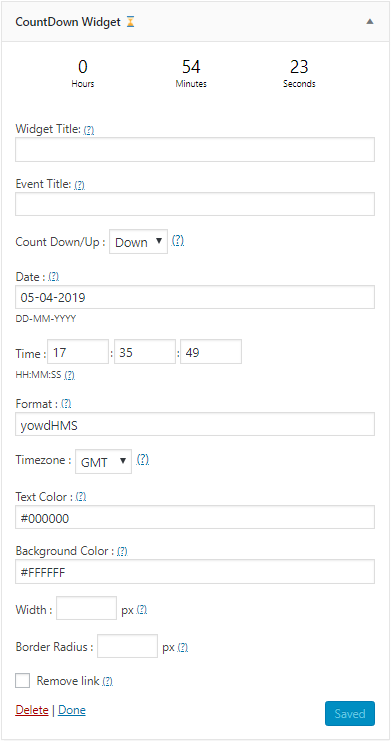
What we really liked about this plugin is that it is well documented. Inside the widget, there are helpful links to the documentation.
It is also very easy to switch between counting down and counting up.
You can change the colors, the size of the timer, and the border radius. This makes the countdown timer flexible enough to fit your own design.
You must check the last checkbox: Remove link, otherwise there will be a link to the plugin authors website below the timer.
This is what the timer looks like on the website, with the default settings:

In comparison to T(-) Countdown and Countdown Widget, this plugin only updates the timer when a page is refreshed. The countdown does not change in real time. Also, If you want to change the colors of the plugins timer, you have to buy the pro version.
Conclusion
We recommend T(-) Countdown if you already know HTML and CSS, and if you only want to use one countdown timer. The Countdown Widget plugin is easier to use for beginners.
Want more options with details? Check out our hand-picked list of top WordPress countdown timer plugins to boost your product sales.