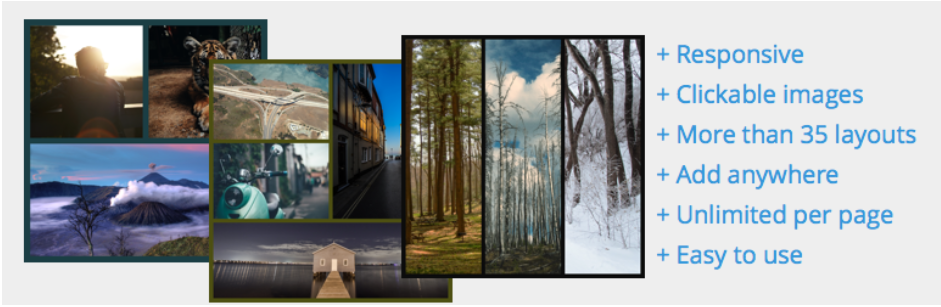
Creating and adding an image collage to a WordPress post or page has never been easier.
With Easy Image Collage, a free WordPress plugin you can with ease spice up your page or post or just about any custom type with responsive image collages.
In this article, we shall show you how to create and add an image collage to a post of a WordPress website.
Step by Step: How to create an image collage in a WordPress post or page?
Install Easy Image Collage plugin
Login to the admin area of your WordPress website, in the search bar, enter Easy Image Collage.
When the results load, look for Easy Image Collage, it should be on top of the results as in the image below.
Click the Install Now button, give it a few seconds, then Click Activate.

Create an image collage
Once the plugin is activated, you are now ready to create an image collage.
Open the post or page you want to add your image collage to. Here I am using the new Gutenberg editor.
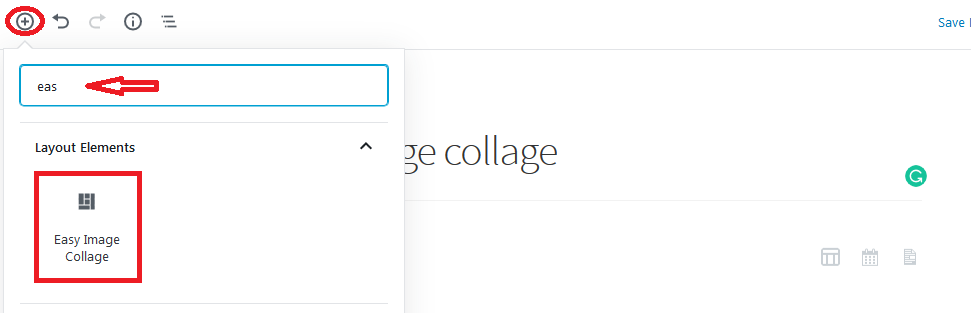
Click the add Blocks Icon on your post or page. Under layout Elements, you should see Easy Image Collage. Alternatively, start typing it in the search box, then click Easy Image collage.
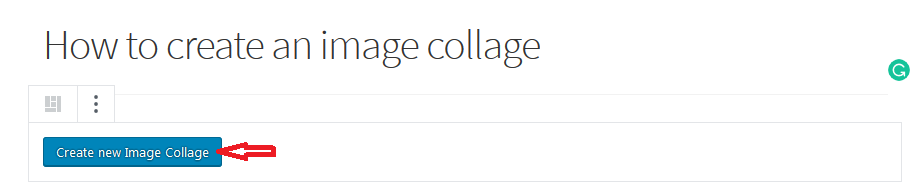
Click on Create new Image Collage.
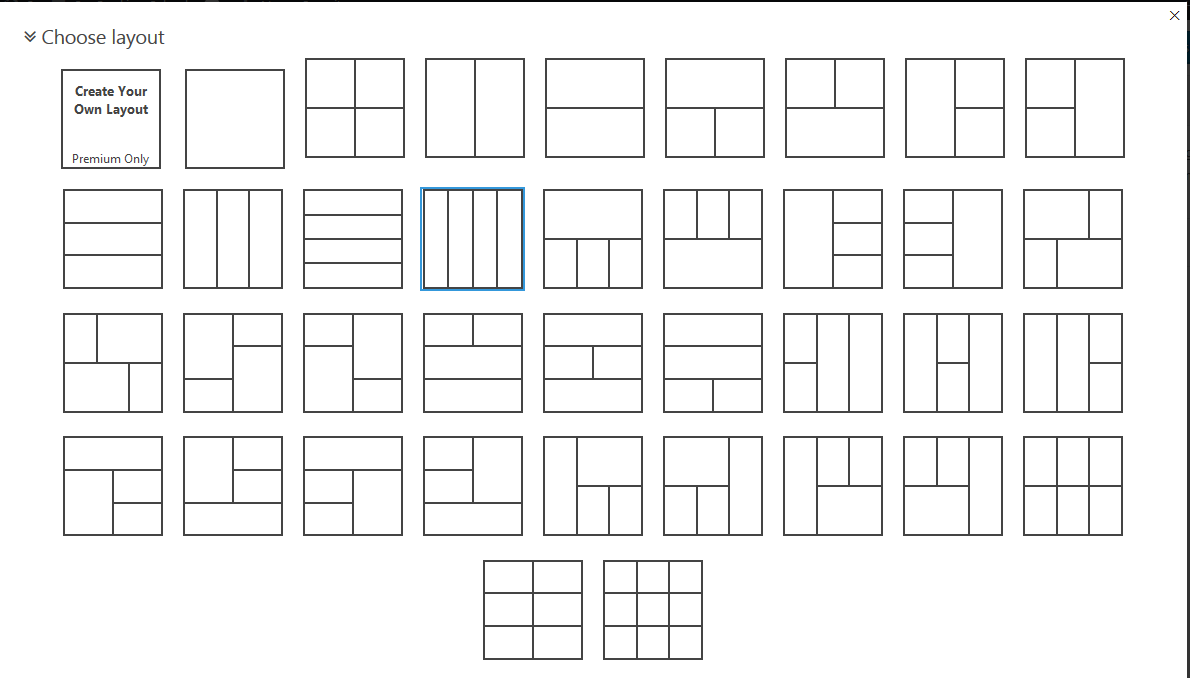
On the popup screen you are presented, choose the layout for your image collage.
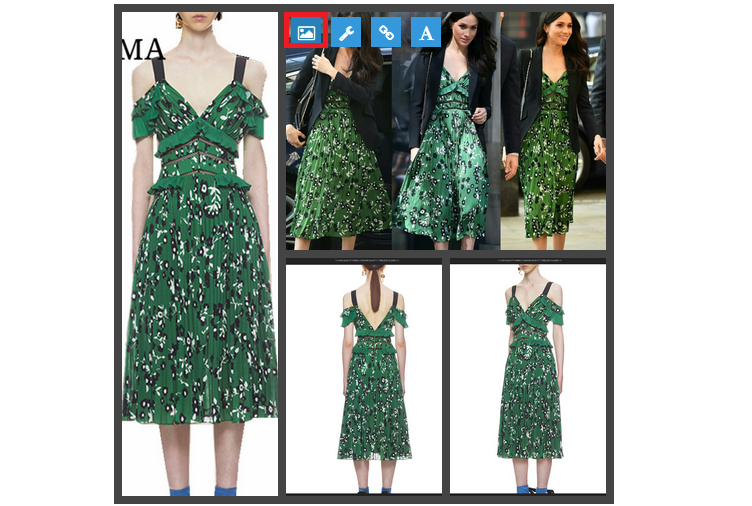
Next, you can add images to your collage. Hover over each grid, then click the picture Icon.

You are then taken to the WordPress media library, where you can upload pictures from your computer or choose images from your media library.
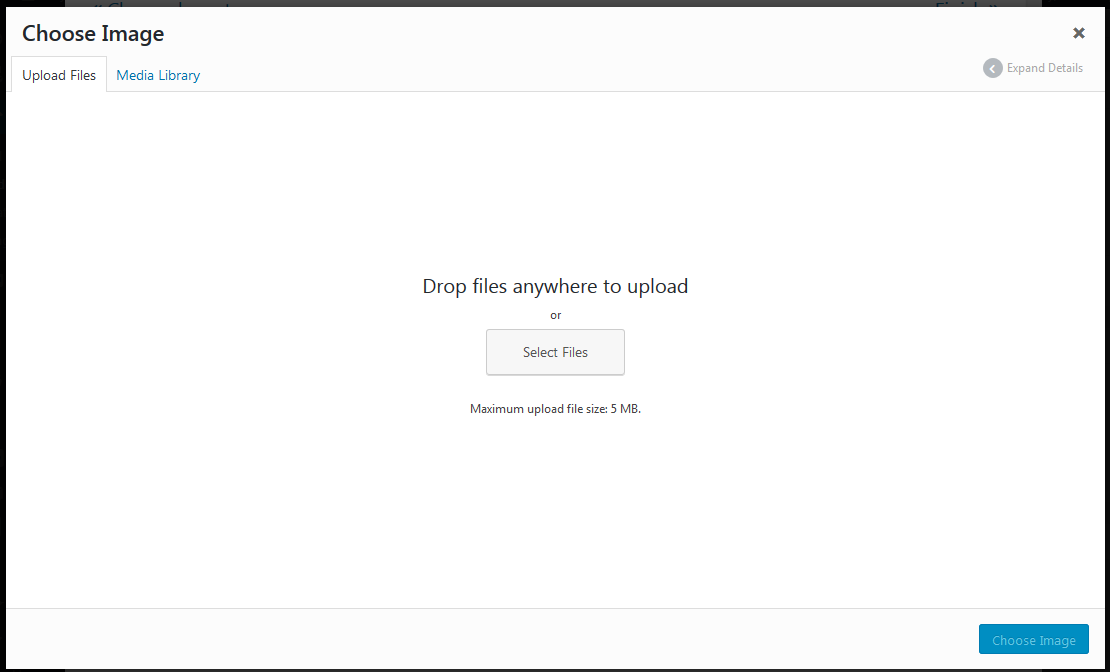
After selecting your image, do not forget to click Choose Image.
The picture will be added to your collage, continue to add images to all the grids.
To change a picture in a grid, hover over the grid then click the Image icon to change the picture.
When you are through adding pictures to your grid, Click finish on the upper right corner.

You can also go back to the previous step to change the layout by clicking – change the layout on the top left.
When you click Finish, You are taken back to your post or page, where you can continue creating your post.
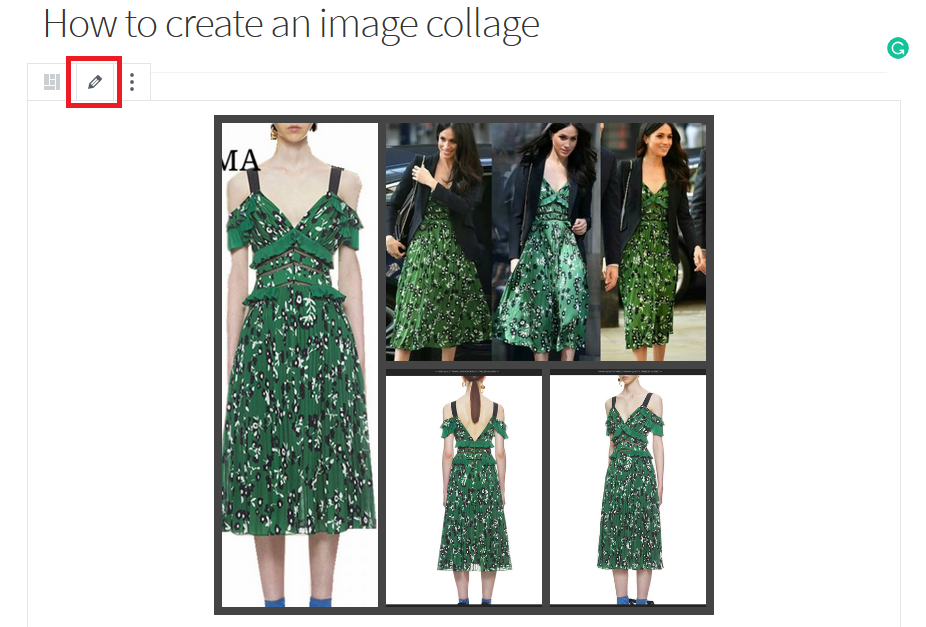
Tweak the image collage
If you need to make a change to your image collage, click the pencil icon above the image collage block. See the image below.
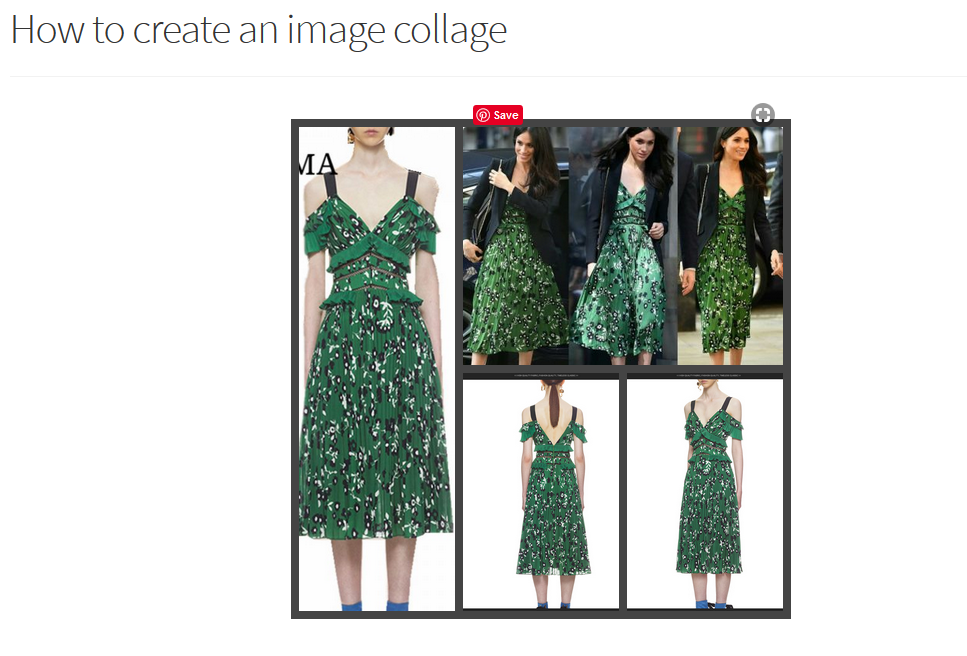
If you are satisfied with everything, then publish the page to view your image collage as will be seen by your visitors.
The image collage on post will look like this from the front end.
If you do not like the look of your final product, go back and edit the collage. You change the layout of your collage and also tinker with the grid options to get what you want.
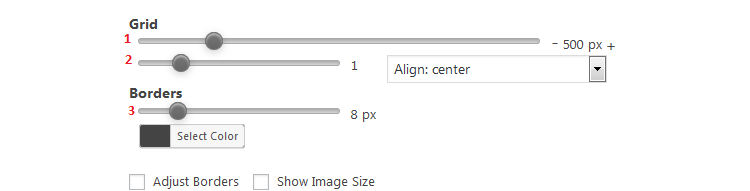
I skipped discussing the grid settings earlier as it would not have made sense then. I hope it can be more evident now.
- Grid width – Magnifies the whole image collage.
- Grid ration – Shrinks the image collage
- Border width – Slide to the left for a borderless picture and further to the right to increase the borders between the images. If you are using a border, you can also set the color of your borders.
The grid alignment positions the image collage on the page depending on your settings. This can be centered, which is the default, or positioned to the right or left.
There are other several settings you could make, but, most of these are only available for the premium version of the plugin users.
Create many posts with the same setting for image collages
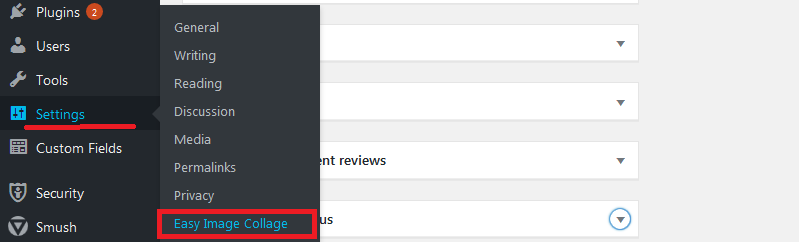
If you are creating many posts or pages with the same settings for your image collage, then define all these settings in the settings page, when you now build your posts or pages, you will not need to make modifications on each post you create.
To access the settings page, Navigate to Easy Image Collage, under settings on your left menu.
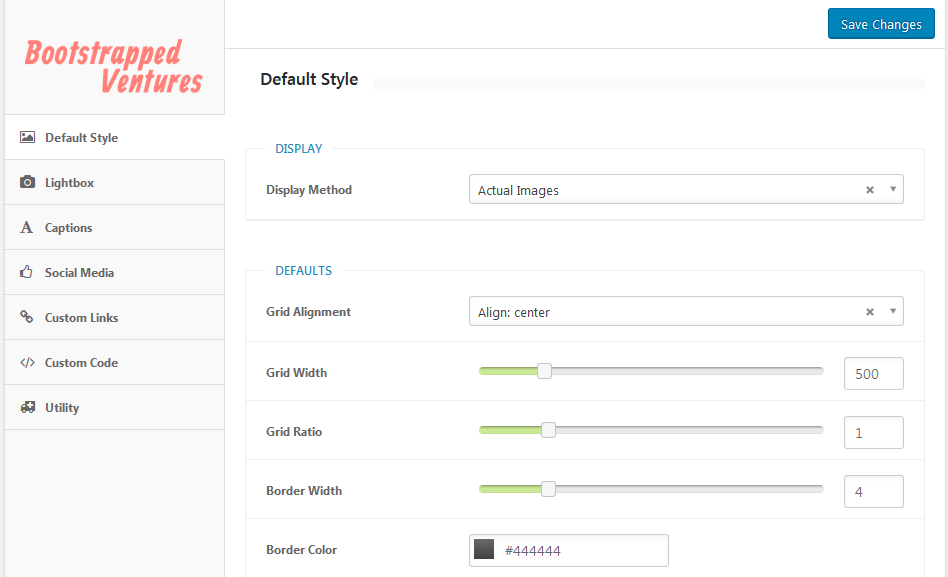
Set your default settings here; you can define the grid alignment, grid width, Grid Ratio, Border width, and border color.
This ideally is the same settings as the ones on your post or page collage edit screen.
Next, you can add a Lightbox. This creates a clickable image that opens the image in a popup form.
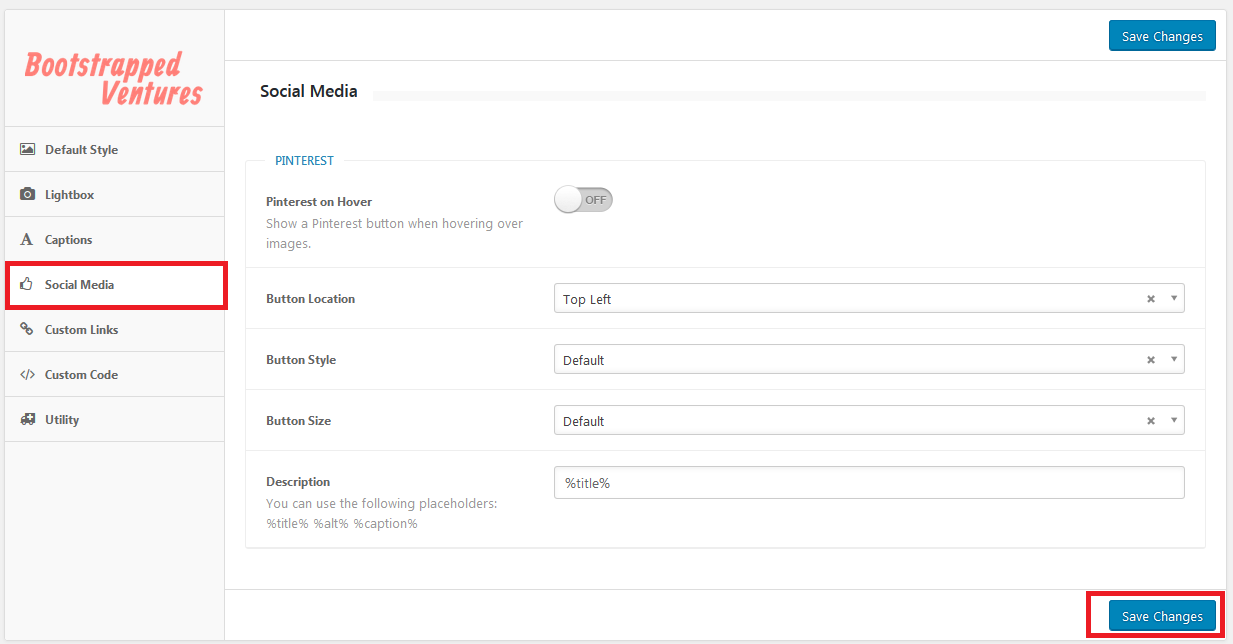
Under social media, you can add a Pinterest button that is when your visitors hover over the image.
Captions and Custom Links are only available on premium packages.
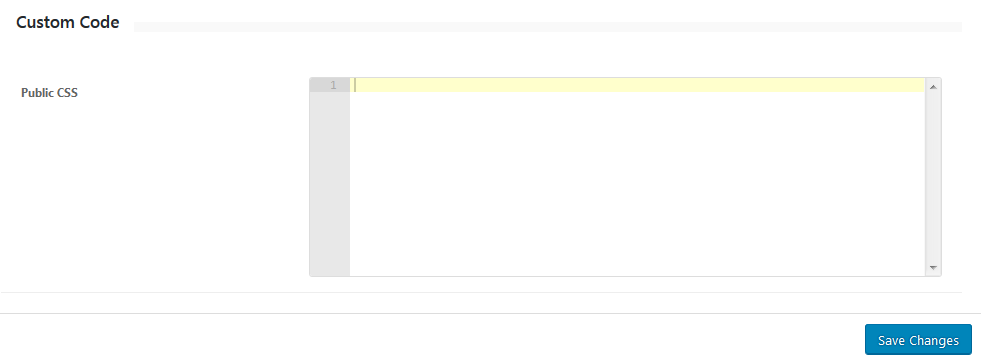
Custom code; you can enter your code here.
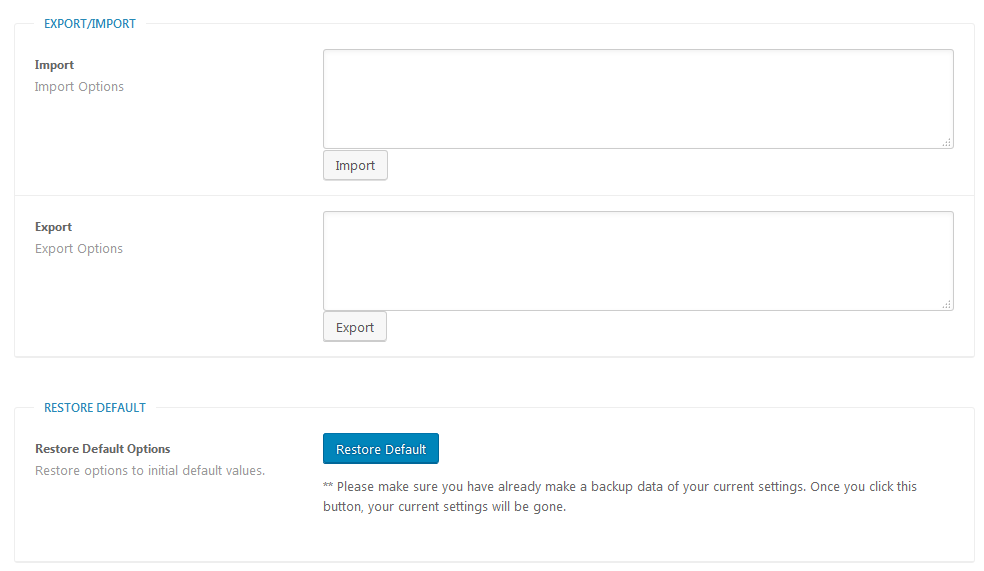
The Utility tab provides you a place to import and export your image collages or restore the plugin settings to its default settings.
Conclusion
We have created a beautiful and responsive image collage. You should also be able to add them on to your posts or pages.
You could also check with your theme, latest WordPress themes and page builders do provide many elements that one can use to create a compelling image collage on a WordPress page or post.
Besides your theme and page builder, most grid plugins will allow you to create an image collage.
If you do have any queries or thoughts, you can leave them in the comment section below.
If you are up for some experimenting, then check out these plugins too.
WordPress Gallery Plugin – NextGEN Gallery
Image Photo Gallery Final Tiles Grid
Tiled Gallery Carousel Without JetPack
And more in our list of the best free WordPress image galley plugins to help build beautiful galleries