You have seen those beautiful portfolios and blogs that quite don’t use the default display options of WordPress and wonder how they did that.
Well, today in this article you are going to learn how to quickly display posts as a grid layout.
Recently a client gave us a brief for their project, and one thing they wanted was, a display their blog posts the way another website displayed their posts – in a grid layout. The problem was the theme we were using did not support that kind of grid.
When you get specific requirements of this kind, we often have two options, look into the available tools that can do this or build the feature from scratch.
Like all other WordPress projects that required posts or pages or just about any page type to be displayed in a grid layout, a powerful free plugin comes in handy – Post Grid.

Post Grid
Post Grid is a plugin available for WordPress websites that will allow doing just this, display posts as a grid layout.
With it you can create beautiful portfolio pages, blog landing pages, category pages and just about any kind of page where you want a collection of similar content on one page in a grid.
1.Install post grid
I will assume you know how to install plugins in WordPress.
2.Configuring Post Grid
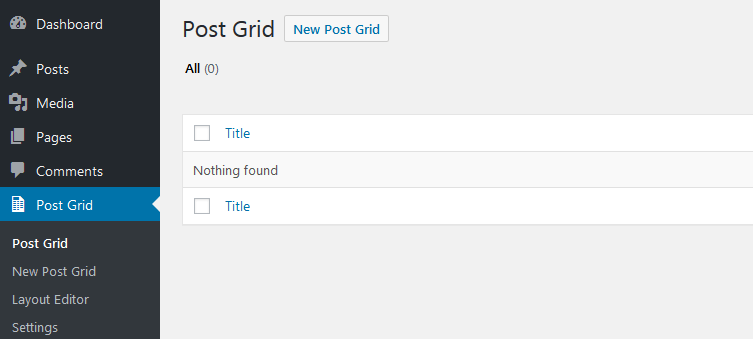
Once Post Grid is installed and activated. On the Left Menu look for Post Grid.
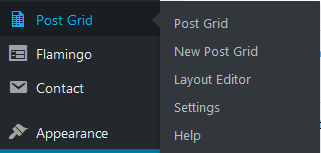
3.Settings
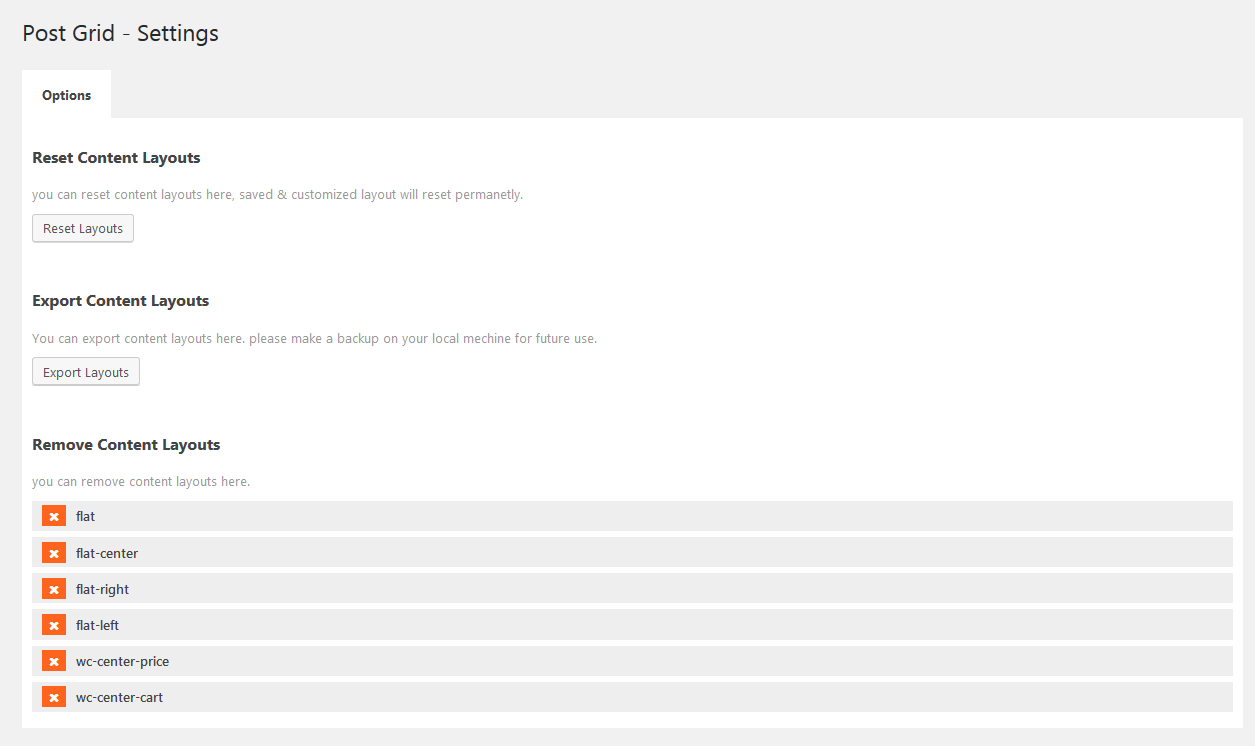
From the settings page you can reset your layout settings to the default settings, Export your content layouts or delete layouts.
4.Layout Editor
This is the section of Post Grid that you design how you want to display your content. By default, Post Grid comes with 6 Layouts that you can use as is, or edit to your liking.
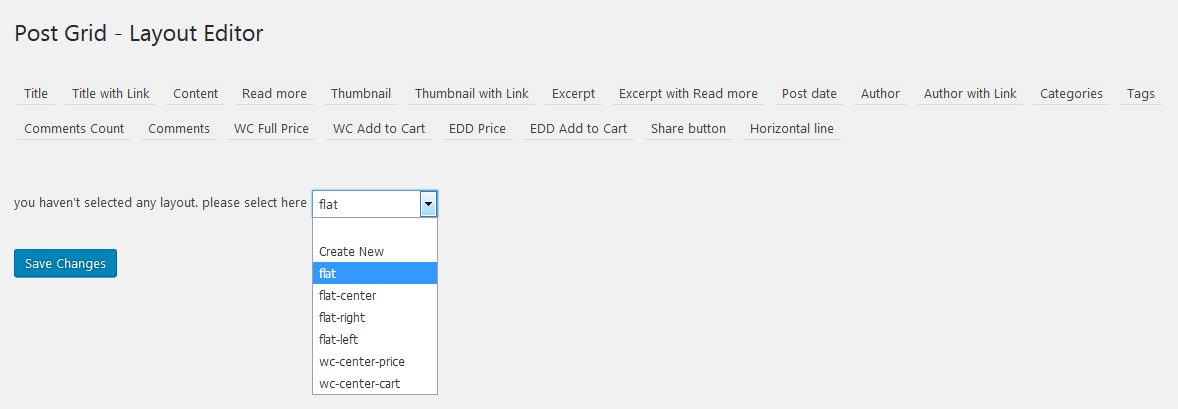
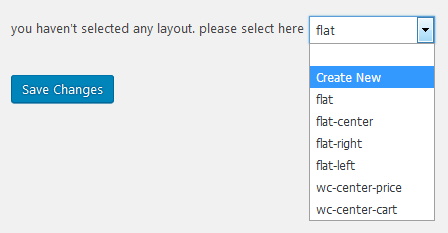
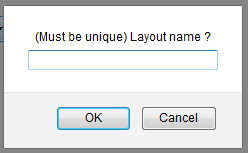
a.Add a layout.
To create or edit a layout, from the Post Grid Layout editor click Create New
b.Add A name
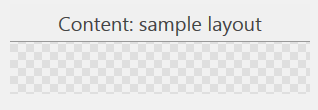
c.Our new layout will be displayed where we can now add the content we want.
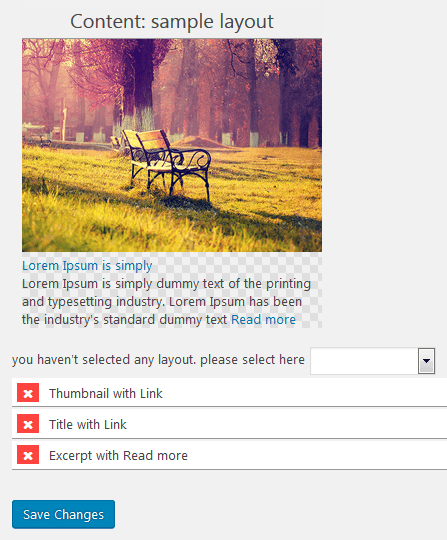
d.To add content, Click the + next to the content type you want to add to your layout.

e.When you have added, you should see a preview of it. Then click Save.
5.Add A New Post Grid
Once you have chosen or created a layout of how your content should be displayed, we can now create a New Post Grid that we will add to our pages or posts.
To do that, you can either Click New Post Grid on the Left, or From Post Grid dashboard, click New Post Grid.
Add a Title to it, and then we consider the Options available for us.
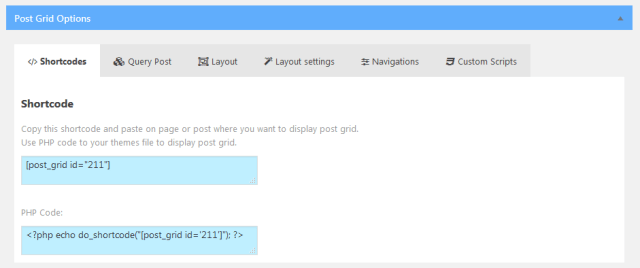
a.Shortcodes
This is the code you will paste to the page you want to display your grid.
b.Query Post. From this option, you pick the Post type that will be queried and added to your grid.
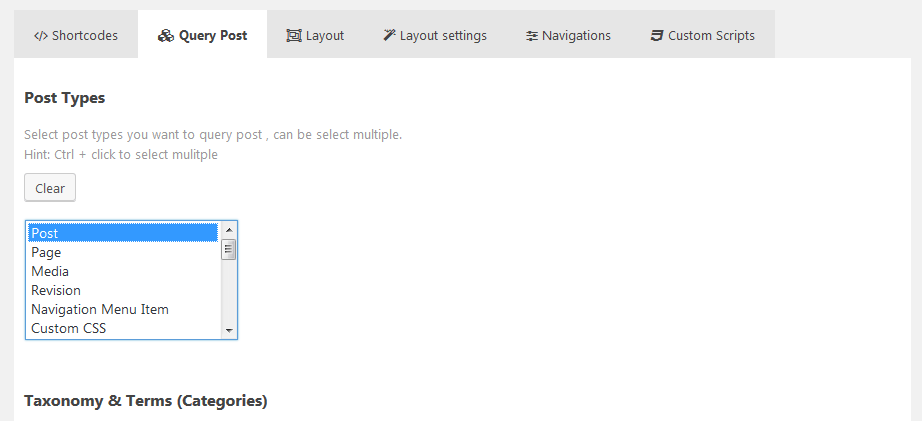
You define the post type, taxonomies for the Post categories, terms, post status – whether published or not, the order of query – ascending or descending, and couple more options as you wish.
c.Layout Options
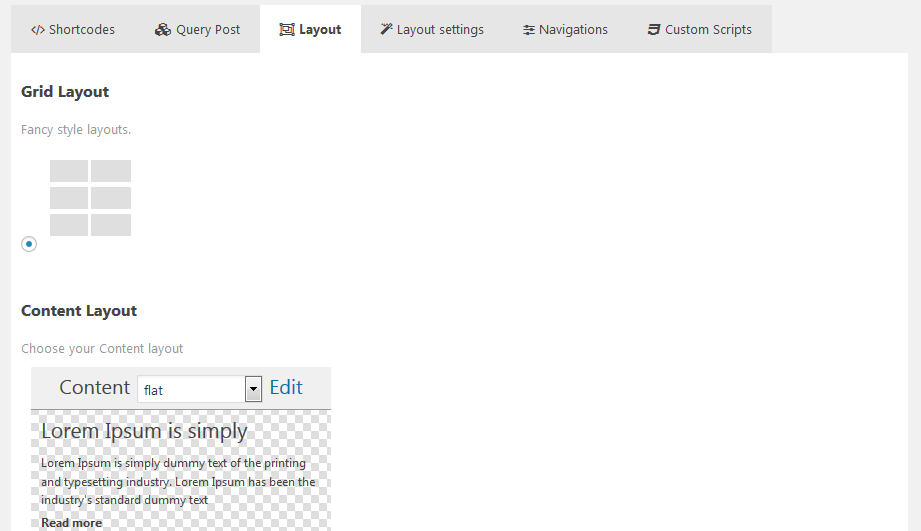
From the layout options you choose: the Grid layout – for the Free version of Grid Options -, Content Layout – Pick the Layout you prefer or the one we created earlier, and finally choose the skin for your grid.
d.Layout Options settings
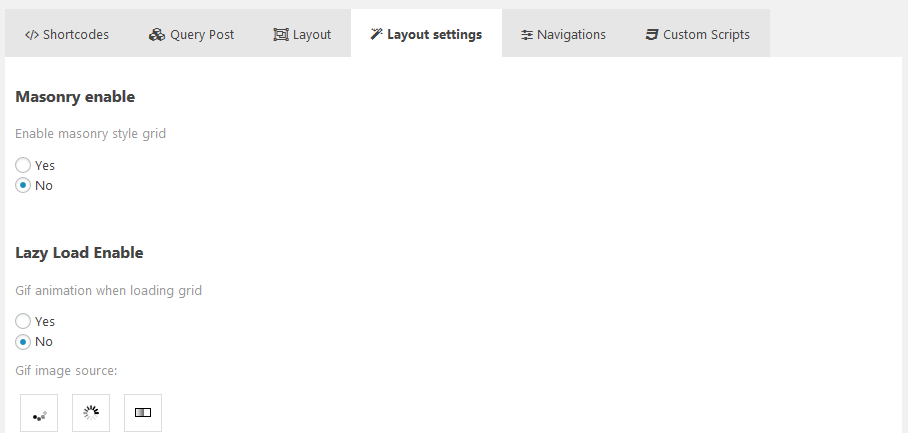
From the layout options settings, you can: enable or not the Masonry Grid style, Lazy Load, define the item width, height, margins, background colors, choose the source of the featured image if the grid layout you created requires one and then the size for of the image.
e.Navigations options.
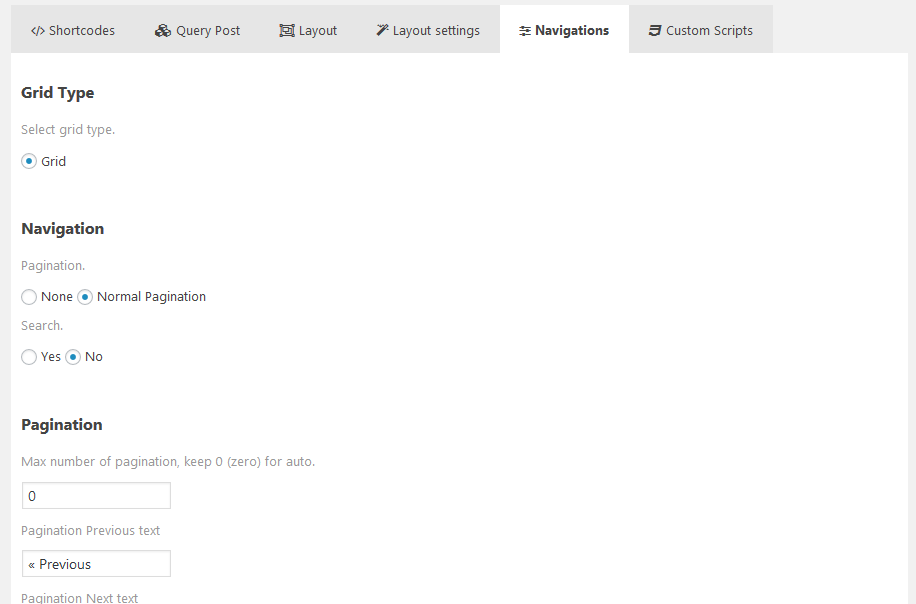
From this option you: Choose the Grid type, Navigation and pagination.
f.Custom Scripts.

Advanced users can add their custom CSS code and JavaScript here.
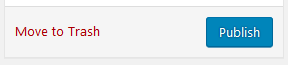
g.Finally click the Publish button to save your settings and create the Post grid. After it is published copy the short code, we shall use it in the next step.
6.Adding Post Grid Layout to your Post or Page
With the Short code we copied earlier, all we have to do now is go to the page or post we want to add our new grid and paste it there.
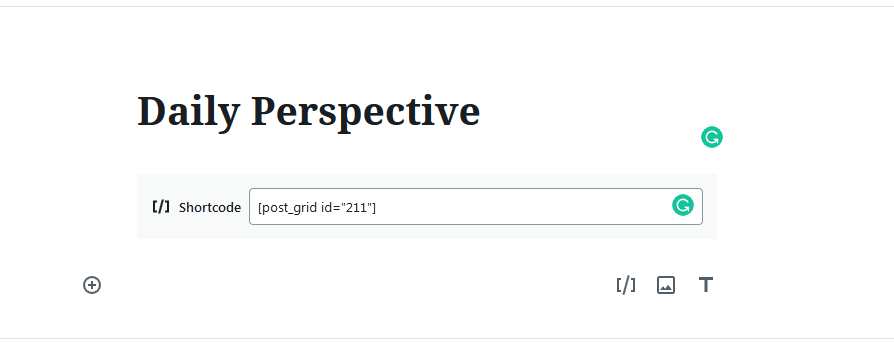
Update or Publish the page or posts, then, view the page to see the results.
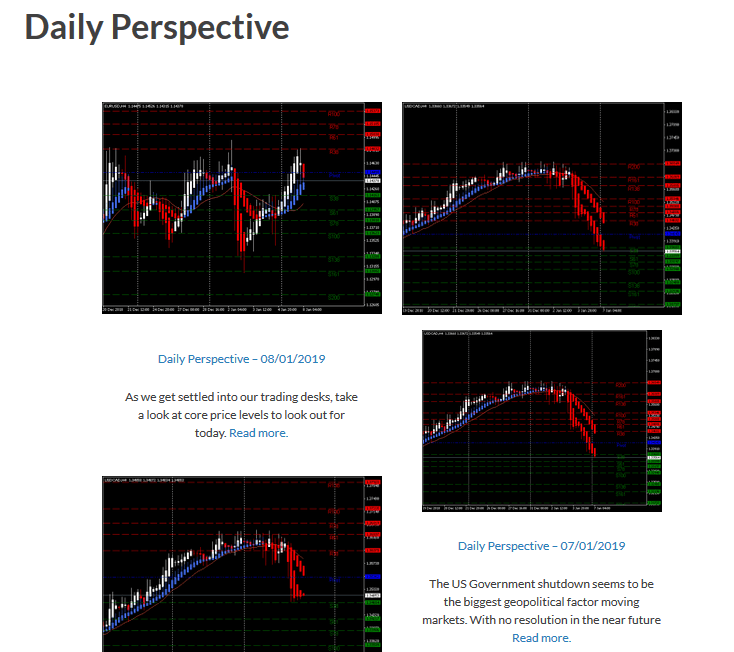
There you go. That’s how you display posts as grid layout on a WordPress website.
If you do not like how your results look – like I don’t like how mine looks like – head back to the Grid Options and go through the steps above to design the perfect layout.
Having the freedom and flexibility is something we want to have over how our content is showcased. Post Grid plugin does give us this power to display posts in a grid layout without worrying about code.
Installing it is easy, configuring it can’t be any easier and in minutes you have a great landing page or portfolio with similar content organized as you wish.
The free version of Post Grid is powerful enough for typical needs; however, if you wish to do or have more, like more skins to choose from, choose more grid styles to display your content, display WooCommerce content in a grid layout and much more, then you can purchase the premium plugin with prices starting at $19.
If you want to explore other options, the first place you would want to check is with your theme. Most themes especially premium themes come with the ability to display your posts in a grid layout.
If it does not natively do it, check if it came bundled with a premium plugin that will enable you to display your posts in a grid layout.
One such popular premium plug-in shipped with most premium themes is The Grid.
Hopefully this guide has helped you learn how to display posts as a grid Layout. However, if you are using the new WordPress Gutenberg editor, you will need to follow another guide to extend Gutenberg editor to display A grid or list of posts.