First and most importantly we are thrilled that you chose WPvivid Backup Plugin to manage the backups of your website.
Our desire is that this plugin gives you the peace of mind that you will be back on to your feet no matter what happens.
In this guide we shall take you through the installation, setup and configuration of your backups.
How to install WPvivid Backup Plugin
Like any other WordPress plugin, WPvivid Backup Plugin can be installed in either way that is compatible for you.
Installing the plugin is straight forward and easy. If you have ever installed a plugin, then it is pretty much the same process. If you have never, then typically this is what you would do; choose any one method to install the plugin;
- Download the WPvivid Backup Plugin files from WordPress.org. Login to your cPanel or any other control panel, Browse to WP-Content, Plugins directory, Upload and extract it there. Next, head to WP-Admin or your WordPress backend, from the left Menu go to Plugins, Search for WPvivid, Install and activate it.
- Download the Plugin files from WordPress.org, Go to Plugins on your website’s backend, Plugins, add plugin, and upload the zipped file. Then activate it.
- Go to Plugins, Add plugin, in the search bar type in WPvivid Backup Plugin, click install and activate.
Configuring the general settings.
After activation, the plugin can be found on the top bar or the left side menu bar.
Click WPvivid > Settings
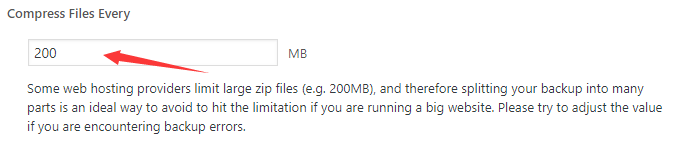
1. Split Size
Every host has different file size limitations; set your size limits considering that.
WPvivid Backup Plugin will then split the files as it creates the backup.
2. The size for excluded files
You can configure WPvivid Backup Plugin to ignore files of a certain size from the backups created.

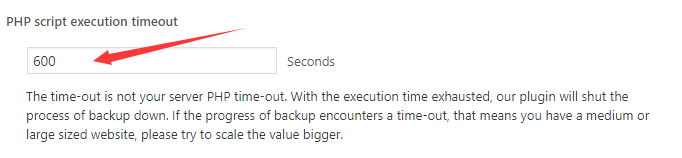
3. PHP script execution timeout
Set the PHP script execution timeout here. After the set time, the backup process will be stopped.
Set a higher timeout for large websites.
In case your backups keep timing out, increase the time.
4. Backup retention
Define the total number of backup copies to be retained on the backup destination.

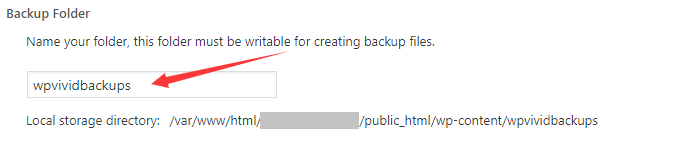
5. Backup folder
Provide the folder name where you backup files will be stored.
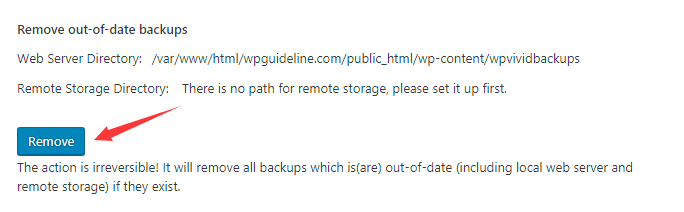
6. Remove out of date backups
Click the Remove button to delete outdated backups.
7. Creating a Backup Schedule
If you want WPvivid Backup Plugin to backup your website automatically – recommended. Then it is from here that you set it up.
Check the checkbox to Enable Backup Schedule.
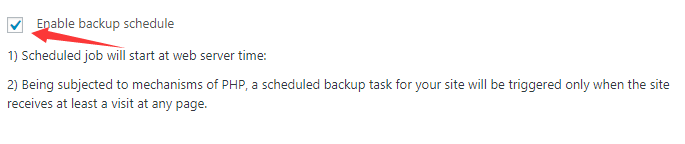
You will then be given the options to so set the backup frequency, choose the backup items and, backup locations.
The backup Frequency, allows you to specify how often backups will be created, you have the choice of every 12 hours, daily, weekly, fortnightly and monthly.
This could be guided by the frequency of your website updates.

-
Choose a partial or full backup
A partial backup is if you want to backup either the Database or just the website Files.
A full backup will backup both the database and the website files.

-
Setting the backup locations
WPvivid Backup Plugin supports both local and cloud storage backup locations.
We currently support Amazon S3, Dropbox, Google Drive, Microsoft OneDrive, DigitalOcean Spaces, FTP, and SFTP.
Save backups on localhost(web server) saves your files to the same server your website is hosted.
Send Backups to remote storage – will backup your website on the cloud storage account your will configure next.

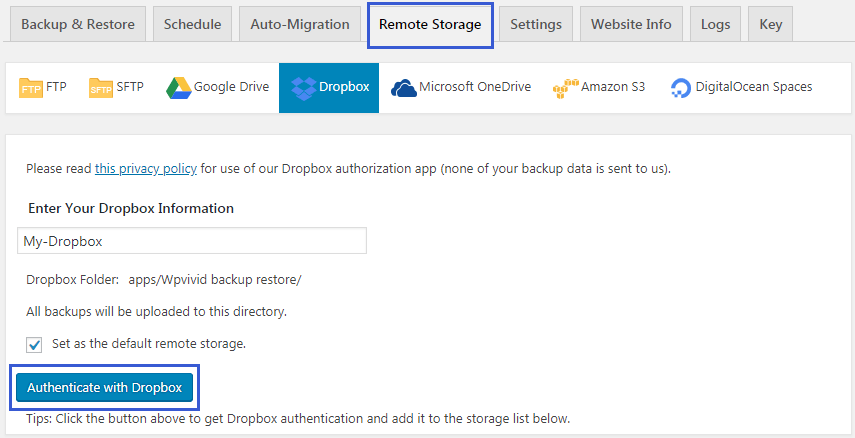
If you chose the second option, Next, click the Remote Storage tab and choose the preferred cloud storage you’d like to connect to.
Provide the required information of your remote storage provider. If you have multiple storage providers configured then, check Set as the default remote storage option.
After that, click the Authenticate button to continue.
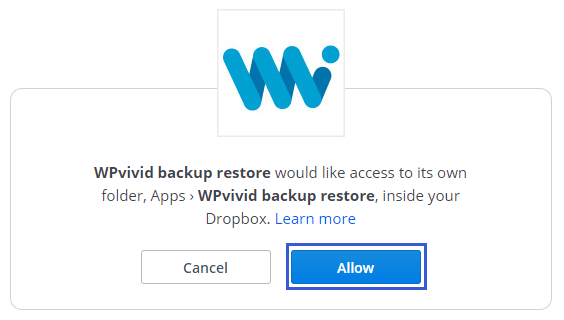
The next steps will be completed by your remote storage provider.
For the case of Dropbox, you will be presented with a warning page like the one below, click the Allow button to continue.
After that, you will be redirected back to the plugin page and will be notified that success of connection.

Go to Remote Storage tab and scroll down to the Storage section, then you should see that Dropbox has been added as one of your remote storage providers.
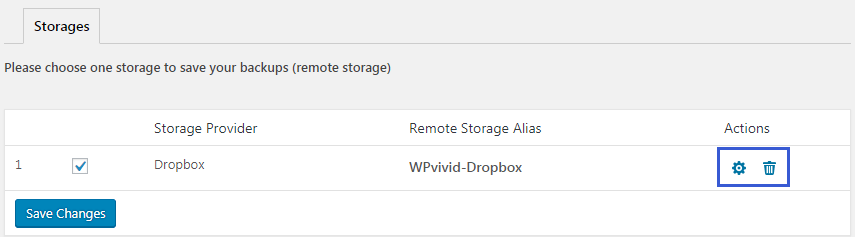
You can also perform the actions, including changing the alias for the storage, setting one as the the default storage if you have multiple storage connected, and removing a storage from the list.
8. Archiving options for the different hosting types
Decide what archiving options here.
Only archive without compressing is recommended on shared hosting accounts because of the lower CPU usage.
Compress and archive – uses more CPU resources and is therefore only recommended on a VPS or dedicated hosting environment.

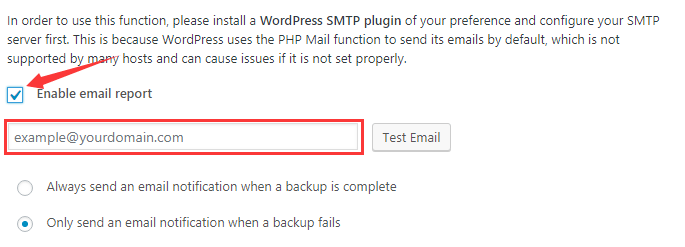
9. Email report
To be notified after a backup is processed, enable this option.
You can then choose to be notified by email when a backup is completed or only when the backup fails.
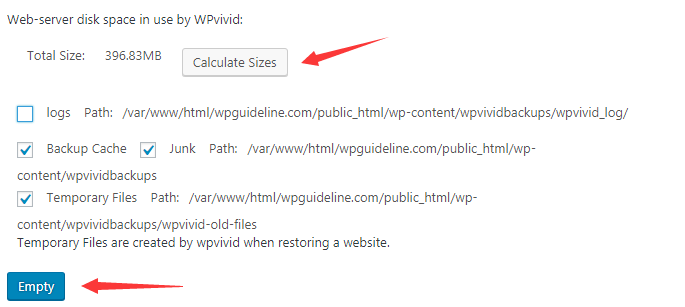
10. Clean junk files
WPvivid Backup Plugin lets you do some housekeeping after backups and restorations.
Calculate Sizes shows you how much space on your servers the backups are occupying.
Choose the several options available then click the Empty button to free up space by deleting junk files from your server.
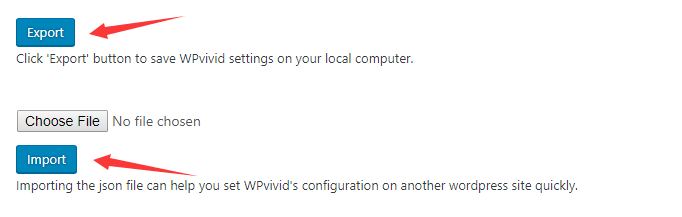
11. Export/Import settings
You can export your settings, saving a local copy to your server which you can easily import if you ever needed to configure WPvivid Backup Plugin on another website.
Finally, click the Save Changes button to effect your configurations.
WPvivid Backup Plugin will from now on create automated backups based on your settings. You can also create a backup manually at any time you need.
WPvivid Backup Plugin also offers one-click restore feature and automatic migration feature, all free to use.
Hi Support,
When the backup is in progress, will closing (navigating away from) WPVivid page on WordPress admin panel affect the backup process?
Hi, it will not affect the backup process. But make sure you will not do that in a restoration process, as it could trigger some unexpected errors.
Hello,
before using your plugin, is it possible to custom the name of the remote storage backup ?
Thanks
Hello, currently, there is no option for changing the default file name. However, we plan to add the feature in future release.
Hi,
in the SFTP-settings you need to use an IP for the host. However, my SFTP-provider only provides a host name (mydomain.stackstorage.com). Using my hostname instead of an IP in the settings does not work. Are there plans to add an option for using a host name instead of an IP?
Regards,
Jurgen
Hi, Jurgen
Thank you for using our plugin:)
Our plugin supports to access your server via sftp account (IP or host name). Would you please provide us an account of your sftp so that we can input the information to test it? if so, send the information to [email protected], thank you so much.