I could imagine countless businesses whose services I’ve used that could make use of an online booking system.
I asked my dentist once why his clients only had the option to make a call and then get held in a queue for several minutes to get attended to or have to drive to the clinic to schedule an appointment yet he could achieve all that online, on his website.
Like any typical entrepreneur, his response was, it is not in our budget, we can not afford it.
If you are selling a service that people have to book or schedule appointments, examples could be, a hotel business, lodging, high-end à la carte restaurants, hospital or clinic, keep adding to the list, then you can use one.
How much business opportunity do you think, you like my dentist friend are loosing by not adding an online booking system to your website.
So here is the thing, if you have a website that is powered by WordPress and you are brave enough, it is entirely free.
I will show you exactly how to add a booking system to your online service in WordPress.
From there you can move on an build a potent booking system that rivals those built with tens of thousands of dollars.
Step by Step: How to add a booking system for your online service in WordPress
We shall use a free plugin – Booking Calendar
Step 1. Install and activate the plugin
The choice of how to install the plugin is yours. If you need the files, you can download them from the wordpress.org plugin page.
In this guide, you need to login to your wp-admin area, under Plugins click, Add New Plugin.
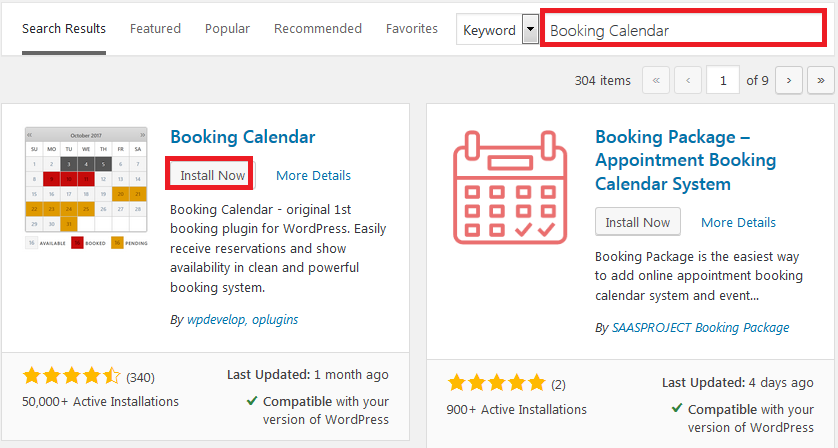
In the search bar, enter Booking Calendar.
From the results, you will see the Booking Calendar. Click Install and then Activate.
Step 2.Add the booking system to your post or page and Start using it
Upon activation, the booking system is ready for use with the default settings. All you need to do is open or create the page or post you want to add the booking system to and add it there.
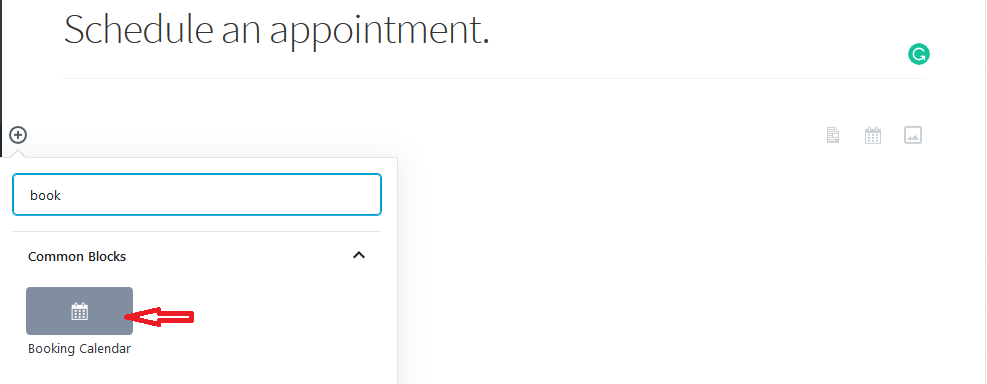
Click the Add Blocks icon, under common blocks or if you searched for booking, Click Booking calendar.
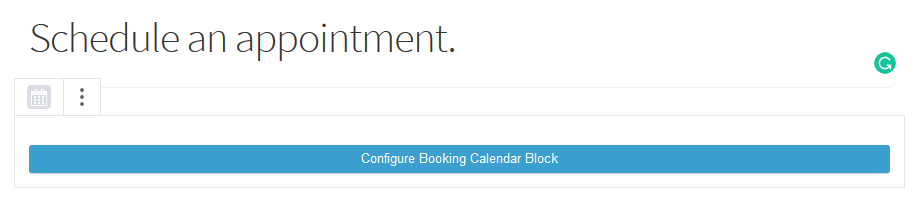
The block is added to your post, now click, Configure Booking Calendar Block.
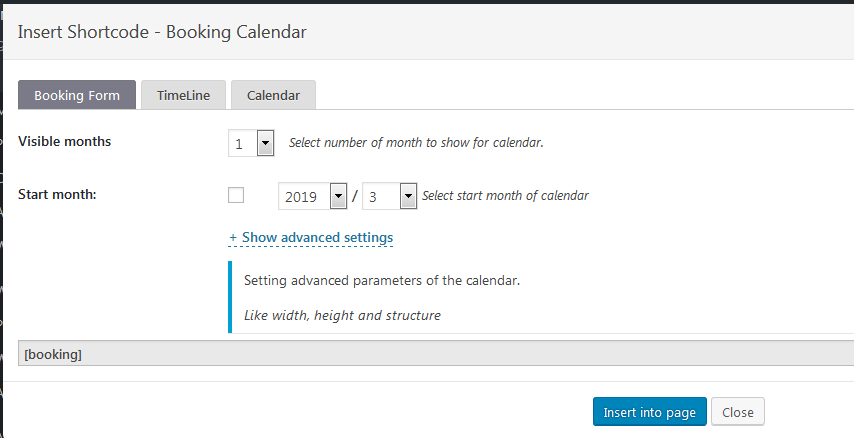
Adjust the different provisions to your liking and then click Insert into page.
Publish your page then view it to see your booking system in action.
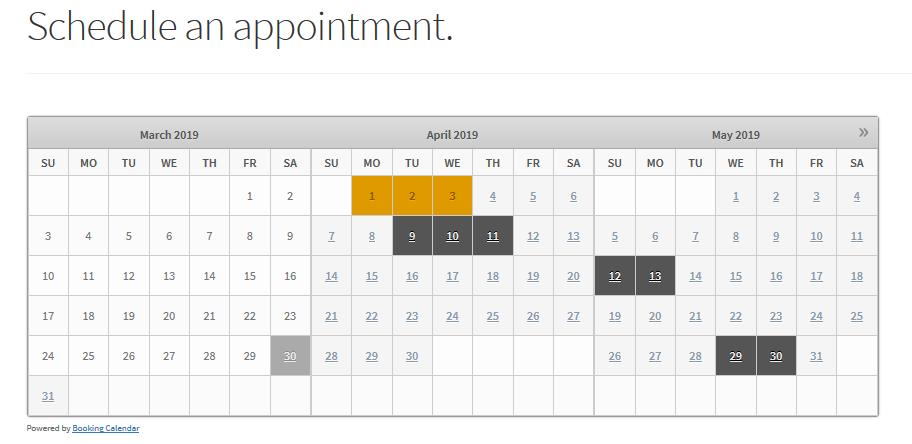
Here is my calendar, I set it to display three months, but you can choose as many or few months as you wish.
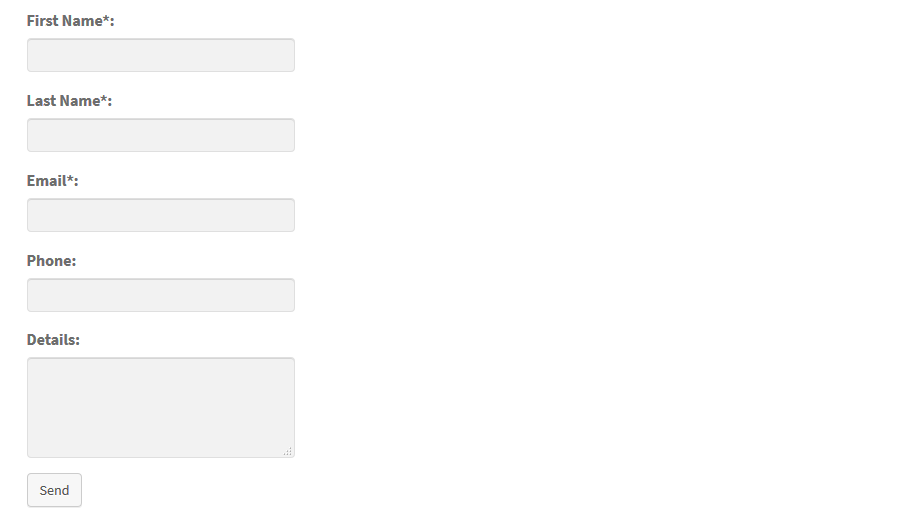
Here is the default form that clients can use to schedule appointments or making bookings through our booking system.
Add a booking system to the widgets of a WordPress website
You could also display the booking calendar for your booking system to any sidebar on your website with a widget.
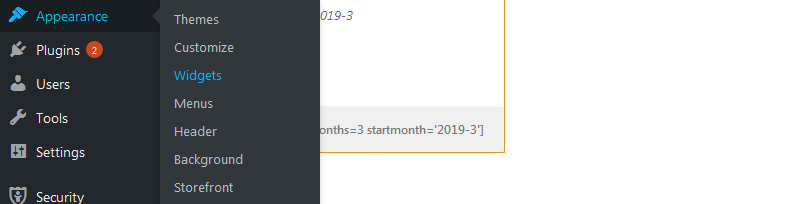
To do that, Go to appearance, then click Widgets.
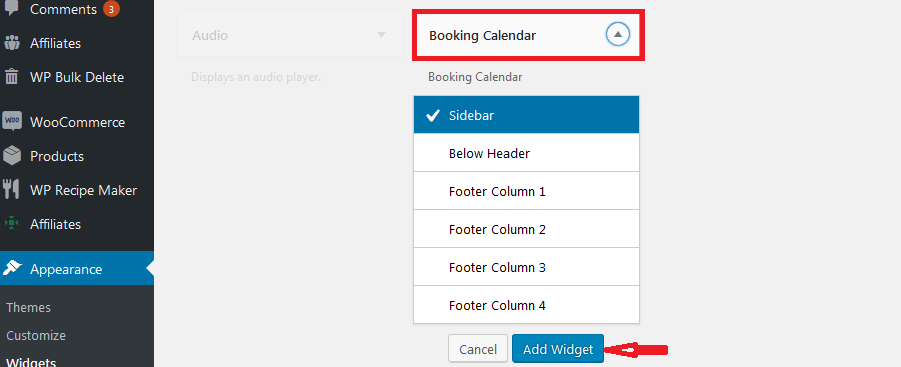
Look for Booking Calendar, click it and then choose the sidebar you want to add the booking system to and Click Add Widget.
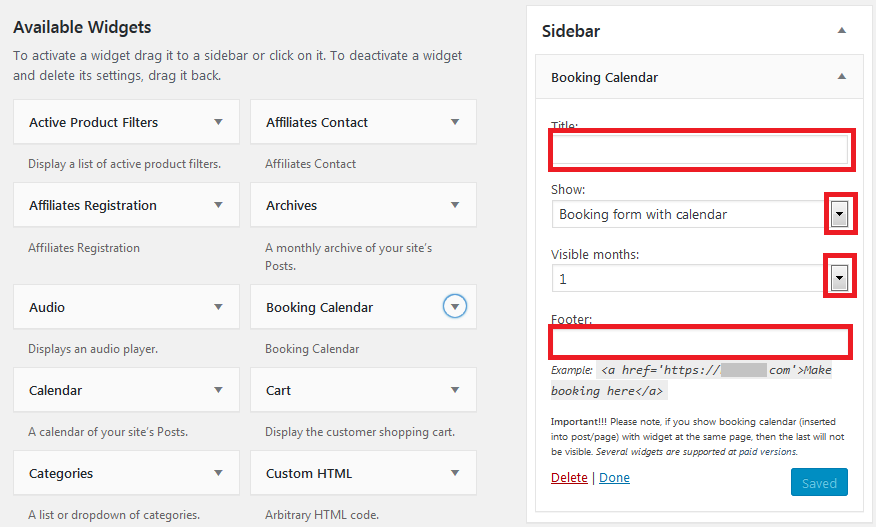
On the sidebar, Supply the required information, the title, how to show your calendar – with the form or without the form, the visible months, and if you wish, you can add a link to the footer of the calendar to any page or link.
Don’t forget to click save.
When we cross over to the front end of our website, the calendar to our booking system should be visible.
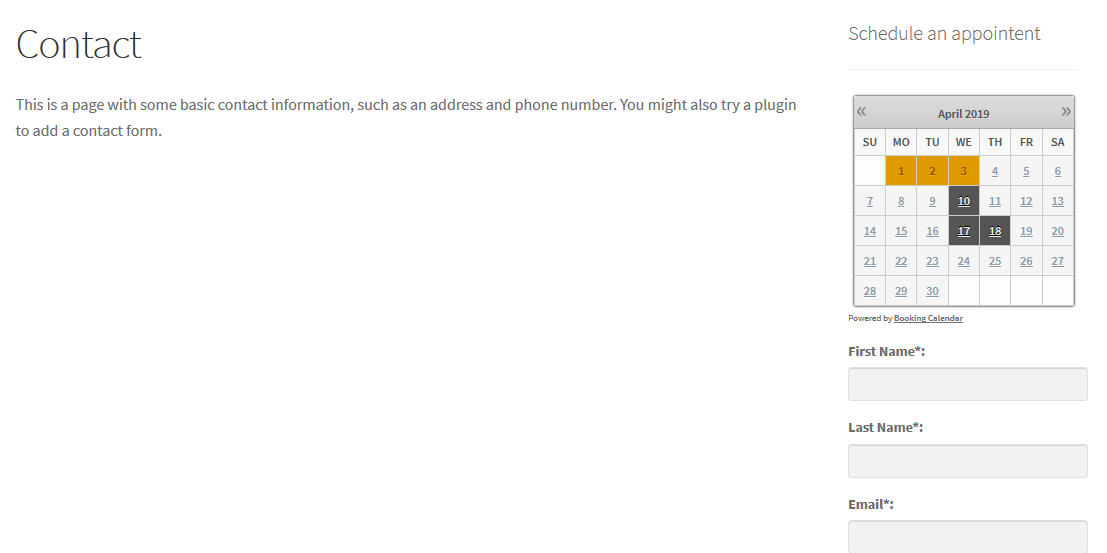
As you can see in the image above, I set my widget to display the calendar with the booking form. You can opt to have only the calendar with the available dates.
You should also note that with the free version you can not have multiple calendars or booking forms on one page.
In our case, the sidebar calendar will not be displayed on the page we earlier added the booking system to.
Step 3. If you want to customize your forms or messages – go to the settings
If the default settings do not work for you, or if you want to customize the form to meet your requirements then, you can customize it to your liking in the settings page of the plugin.
On the left menu search for Booking then click Settings.

There is a lot for you to customize here.
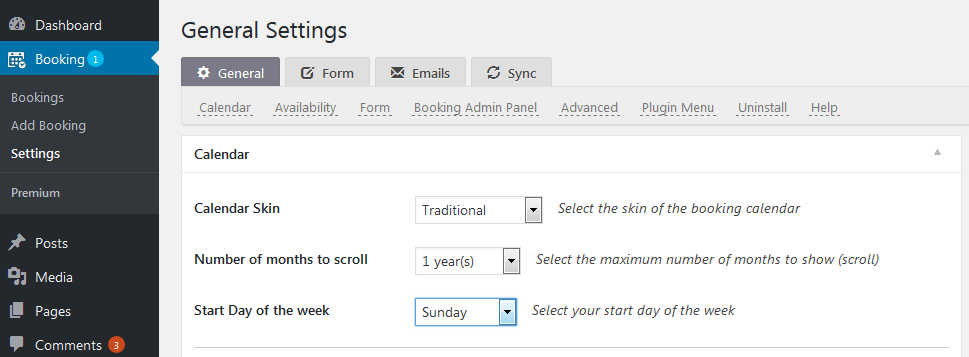
You have the General Settings of the booking system, then
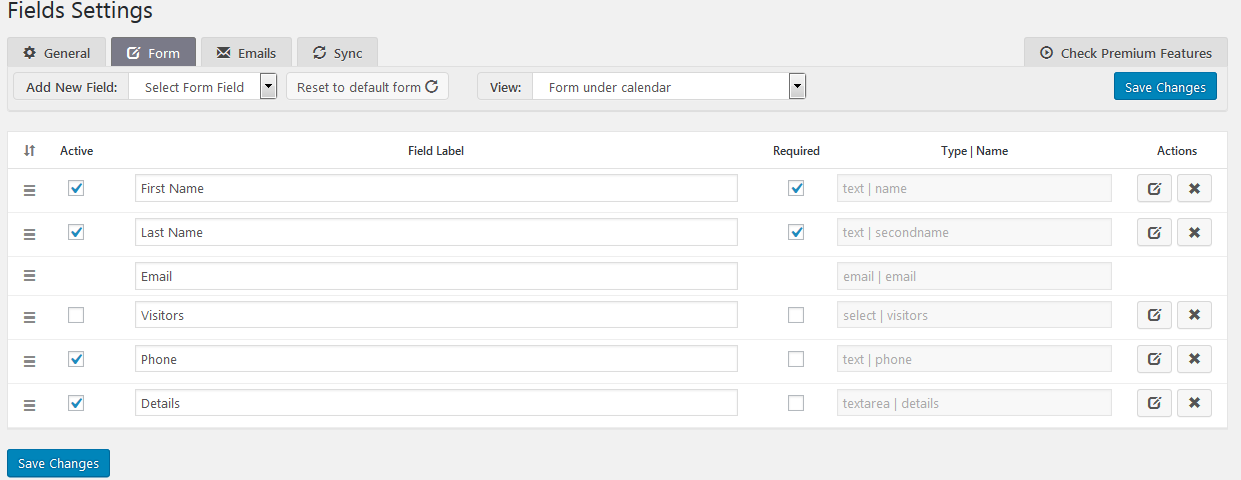
The Form, which contains the form fields and labels, add or remove the form fields as you require.
The Emails section has all the email configuration options you will need. It covers the email templates, default email accounts emails are sent out through and much more.

Do not forget to save your settings when you are done.
That is it, three steps or could I say two steps and your business is ready to receive business with an online booking system on your website at no cost to you – ok maybe a few minutes or hours of your time.
Moreover, for a developer, there is no need to reinvent the wheel, deliver a stellar product that meets all feature requirements and business functionality needs at a fraction of the time it would take you to build one from scratch.
You may also want to consider these other great WordPress booking plugins.
You should be spoiled for choice with all the available booking system plugins for WordPress.
Final Thoughts
We try to make our guides as simple as possible for everyone to work with, in case you get stuck, leave us a comment in the comment area and we shall ensure to help you out.
Just in case you are wondering, my dentist eventually deployed a booking system to their website. His dental practice has grown leaps and bounds opening two more in his home country and another in another country.
In case you are also interested, here is our picks for the best free business directory plugins to help display your service lists.