If you are looking for an easy, cost-free way to set up an age gate or verification in WordPress, then here is an article for you.
Wikipedia defines an age verification system as a technical protection measure used to restrict access to digital content from those that are not appropriately-aged. These systems are used primarily to restrict access to content classified (either voluntarily or by local laws) as being inappropriate for users under a specific age, such as alcohol and tobacco advertising, internet pornography or other forms of adult-oriented content, video games with objectionable content, or to remain in compliance with online privacy laws that regulate the collection of personal information from minors (such as COPPA in the United States)
Whether it is for compliance or appropriateness, WordPress makes it easy to set up age verification on your website with a free plugin.
We will use Age Gate for this article.
Step by Step: How to Set up An Age Gate in WordPress?
Step 1: Install and Activate Age Gate WordPress Plugin
Login to your WordPress admin area.
On the left menu, go to Plugins, Add New.
Search for Age Gate; in a moment, the results will load, under Age Gate, click Install Now, wait for a second or two and then click Activate.
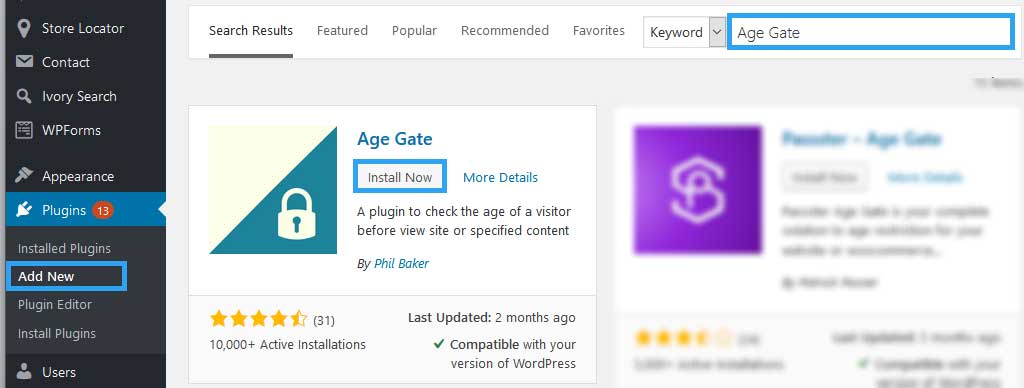
On activation, go to the Age Gate menu item to set it up.
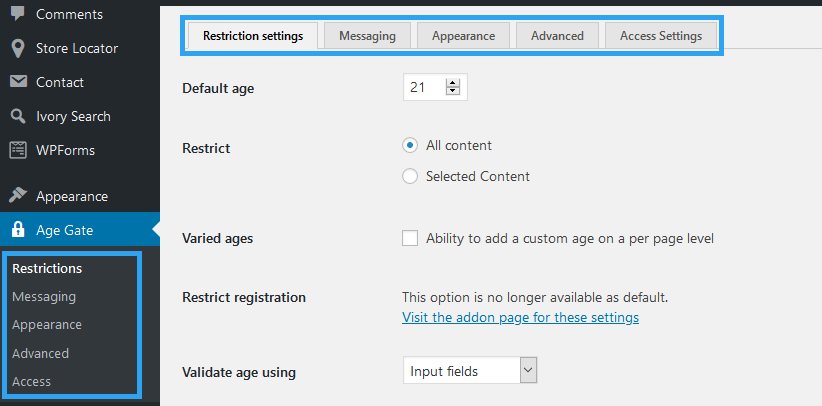
Step 2: Set Restrictions Sections
From the Restrictions Settings tab, you can set the age restrictions for someone to access your whole site or just a few sections of your website.
Step 3: Set Restriction Messages
Go to Messaging tab to set all the wording and notices to the visitors.
The most important is the headline and sub-headline fields. Write something here to notify your audience of the age restriction for your content.
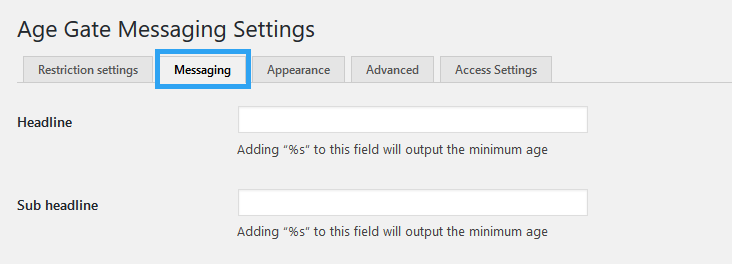
Save your settings once you are done.
Step 4: Set Restriction From Appearance
Here you set the look and feel of the restriction gate page.
You can add a logo, set the background color, or use a background image instead of a dull background-color.
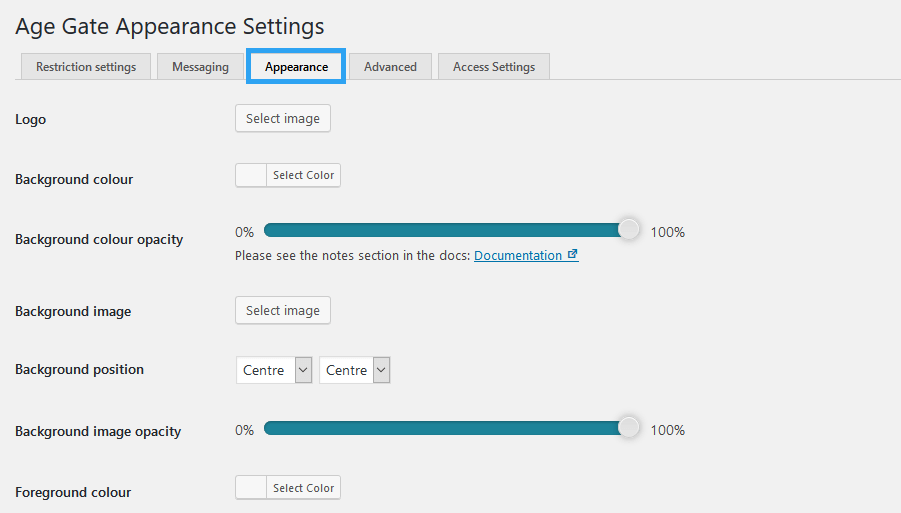
Remember to save your settings once you are done.
The next part would be the Advanced Setting.
Here you find settings you won’t typically need unless you know what you are doing.
Advanced users can also add custom styles for their page from here.
Step 5: Set Access and Permission
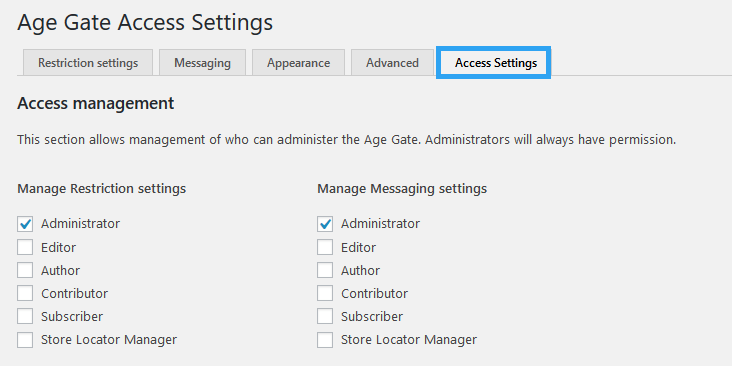
This section allows the management of who can administer the Age Gate. Site Administrators, by default, will always have permission to administer Age Gate.
It’s also in the access settings that you set whether to show or not to show the publish actions for the following post types.
If for instance, you want to gate only certain post types, say, Posts or Pages, then it’s in this section that you define them.
By default, the publish options are enabled on all post types.
Remember to save your settings whenever you make any change.
When you have, you can visit your page or website.

Age Gate is a great plugin we recommend if you are not sure if its got what you need then here are the advertised features it ships with.
- Ask users to verify their age on page load
- SEO Friendly – common bots and crawlers are omitted from age checks
- Ability to add custom user agents for less common bots
- Choose to restrict an entire site or selected content
- Select a different age on individual content
- Customize the order of the inputs based on your region (DD MM YYYY or MM DD YYYY)
- Allow a “remember me” checkbox if desired
- Ability to omit logged in users from being checked
- Add your logo
- Ability to add legal note or information to the bottom of the form
- Redirect failed logins to a URL of your choice, e.g. an alcohol awareness website.
- Ability to use a non-caching version of the plugin.
- Various hooks to add even more customization such as additional form fields
- Compatible with multilingual plugins WPML, Polylang (2.3+), WP Multilang
If none of these features don’t serve your needs, then here are more plugins you can explore to Set up Age Verification in your WordPress Website.
Final Thoughts
Finally, if you find our labor of love helpful, then follow us on Twitter for more articles and updates.
And, it goes without mention, always keep a backup for your website before you install or do anything on your website that has a high chance of distorting the normal operations.
WPVivid Backup plugin is our in-house tool with which you can deploy to ensure that your website is disaster-proof. No, other data back up plugin out there can compete with the features you get with our free version. Try it today.