WordPress has evolved over the years from a simple blogging platform to a full-fledged content management system. It allows you to create complex websites with ease and speed. Directory websites can easily be created with WordPress by using readily available plugins.
Directories serve as easy to use catalogues or databases of businesses or services. You will often find details such as pictures, locations, contacts, website links, and much more in directory listings. Business directories are still widely used despite the advent of search engines. They continue to be a relevant marketing channel for businesses and are used by many businesses as a source of backlinks and authority building.
Why You Need a Business Directory on Your website?
Directories allow visitors to easily find all options available to them and make better purchase decisions. For example a local restaurant directory is a great tool to use when unable to decide on a restaurant for eating out.
Directories are a great way to monetize your website. You can earn money from paid listings, featured listings, referral fees and even sell leads. Directories that are able to drive traffic to them can become valuable assets for owners.
One consideration that you need to take when building a directory website is the level of competition you are willing to take. The wider your directory, the more your competition. Niche directories are becoming more popular than ever.
There’s a lot of plugins you can use to build an awesome business directory on your site, I’ll use Connections Business Directory in this guide.

Step by step: How to Build Directories in WordPress
Installing the Plugin
To install the plugin simply login to your WordPress dashboard, navigate to Plugins > Add new and search for Connections Business Directory. Install and activate the plugin.

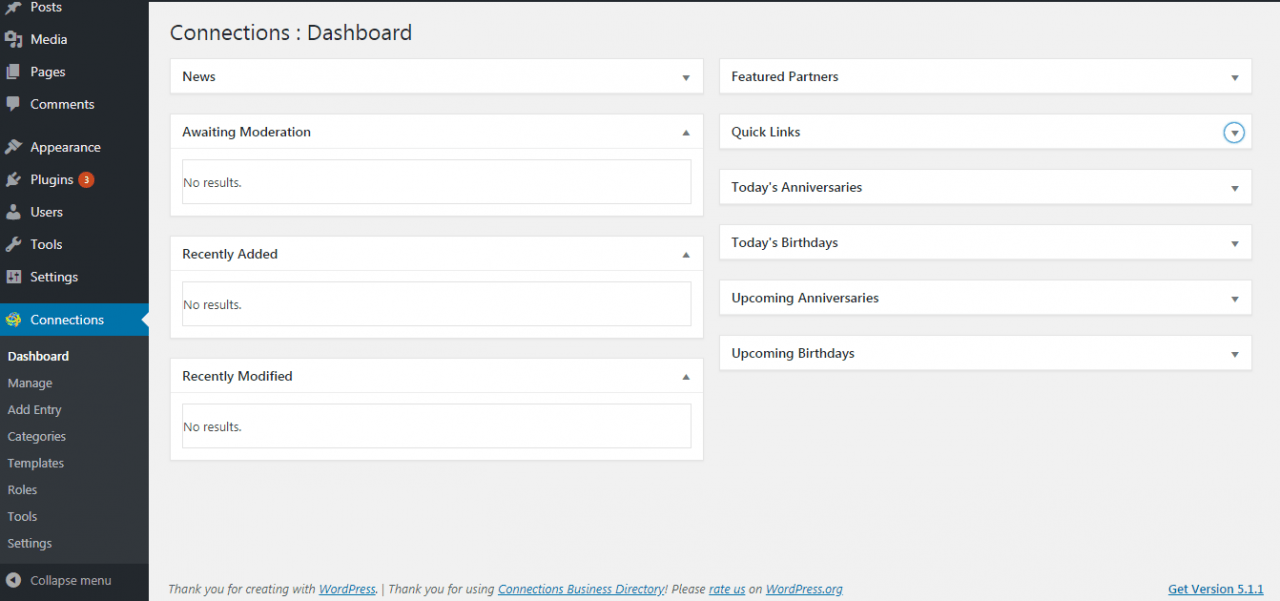
After you activate the plugin you can access it via the Connections Tab on your left hand admin menu. The dashboard has some quick information for you.
Setting up The Plugin
To start creating a business directory the first step is to configure the correct settings under the settings menu of the plugin. There are various tabs here that control various settings for the directory. We will briefly go through each tab.
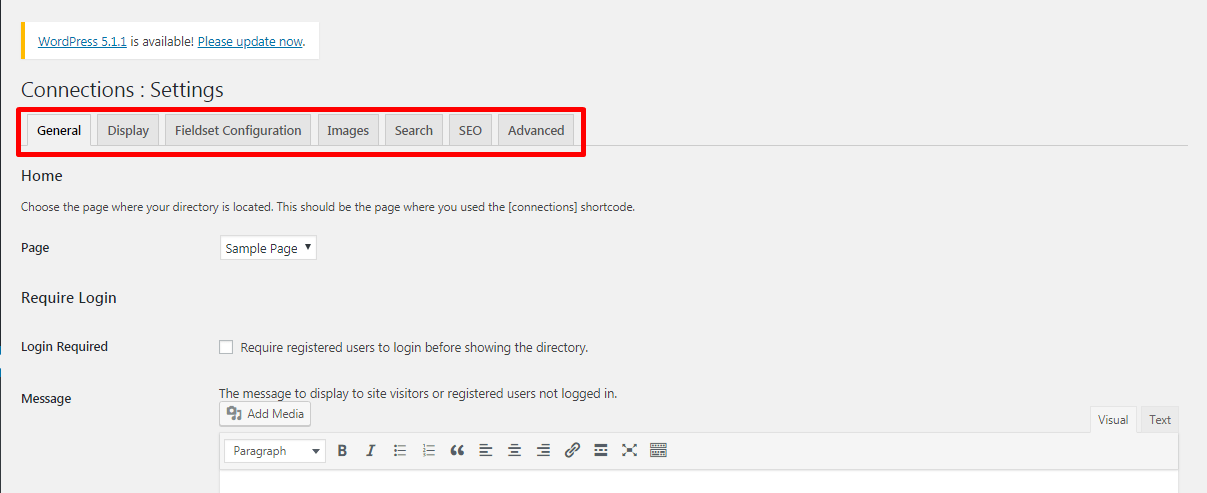
- Under General settings, set the page where you want to display the directory. You can also select if you want the directory to be displayed to logged in users only. You can also set the default category for directory entries, the base country and region. Short code visibility can also be configured here.
- Next we have the display tab. Here you can set the date format for listings, configure the category descriptions,
After configuring the settings for your directory it is now time to start adding entries to the directory. In this example we are going to build a restaurant directory.
Adding Categories
First you need to create a few categories for your directory. This can be done on the categories menu. To add a category simply type in the name and slug for that category. Select whether it is a Parent category or a sub-category.
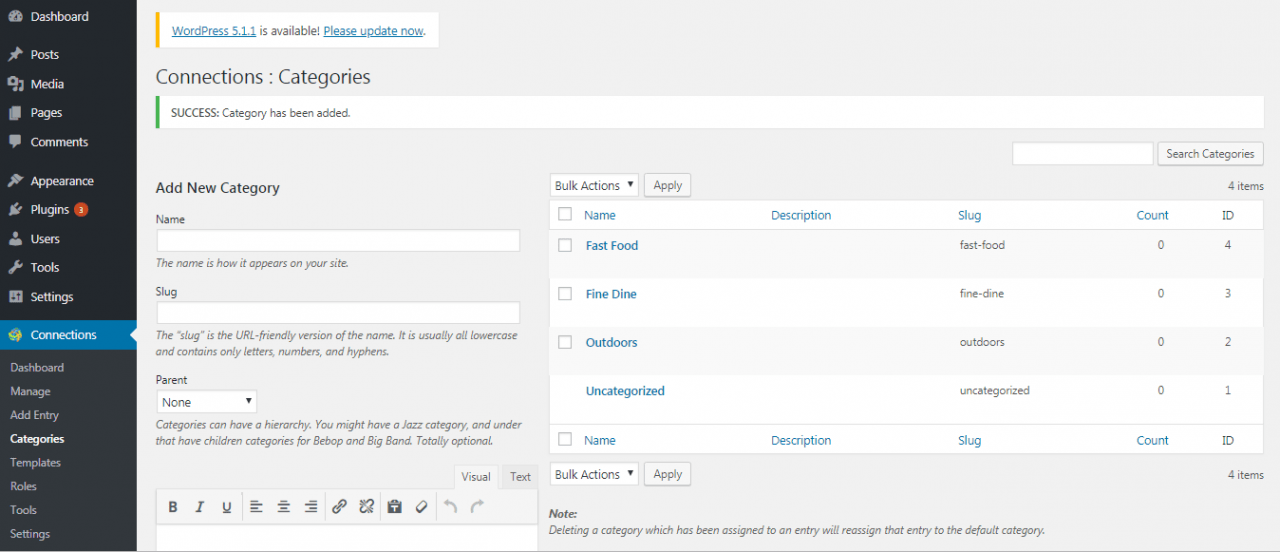
You can see in this example we have added 3 categories, Fast Food, Fine Dine and Outdoor.
Adding Entries
After creating directories it is now time to start adding entries. These are basically your directories, listings. Click on Add Entry menu
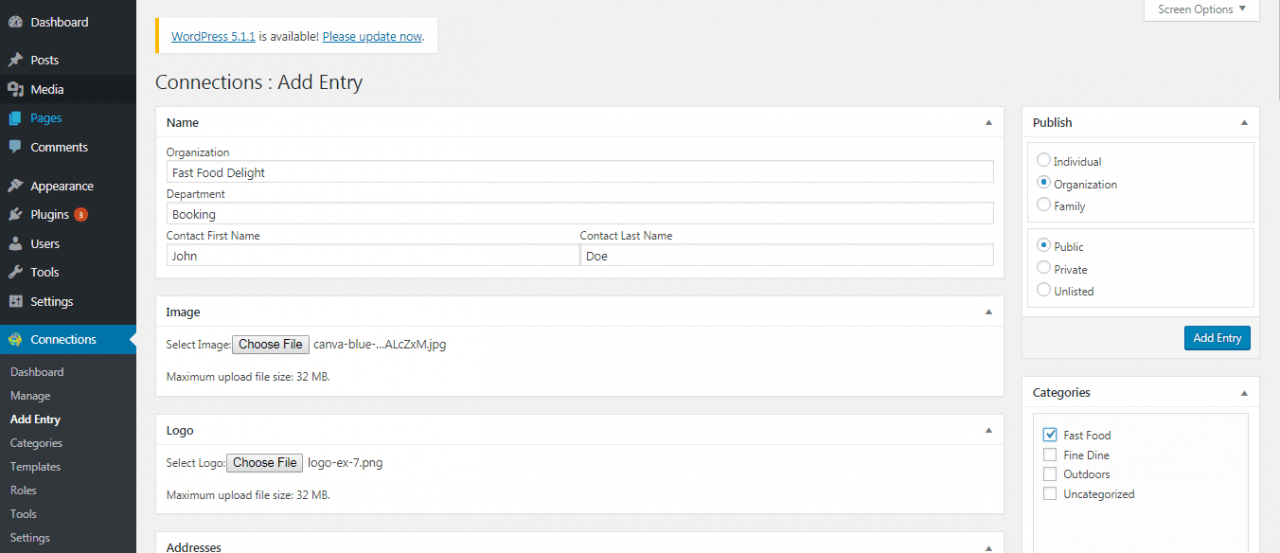
Select the type of entry i.e. Individual, Organization or Family. In this case we want to add an organization. We have put in the name, department and the contact persons details as well. We have also selected a featured image for this entry along with the logo from our computer.
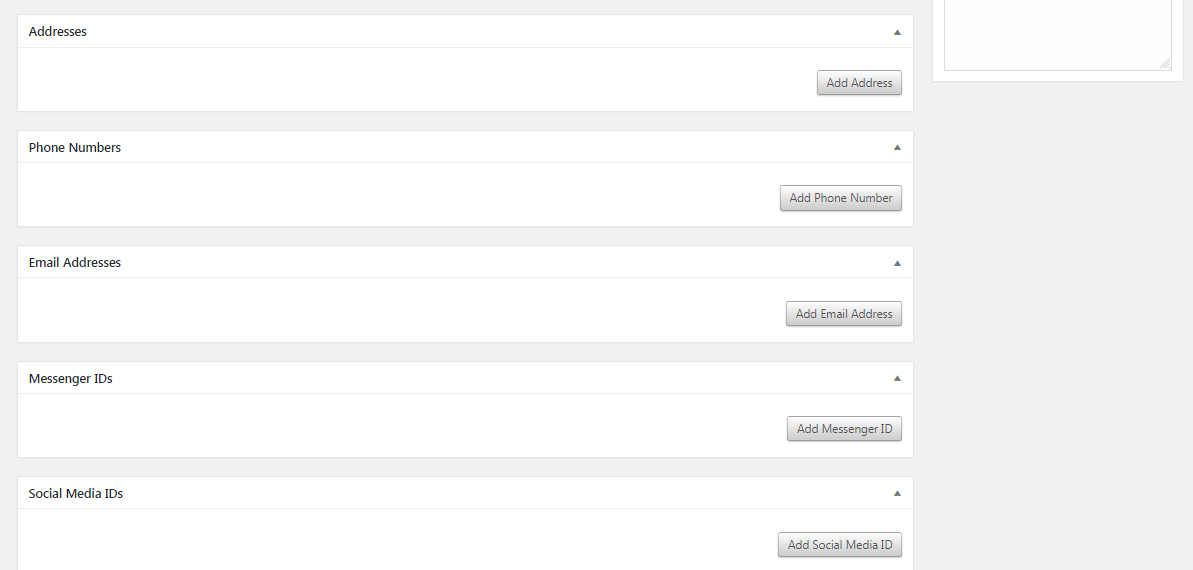
Scrolling down will allow you to add an address, phone, email, social links a description and an excerpt.
Once you are done adding the details of the entry click Add Entry.
Editing Entries
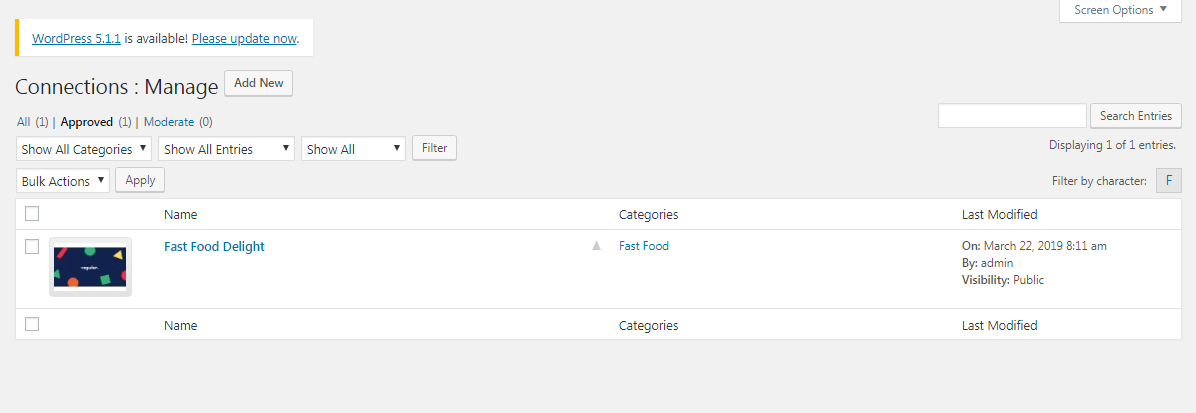
If you visit the manage tab you can see the entry that we just added. You can edit this entry from here.
Displaying the Directory Using the Short code
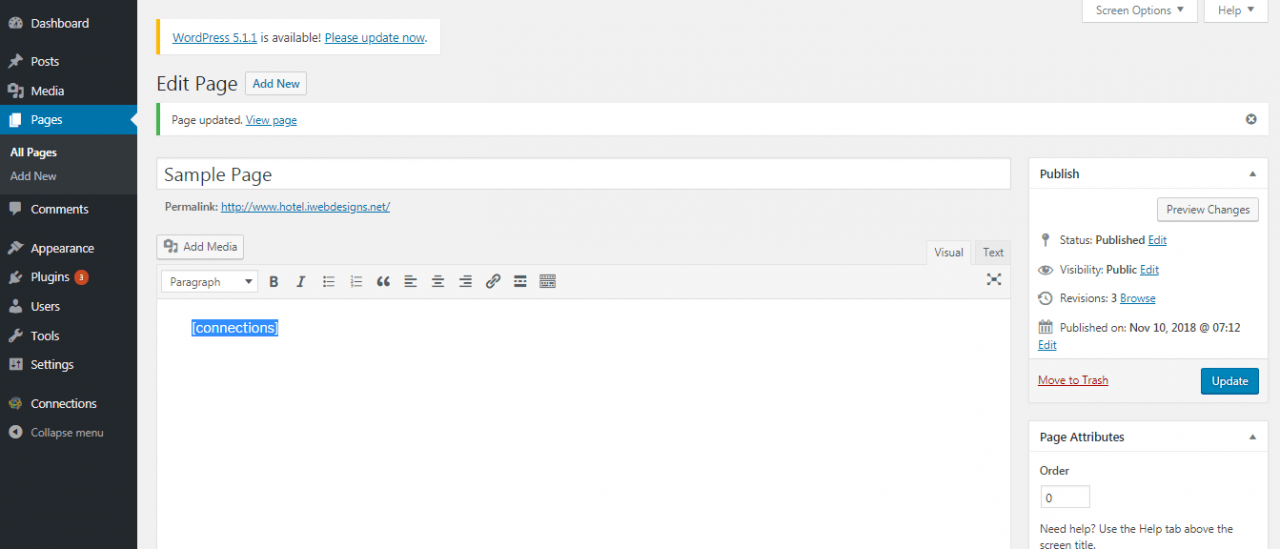
To display the directory listings on a page simply enter the short code [connections] on any page that you would like to display the listings.
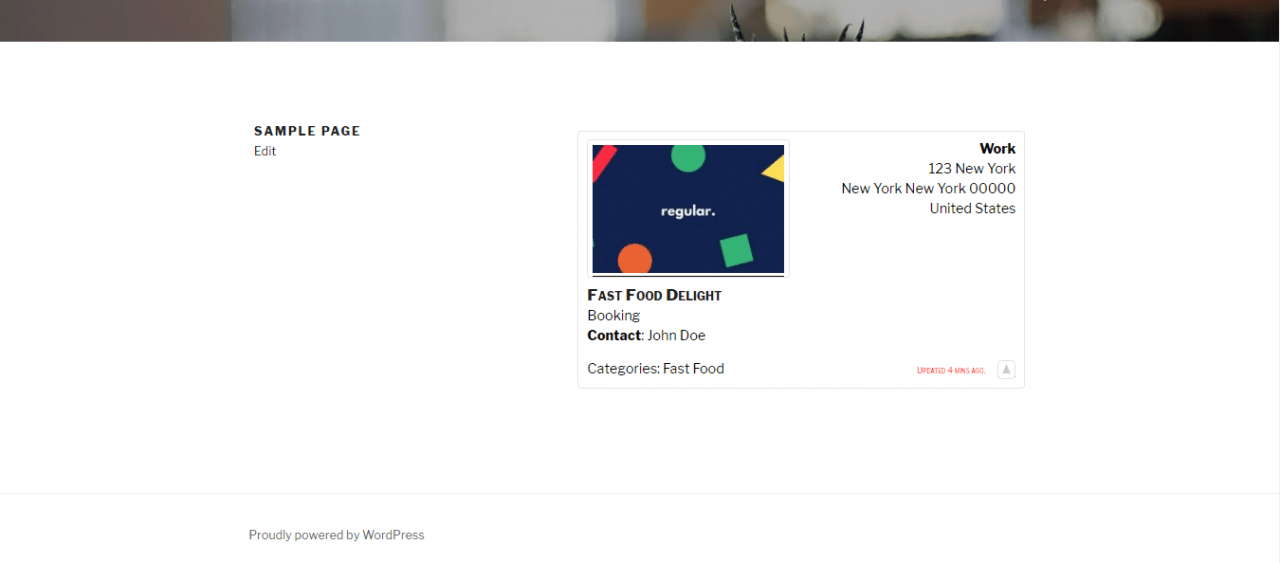
Visiting the page on the front end will display the directory listings.
Editing Templates
The plugin comes with a number of pre-installed templates for displaying the directory entries.
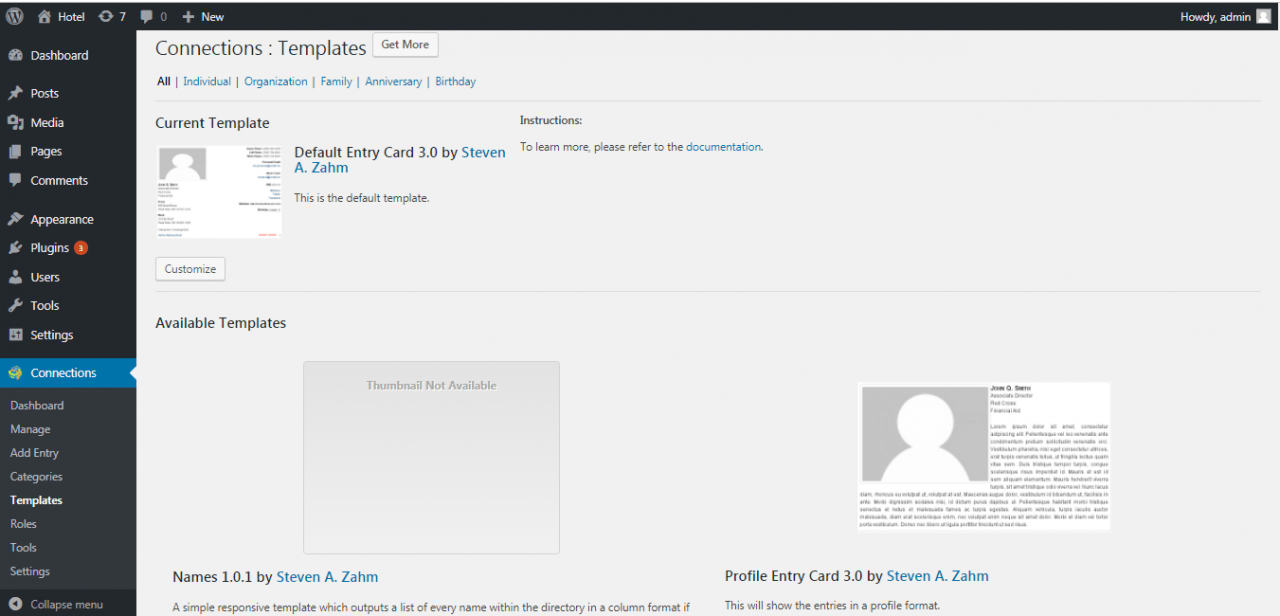
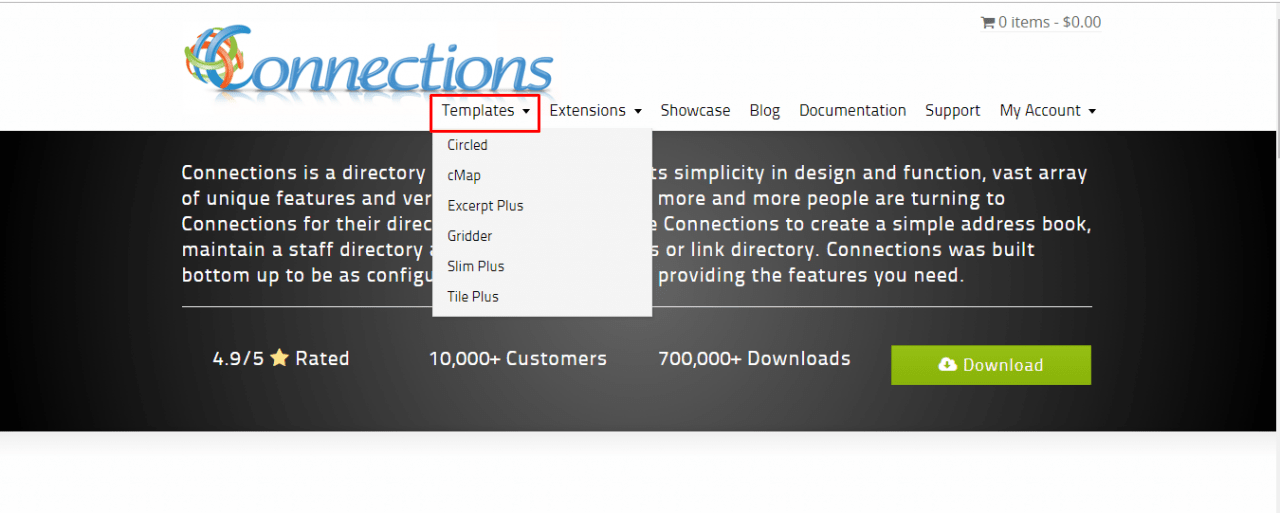
You can also get more from the templates tab. Simply click on Get more to visit the plugin page. You can get many more templates from here.
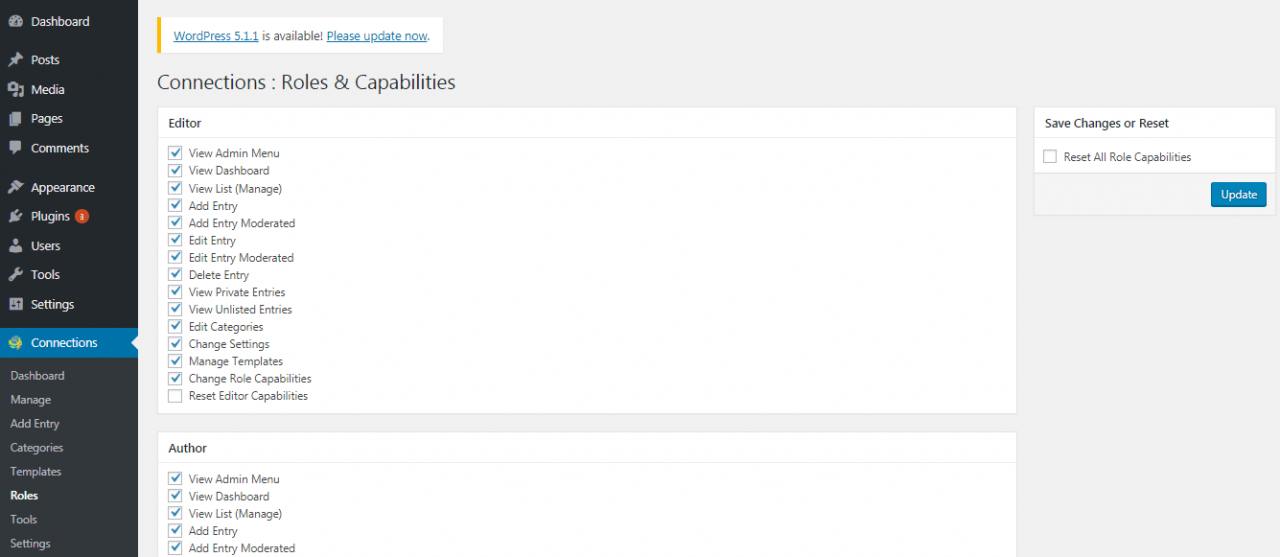
Editing User Roles
In the Roles menu you can select the various permissions different user groups have to be able to add and update directory listings. Checking or unchecking any of the items under a user group will add or remove various directory editing permissions from the user group.
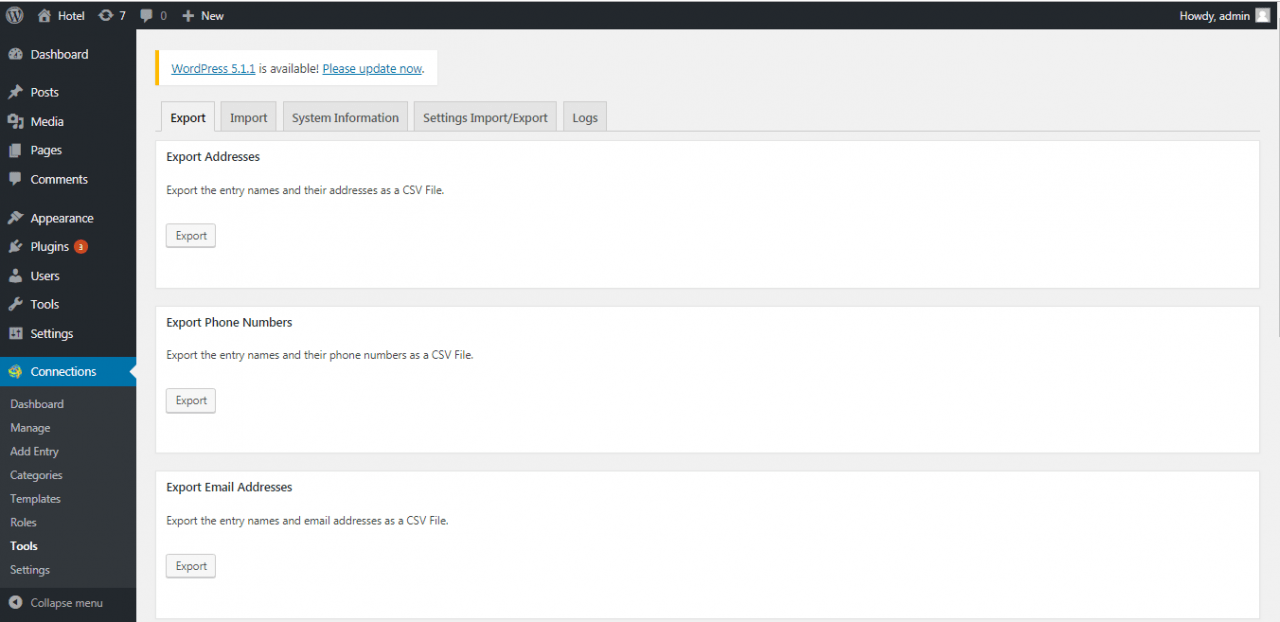
Importing and Exporting Entries
When starting a business directory it might be impractical to enter each entry manually via the plugin’s Add Entry option. Instead if you have the details for the entries in a csv file you can import these entries via the tools menu. You can also backup and export all your entries via the tools menu. The tools menu also allows you to view logs.
Conclusion
Connections provide a flexible, easy to use solution to create directories in WordPress. From simple staff directories to large business directories, it is all possible with the Connections plugin. There are several add-ons available for the plugin that can add useful features. While the plugin is free to use, some add-ons are paid and some premium templates are also paid. All in all it is an excellent solution for building any kind of a directory website.
You may also want to see our picks for the best WordPress business themes to get your business online.