If you are running a mission-critical website, then you should seriously consider to create a WordPress staging site.
A staging site is a replica of your live or production website.
It is an exact copy, the database, files, themes, plugins and everything else on the same hosting environment that your production website is running on.
Why You Need to Create A WordPress Staging Site.
To many of us, expedience tramps over the slow but sure way of getting things done. What I mean is, not many website owners bother to trouble themselves with duplicating their website yet they can do or make the changes directly on the live site.
I see the temptation, fast and easy, but, this can be at a significant cost to mission-critical websites.
All it takes is a buggy plugin or broken script to break a website.
A website whose downtime of any kind has the potential of causing lost business in terms of revenue or user backlash affecting your reputation needs a more pragmatic approach to how changes and updates are applied to it.
You see the need and importance of staging site, so :
How Can One Create A WordPress Staging Site?
From our understanding of a staging site, we know that it involves replicating the current live or production instance of a website.
So the first way you can create a WordPress staging site is manually duplicating everything.
Manually create a WordPress staging site.
For this, you could use a subdomain, or a subfolder on the hosting, then create a new database.
The negative bit of this is that it is tedious, and you have to deal with the URL changes.
If you are to go this route you may have to move the files with FTP manually, but there is an easier way, you can use our WPvivid to backup plugin to migrate or transfer your WordPress website to the subdomain that will act as your staging site.
Use the staging environment provided by your host.
As WordPress has continued to grow as the preferred platform for launching online presences, more and more hosting companies are creating WordPress friendly hosting solutions built just for a better WordPress experience.
Hosts of this kind tend to have a staging environment provided free of charge.
In your hosting dashboard, look for staging.
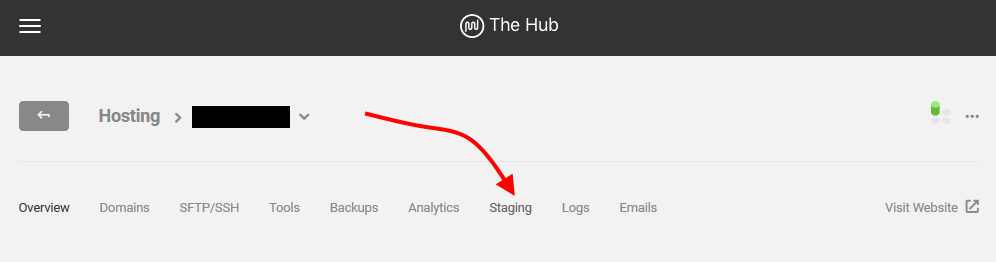
If you do not see it, it doesn’t hurt to check with your host if this is something they do provide.
Use a WordPress Plugin to create a WordPress staging site.
If you do not want the hustle of creating a WordPress staging site manually, or if your host does not provide a staging environment then you have one choice.
In this article, we shall walk you through WP Staging to create a staging environment.
Installing WP Staging.
As with every WordPress plugin, to use it you need to install and activate it on your website.
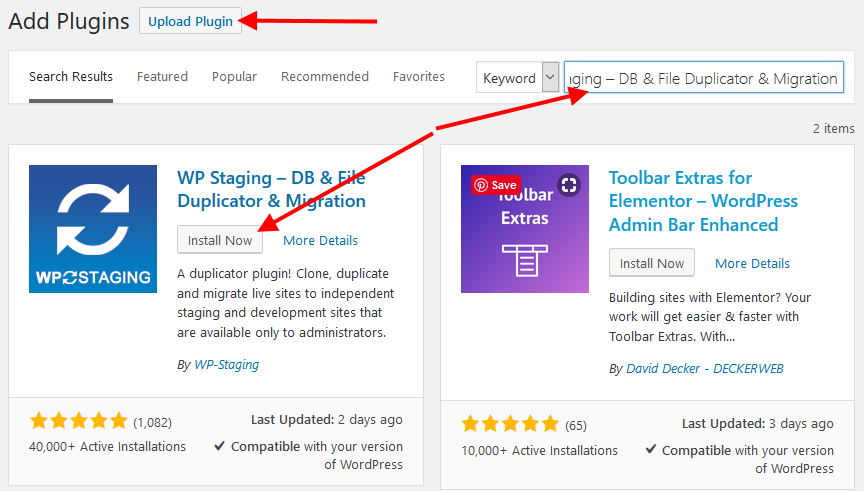
Under Plugins, click Add new
Next enter, WP Staging – DB & File Duplicator & Migration into the search box.
For those who downloaded the plugin files, click Upload Plugin (you do not need to search in this case).
Then for the others, in the results click Install Now and then Activate the plugin.
At this point, I need to remind you to back up your website, we do recommend an automated backup schedule, with WPvivid backup plugin you can schedule backups or create single backups that can be securely saved on several cloud storage platforms.
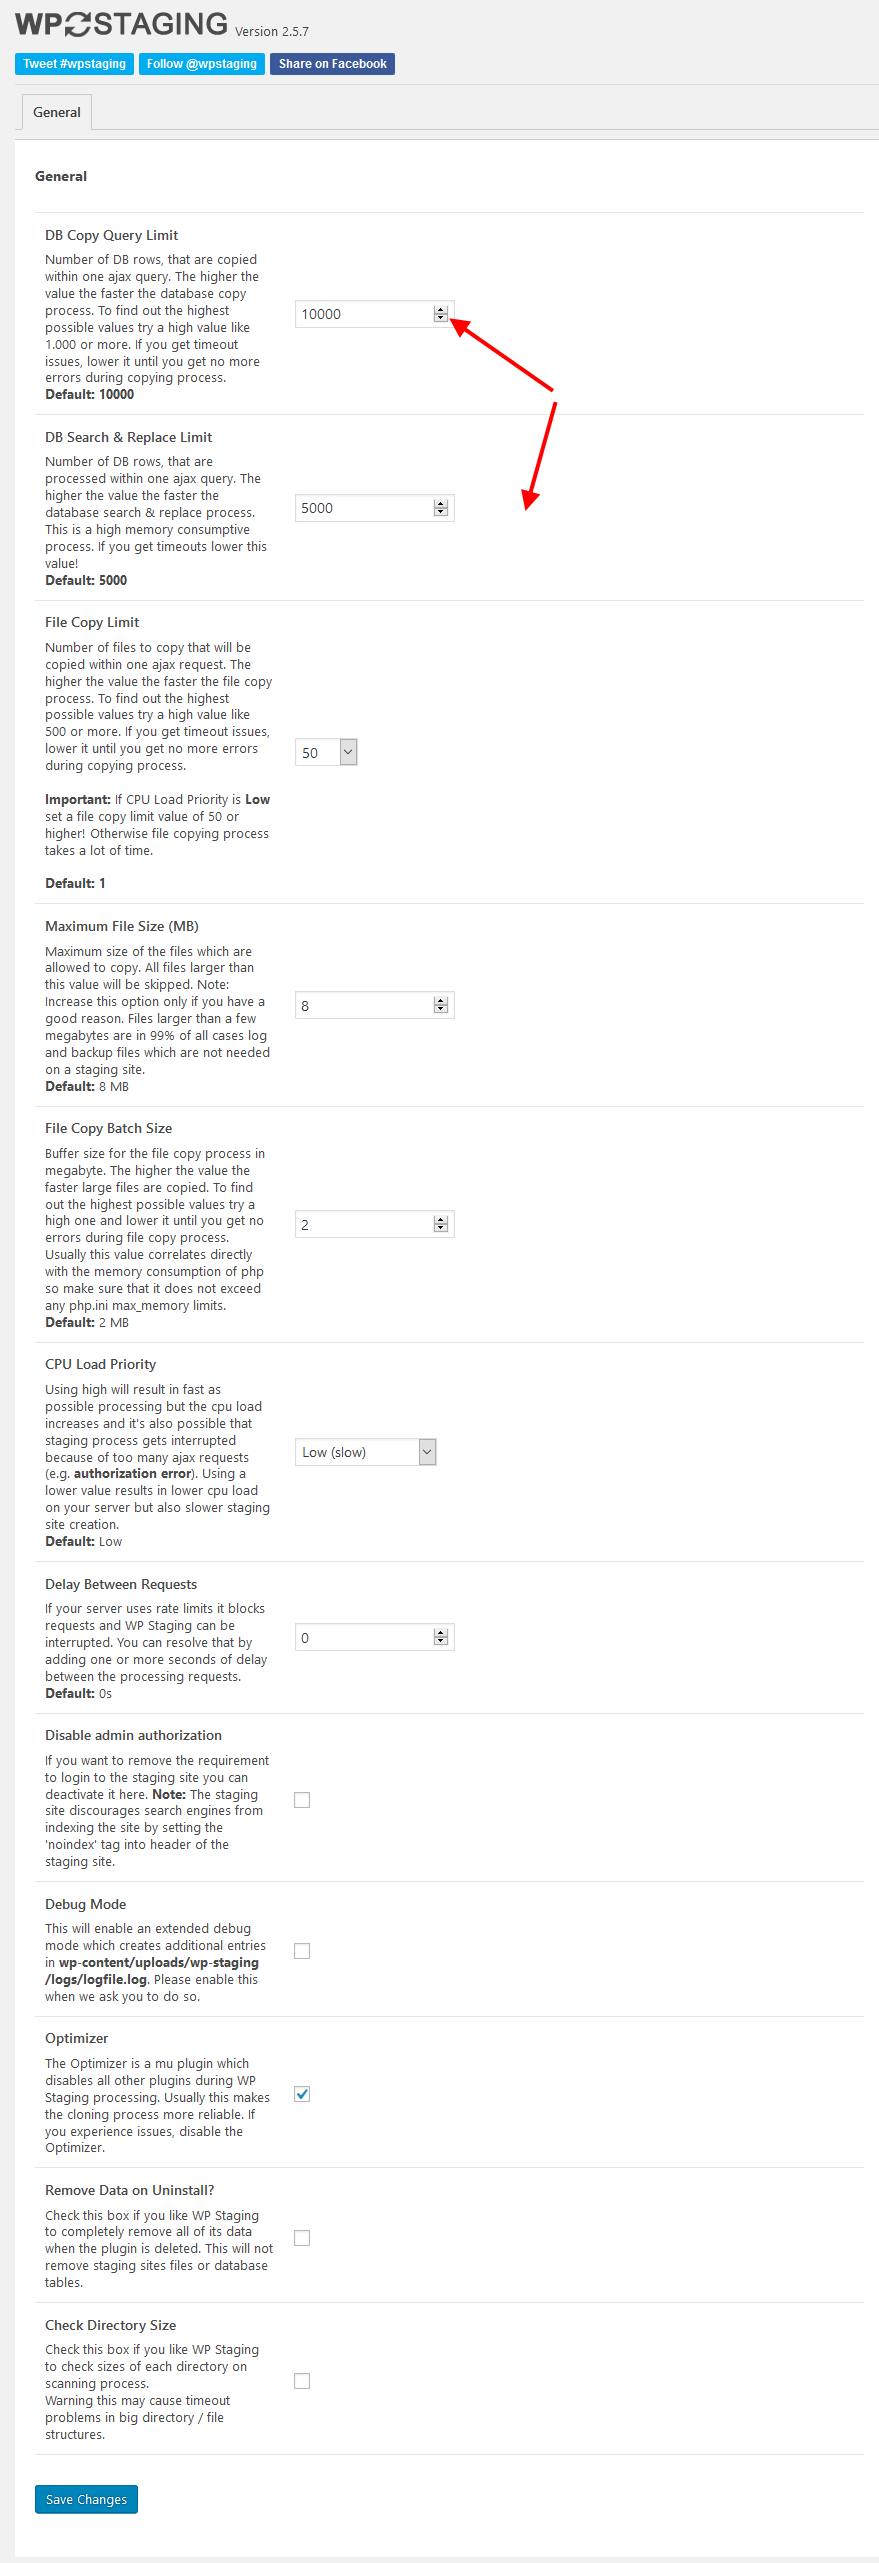
Proceeding from there, on the Left Menu under WP Staging, Click Settings.
In the settings define what you need if the default settings are not playing well with your site.
Create a staging site.
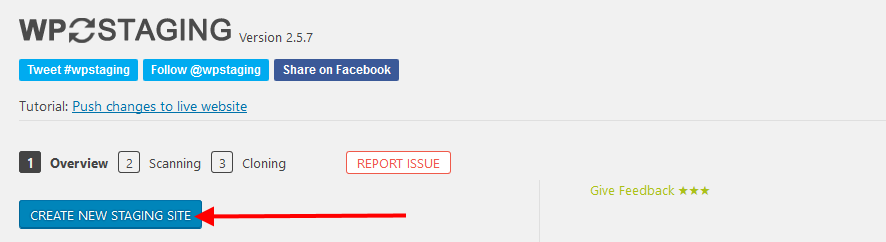
For the meat of the article, Go to WP Staging, then click Sites/Start
Click the button on the page, CREATE NEW STAGING SITE.
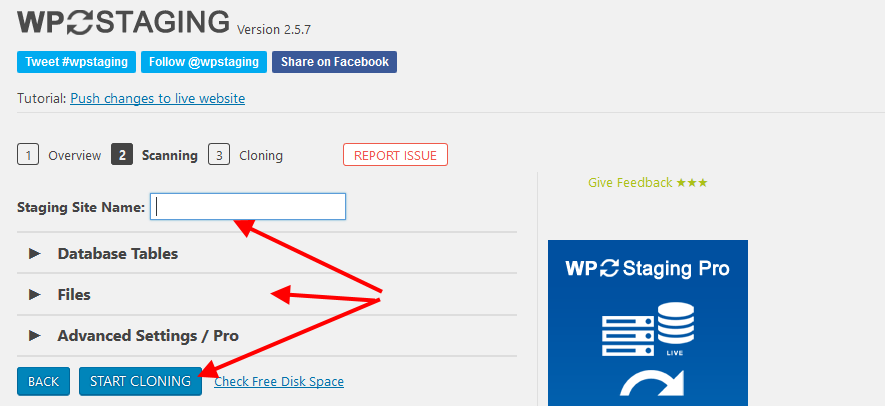
Next, provide a staging site name, select the database tables you want to clone – by default all the databases with the default prefix are selected, choose the files you want to add, in the advanced settings for the pro version of the plugin define a separate database for the test site here.
Now click START CLONING
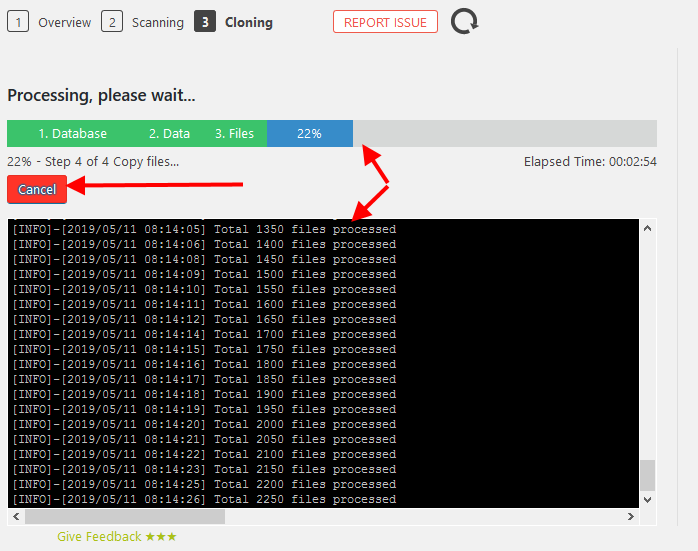
You will see the progress on the next screen, if you want to cancel it, just click the red Cancel button.
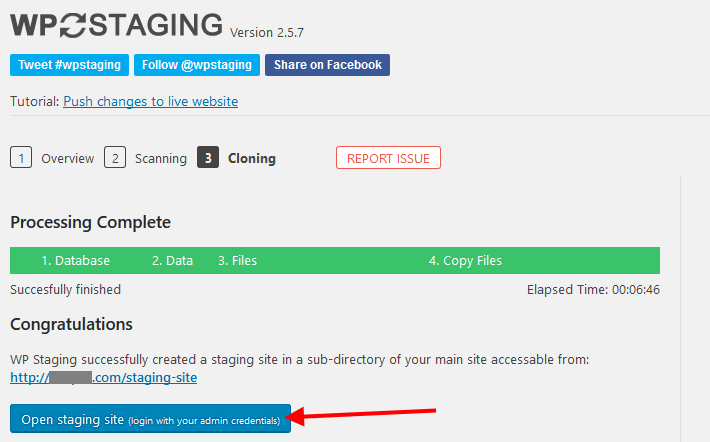
Once that is completed, the next screen will show congratulations, you should also see the URL of your staging site plus a button to that takes you to the admin area of your staging site.
Back in the dashboard of WP Staging, you should see your new staging site. From there you can manage the staging site.
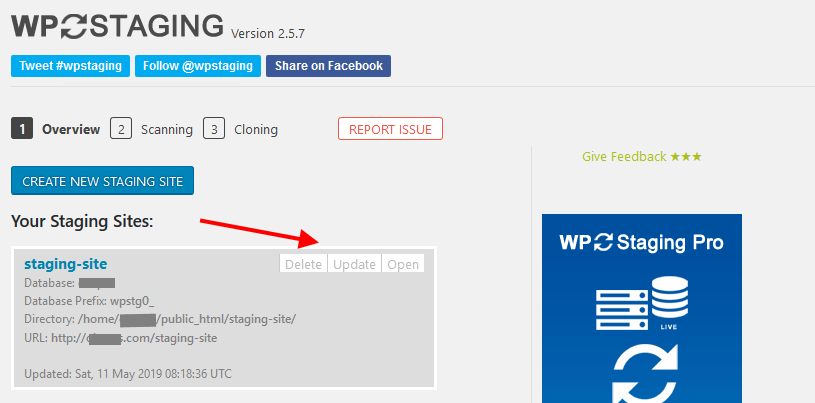
To test your staging site, go to the URL provided or click the Open staging site button.
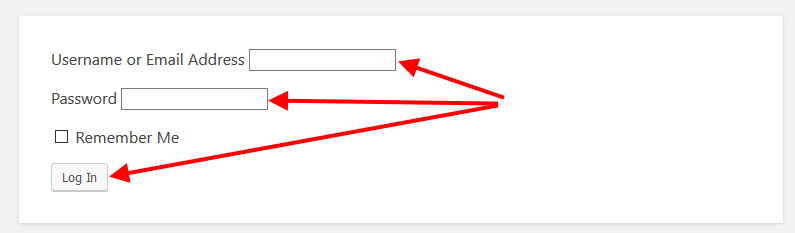
Then log in with your admin credentials.
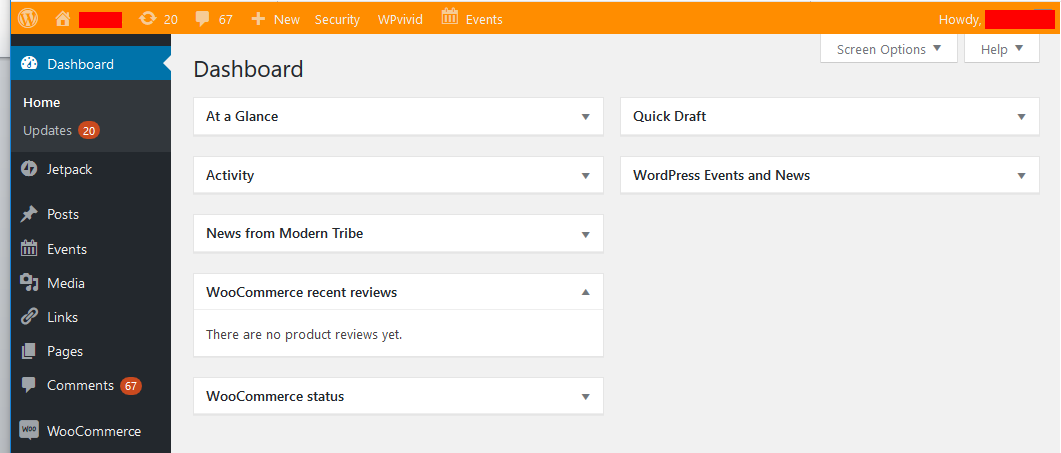
To be sure that you are logged in to the staging site, you will see a different top menu with the word Staging in it.

You can now tinker around with any ideas or experiments on the staging site before you push the changes to the live website.
For more information on how to push the staging site info to the live site, follow the steps here.
Conclusion
If you depend on your website, then do not risk trading expedience for assurance.
Creating a staging site in WordPress as you have seen is not complicated especially if you use a WordPress plugin like WP Staging to automate the task for you.
However, as you have also seen, with the free version you cannot have separate databases for the production and staging website. This could presents its own issues at one point.
For that, you will need the premium version of the plugin.
The alternative route is of course manually creating the staging site, WPVivid backup and migration plugin would help automate some of the tasks of moving files around for you.
With that, we shall call this a wrap.
You may also want to learn how to run WordPress locally on your PC with WAMP and Local by Flywheel.