Once you have built a website and start getting traffic it is important to track the metrics of your website. This can include things like, visitor source, time spent, conversions, heat maps e.t.c Tracking such metrics can help you analyze what is working for your website, for example, which traffic source is converting the most. Often you will need to install snippets of code to be able to track these metrics via third party applications such as Google analytics, Facebook pixel, AdWords and many others.
What is the Google Tag Manager and why you need it?
Google tag manger is a tool for implementing various tracking codes and pixels from a single dashboard. It makes it easy to manage all the tracking codes from one dashboard, rather than coding each tracking code on your website. All of these codes are loaded as one script which helps with page load times.
The google tag manager is easy to use and requires very little technical knowledge. In WordPress you can use a free plugin such as DuracellTomi’s Google Tag Manager for WordPress, to place the Google Tag Manager Container code automatically on your website.
Step by Step: How to set up Google tag manager for WordPress?
Installing the Plugin
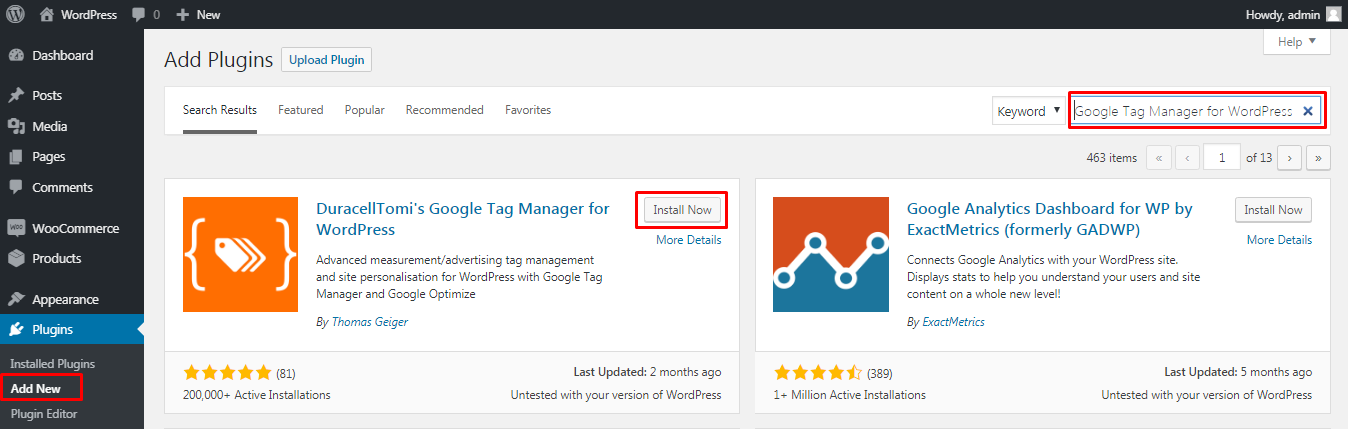
Login to your WordPress dashboard, under plugins menu click on Add New. Search for Google Tag Manager, install and activate the plugin.
Google analytics is the most widely used analytic service. We setup google analytics in WordPress using the Google Tag Manager. The process of adding any tracking code is the generally the same for most services with very slight variations.
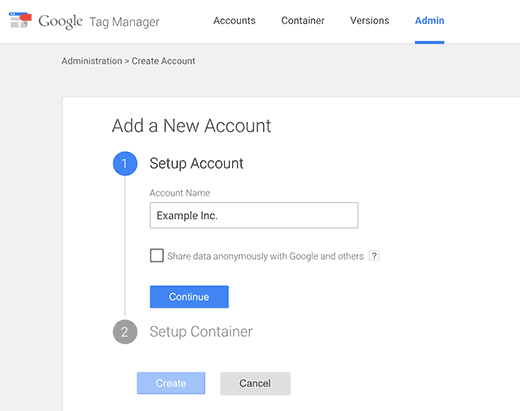
Setting up a Google Tag Manager Account
Visit the google tag manager website: http://www.google.com/tagmanager/ and create a new account.
Once you have added a new account you will get a tracking code that you need to install on your website.
![]()
Since we are using the plugin for WordPress we do not need to add this code to our website. Click on OK to continue to the dashboard.
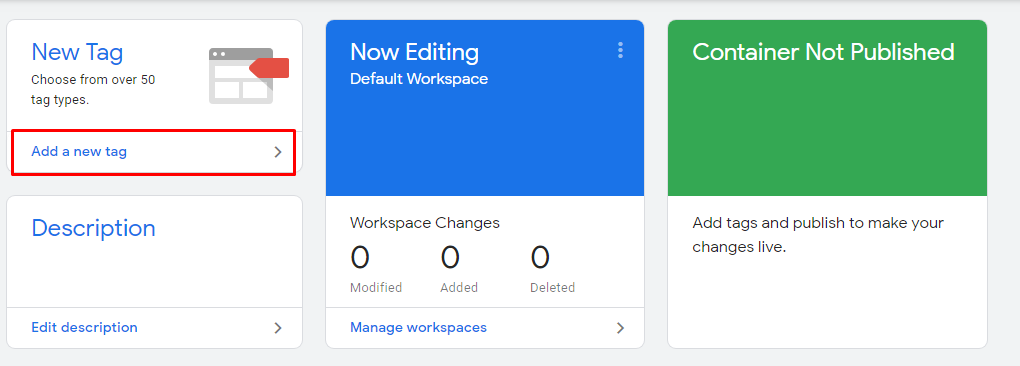
In the dashboard click on Add a New tag
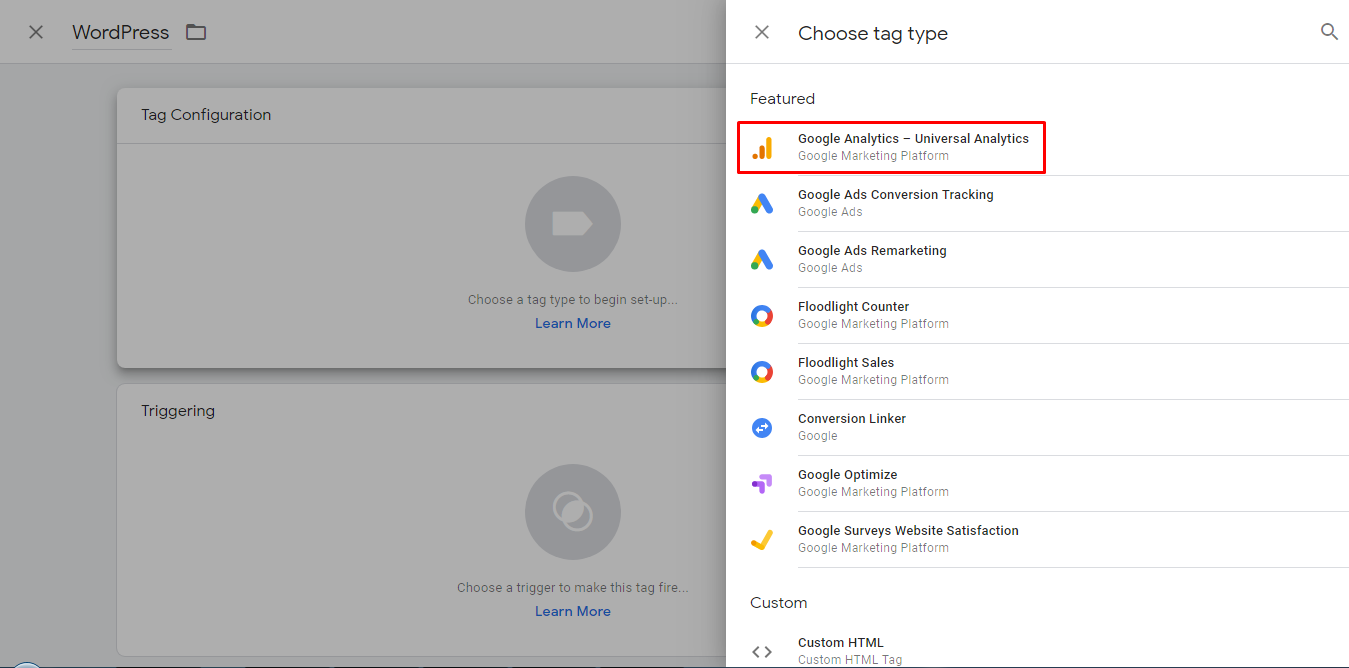
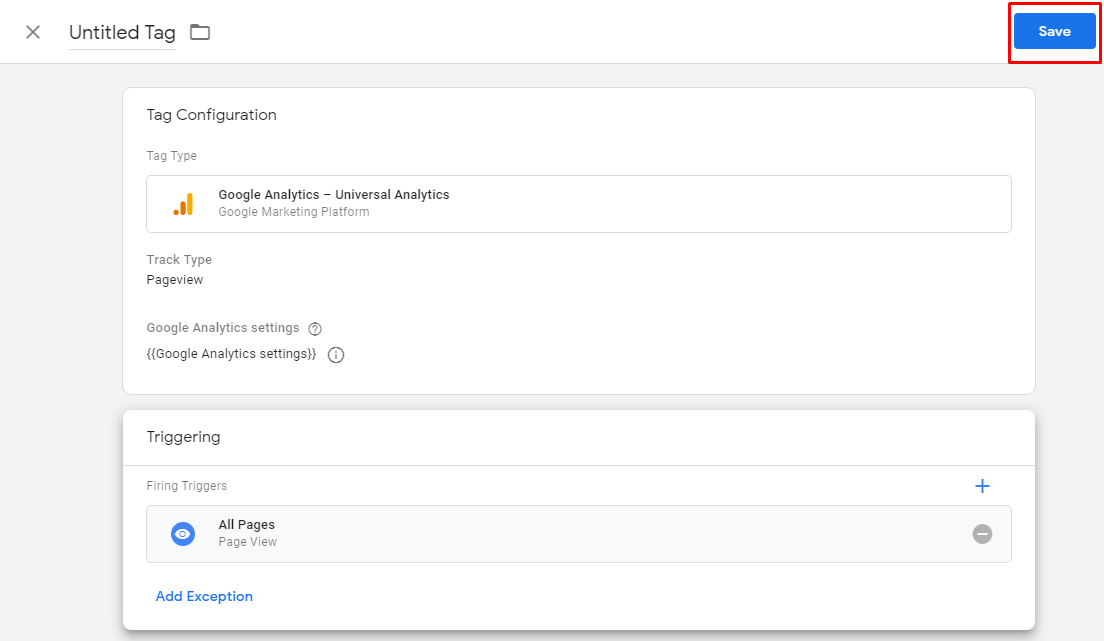
In the pop up window that opens, set a name for your new tag and click on tag configuration. Here you can choose the type of tag. Since we are looking to install a google analytics tag click on Google Analytics. You can select any other service that you wish to use and you can also add a custom html code.
You now need to setup the tracking type. We have chosen page view but you can select any that you wish. You also need to add a new variable.
![]()
Select the variable type and add your google analytics tracking ID. Click on save once you are done.
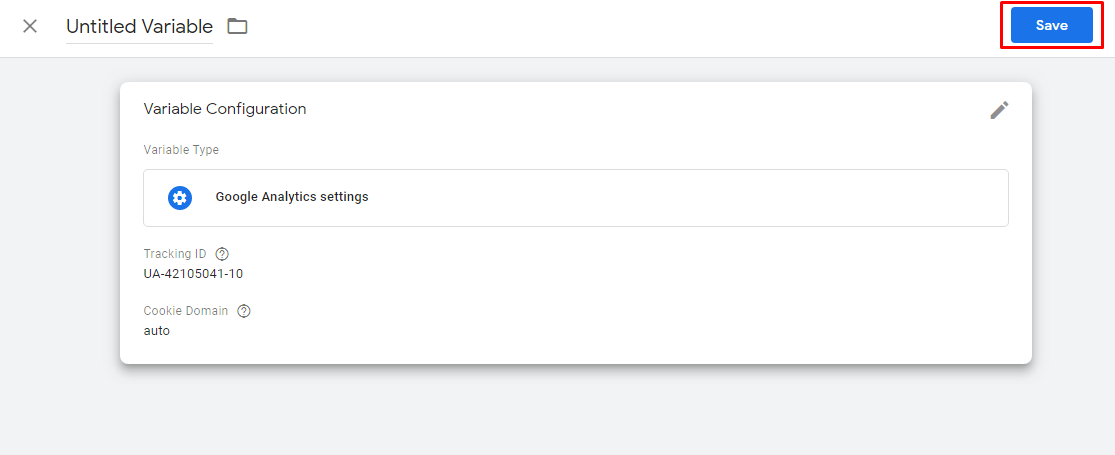
You can get the tracking ID from your admin menu in google analytics.
![]()
Clicking on save will take you back to the previous page.
You now need to setup the triggering. This means when do you want a tag to be recorded, e.g. every time a person visits a page. Once you are satisfied with the tag configuration click on save.
You need to publish your tag. Click on Submit to publish your tag.

One you have created a new tag you will get a tracking ID in your dashboard of google tag manager. You need to copy the ID and paste it in your plugin’s dashboard.
![]()
Setting up and using the plugin
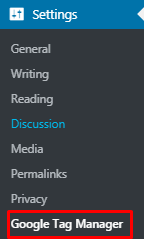
Under the Setting Menu, click on Google Tag Manager.
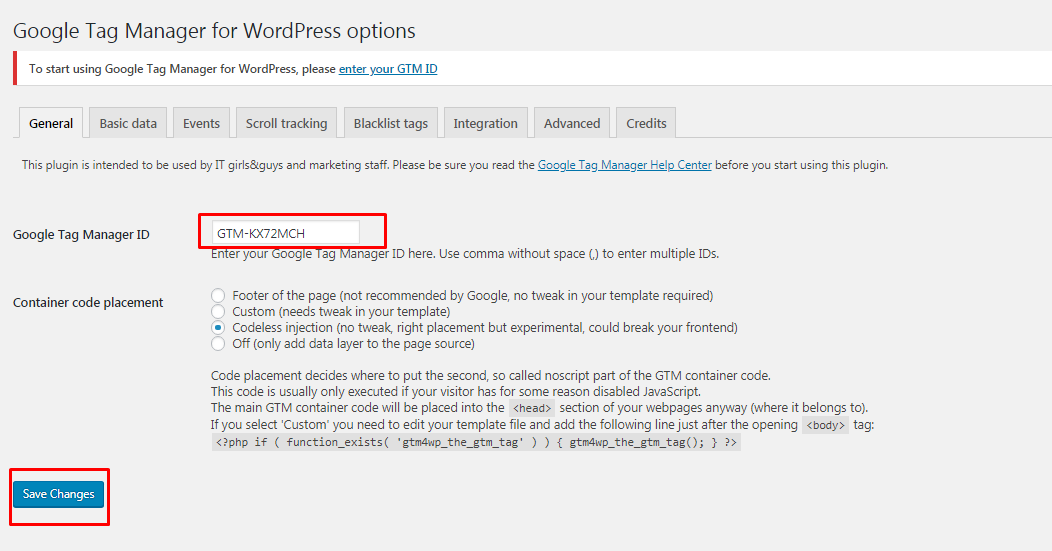
On the plugin settings you need to paste the tracking ID from your google tag manager dashboard. You also need to select where you want to place the container. Click on save changes once done.
Conclusion
That is all you need to do to add the google tag manager in WordPress. As you can see most of the work involves setting up google tag manager itself and not the plugin. The plugin simply saves you the time and hastle of putting the code on your website.
If you have a little hands on with the WordPress themes editor you can easily skip using this plugin and add the code to the header.php file of your theme. You should always take in to consideration the number of plugins you have on your website, as some of them tend to slow down your website. Only take this route if you have sound knowledge of editing php files, else you can easily break your website.
You may also want to add Google AMP in your WordPress site to improve your mobile site speed.