The top spot on search engine results is coveted for any keywords, and as you are probably aware and implementing is optimizing your content for search engines is fundamental for top placements.
One thing often forgotten is images. Today we shall take a look at how to make images SEO-friendly on your WordPress blog.
First, image sizes.
When it comes to ranking high, a big topic floating around has got to do with page load speeds – How fast your website loads.
Google uses a website’s page speeds as an important metric in determining placement of websites in its search engine rankings. It is only logical therefore that having optimized and light images is important if we want to rank high on search engine results.
The process of doing that manually is tedious and boring, so we shall employ another great tool to optimize and compress our images. If your website is powered by WordPress, then you can easily achieve this by using the popular image compression plugin – Smush Image Compression and Optimization
With 1 million plus active installations, certainly many WordPress website owners are finding value from this plugin.
So what will Smush Image Compression and Optimization do to make your blog images SEO-friendly
For the free version, we will;
Use it to compress existing images, then we can additionally configure it to automatically optimize and compress images on upload.
Secondly, it will remove EXIF Metadata your cameras store in pictures from your images thus reducing the size of the images.
It will also help with image resizing. Google speed insights is picky about this. See the image below from.

Smush Image Compression and Optimization will do all this without any noticeable effect on your blog’s image quality.
To get started
Install the plugin
Download it from the WordPress repository or install from WordPress admin dashboard.
Once it is installed, Click Smush from the Left menu.
The first time you run Smush, you will be asked to enable automatic optimization and compression when you upload the images, and other settings. Accept as you apply to you.
It will automatically scan our Media folder for images.
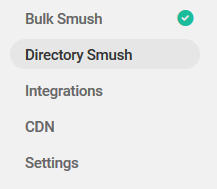
To compress all the images, from the dashboard, be certain that Bulk Smush is the active tab.

If it is you will see a button like this one
![]()
Click it. Depending on how many images and their sizes, it will take a few minutes to process.

Keep the window open until the plugin finishes optimizing and compressing your images.
The free version of the plugin allows you to optimize up to 50 images in one go, if you have more than 50 images, the compression will stop, just click resume and it will start compressing the next batch of 50 images.
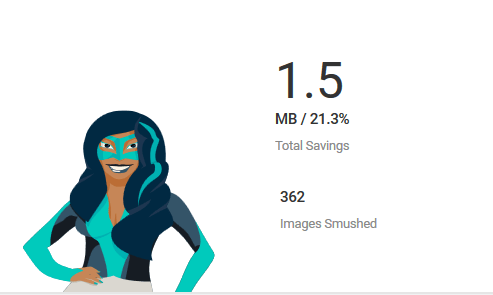
When it is complete it will show you this.

We should see our savings from the dashboard.
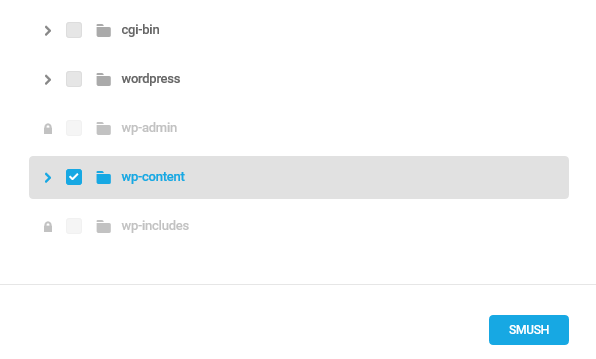
You can also compress images that are not located on the WordPress media directory. Say, images in another directory within your server.
Click Directory Smush
Then click Choose Directory

On the next screen, check the directory(s) you want optimized and then hit the SMUSH button
That’s about it on how Smush Image Compression and Optimization will make your blog images SEO-friendly.
Okay, maybe not entirely. If you had not earlier done it, you can setup removal of auto compression when images are uploaded. Click Bulk Smush
Then Scroll down and toggle the Automatic Smush button, then select the folders you want to be optimized.

The next thing will be stripping the image of the extra metadata in our images.
![]()
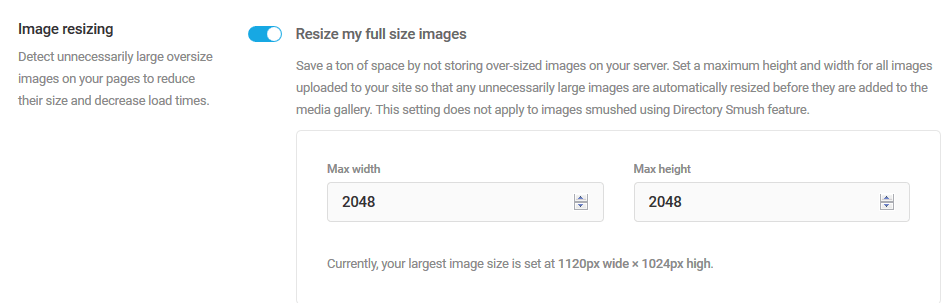
Lastly, Smush Image Compression and Optimization can enable you to automatically resize all images on upload. Toggle the button, then define you image size.
Now that’s about what we can do with the free version of this plugin.
Secondly, look at the information on your images
After we have looked at size and speed of images on our website, one certain way to make blog images SEO-friendly is looking at the image Alt and Title attributes.
Using relevant keywords in the alt and title attribuites helps both users and search engines interpret our images better.
Let us assume you are a travel blogger, and have just written and posted on your blog an article about, “Backpacking during the winter”, you have made all effort to optimize your article for the keyword “Backpacking during the winter”
When someone goes to Google and searches for “Backpacking during the winter” they will see these results.
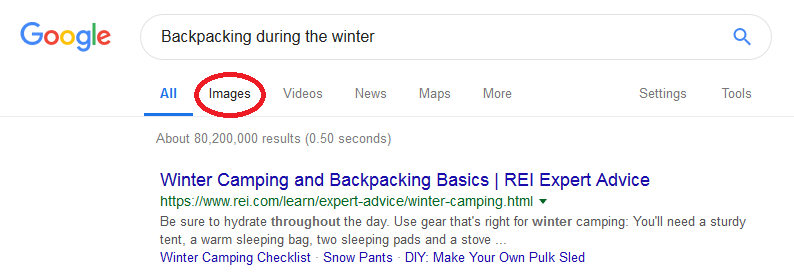
Do you see Images, Click there. Now you will see this.
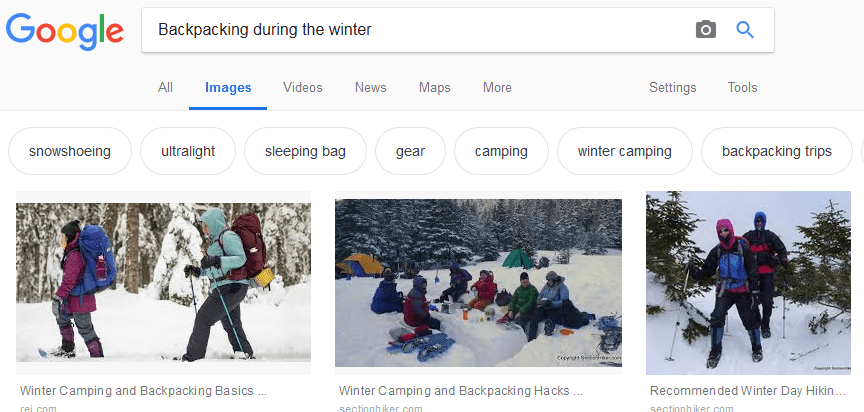
Same keyword, but the images that are showing on top of the results are not those from the websites that ranked high for the text.
You see, some people searching are looking for images. This could as well be the best source of free organic traffic to your website.
Google and pretty much every search engine have image search.
So how do you make blog images SEO-friendly and rank high in the search engines’ image search results.
Whenever you upload or attach a picture to you post, by default you will see this;
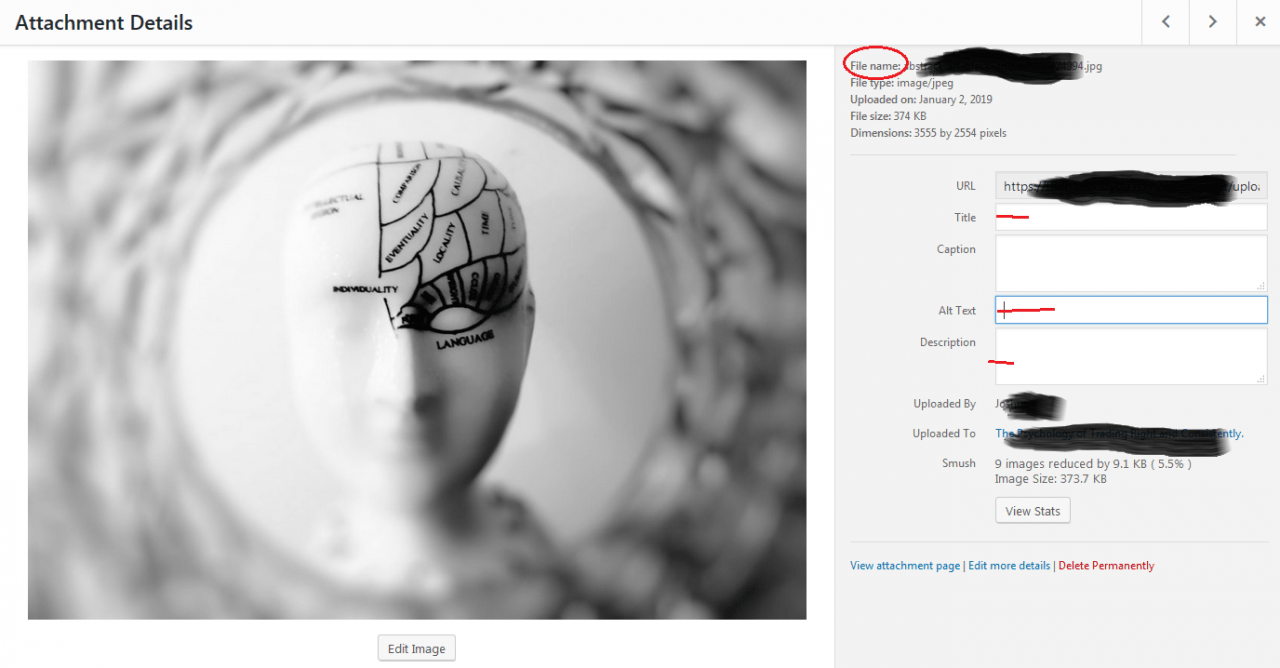
I know most of us will never bother to change or even modify anything once the image has been uploaded.
For someone serious about SEO, this place is the perfect place to tag your image with important data related to your article. It is this data that the search engines use to rank images on their search results.
The Image Filename, Title, caption, Alt text, and description all need to have data related to the keywords your want to rank high on.
So there you go, you have learned the most important tricks to make blog images SEO-friendly.
First, you are looking at your image sizes and secondly adding the right data to your images.
If you pay attention to this, your images will soon rank high on search engine image results even on highly competitive niches, because many websites do not do this.
Most people focus on optimizing the words on their articles forgetting the images.
As usual, we love to share with you optional plugins that do the same task, so you can explore what you prefer.
- EWWW Image Optimizer
- ShortPixel Image Optimizer
- it Image Optimizer
- Imagify Image Optimizer
- Optimus – WordPress Image Optimizer
We hope this article helped, you may also want to learn how to create an image collage in a WordPress post or page.