Website speed is an ever increasingly important search engine ranking factor. Other than that it is also a factor that affects conversions on your website. A slow website can easily affect the user experience and result in high bounce rate. When building a new website you need to ensure it loads fast. This can be achieved in WordPress by using a high quality theme along with a cache plugin and a content delivery network. CloudFlare is the most popular CDN (Content Delivery Network).
What is a Content Delivery Network?
A CDN is a network of servers located around the world that deliver cached copies of websites from locations that are closest to the user. As the servers are closer to the user and the website copies are cached, websites load faster as a result.
CDNs such as CloudFlare also help prevent against DDOS attacks. This is done by forcing suspicious visitors to enter a manual captcha before accessing the website. Thereby eliminating bots. This also means your server resources are not wasted on bots.
The free plan offered by CloudFlare is the main reason it is the most popular CDN. It is perfect for beginners and small website owners.
To set up CloudFlare with WordPress you can use the official CloudFlare plugin.
You will also need to sign up at the CloudFlare website for an account. We are using the free plan for this tutorial. You can also sign up for an account from the plugin’s dashboard.
Step by Step: How to set up Cloudfare CDN for WordPress?
Setting up Your CloudFlare Account
There are 3 basic steps you need to perform to set up your website on your cloud flare account.
- Add your website
- Verify your DNS records
- Change your name servers
Installing the Plugin
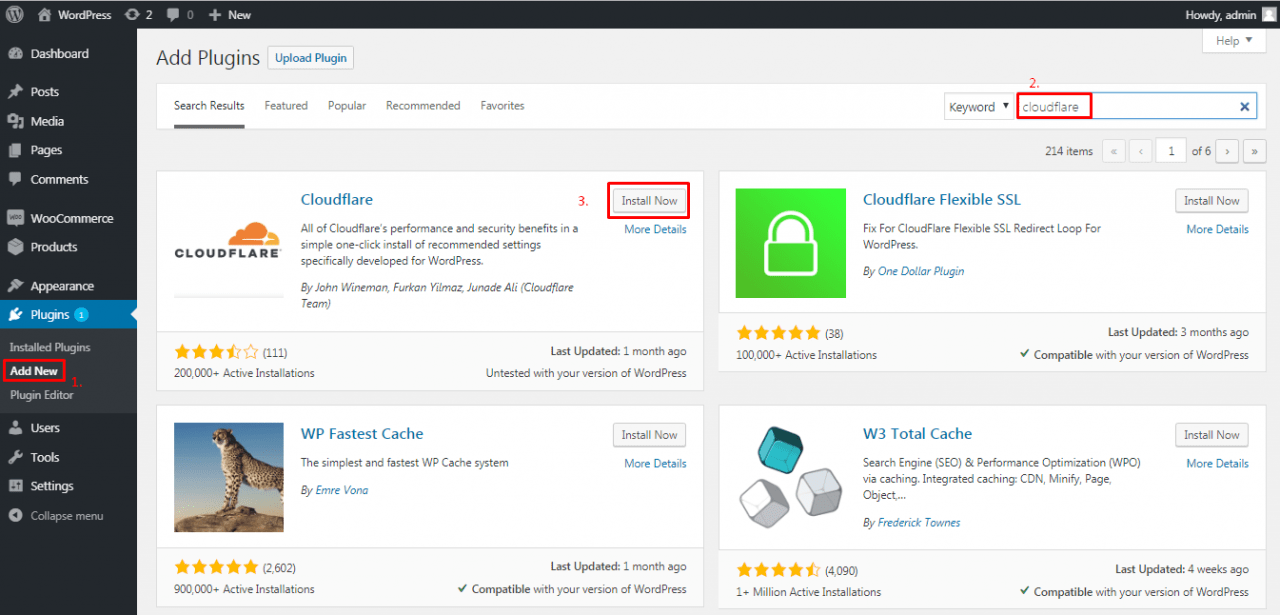
In your WordPress dashboard navigate to plugins and click on add new. Search for CloudFlare, install and activate the plugin.
Setting up the plugin
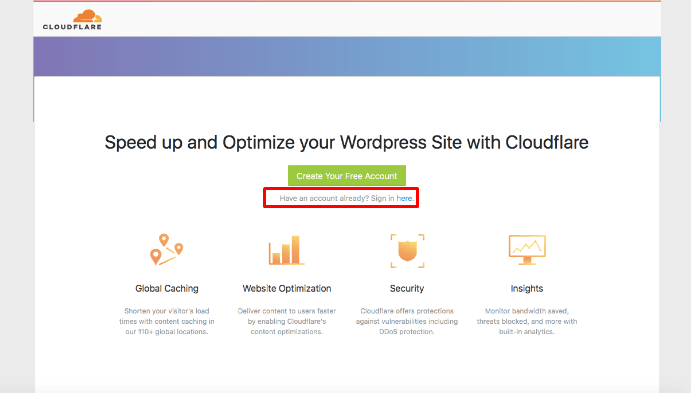
Under the settings menu in your WordPress dashboard click on CloudFlare. You need to sign in to your CloudFlare account.
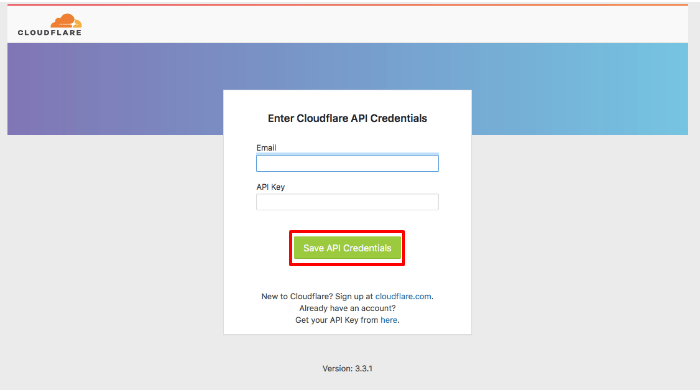
Enter your email address and your API key. The API Key can be found in your CloudFlare dashboard. Copy the API Key and paste it here.
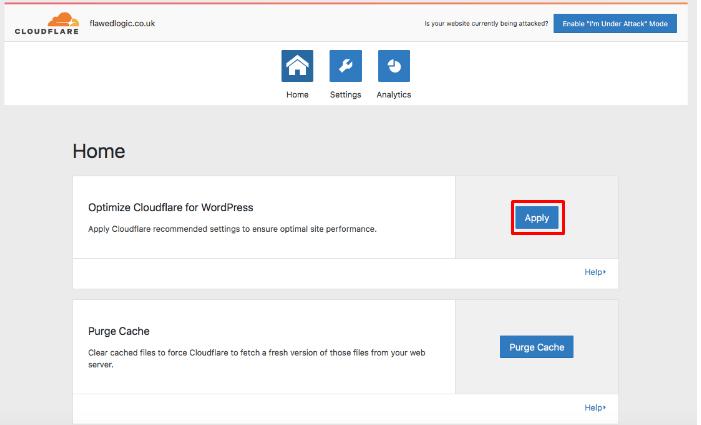
You will now have access to the CloudFlare settings. Simply click apply to quickly set up your website with CloudFlare.
You can also configure specific page rules for your website. This will help you to add extra security to your login page, exclude your admin area from caching and enforce the https version of your website.
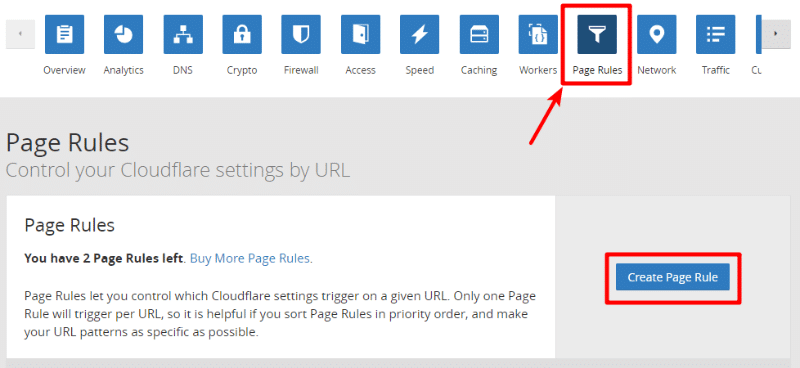
In your cloud flare dashboard visit the Page Rules section and click on create page rule.
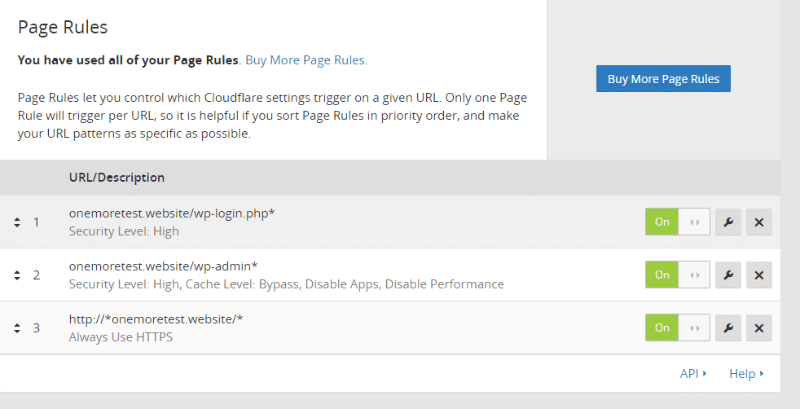
For your websites URL enforce the https option. For your login url usually yourdomain.com/wp-login.php set the security level to high. For your admin area i.e. yourdomain.com/wp-admin set the security level to high, bypass the cache and disable performance and apps. Here is an example of the page rules we have set up.
Other CloudFlare Settings
Under Attack Mode
If your website is under a DDoS attack you can make every visitor view an interstitial page as their traffic is analyzed before allowing them access to the website. This can be enabled on the settings home page.
Security Level
The security level can be set from “Essentially off” to “Under Attack” This determines when to display a captcha to website visitors. If your website visitors are complaining about this you can reduce the security level as CloudFlare can sometimes be over aggressive with the captchas.
Always online
If you enable this option, your visitors will see a cached copy of the site even if your website’s server is offline.
Development Mode
Since CloudFlare serves cached copies of your website, if you are making design changes you might not be able to see them. This option comes in handy in such situations and helps you to see changes to your website in real time.
Conclusion
There are many other settings you can configure on CloudFlare. Depending on your goals these will vary between various users. We have gone through the most important ones that you need to configure in order to get started with CloudFlare.
The basic plan is great for small website owners. If you have a larger website with high traffic you should definitely consider the paid plans. It is a great option for increasing the speed of your website alongside the security as well.