Website fonts are often the most overlooked part of web design. Choosing the right font for your website can be a revolution for the user experience. It can make your website look beautiful, make the text legible, easy on the eyes and can also allow you to draw attention to important parts of your content. The great thing about WordPress is you can easily customize the fonts on your website.
Often the number of fonts available with a theme or the default WordPress installation is limited. Thankfully in WordPress you can use a number of font libraries to get custom fonts. One great source of custom fonts is Google Fonts. In WordPress you can easily add google fonts using a free WordPress plugin.
Why You Need to Add Custom Fonts?
When you create a website a major part of branding will be the typography on your website. It needs to be consistent with your brand and should make you stand out from the crowd. This will all contribute to the user experience and improve user retention and engagement. We all like to read a legible blog, don’t we? You need to carefully consider the fonts you want to use on your website. By using custom fonts on your website you can create a rich custom look.
How to Add Custom Fonts in WordPress?
1. Installing the plugin
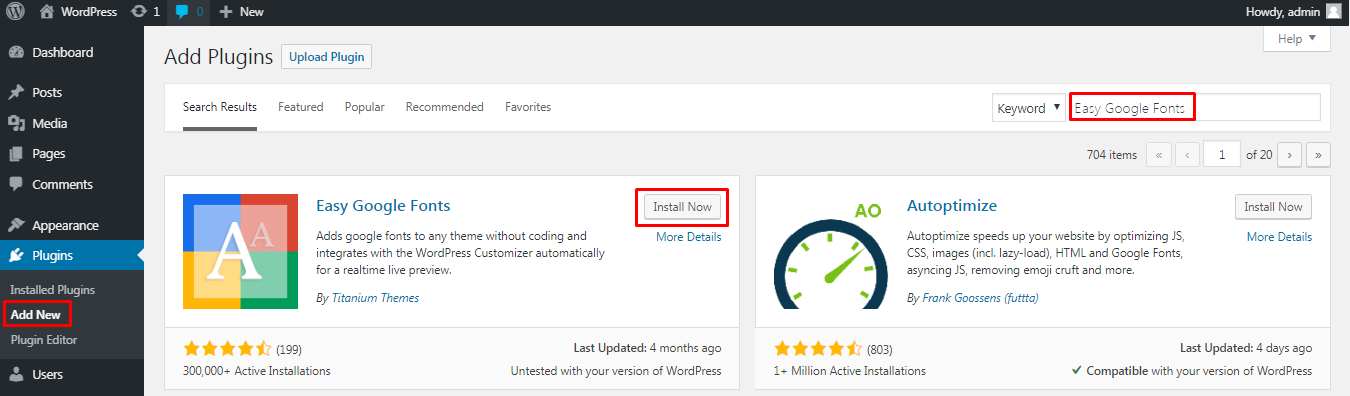
Log in to your WordPress dashboard, navigate to the plugins menu and click on add new. Search for Easy Google Fonts, install and activate the plugin.
2. Setting up / using the plugin
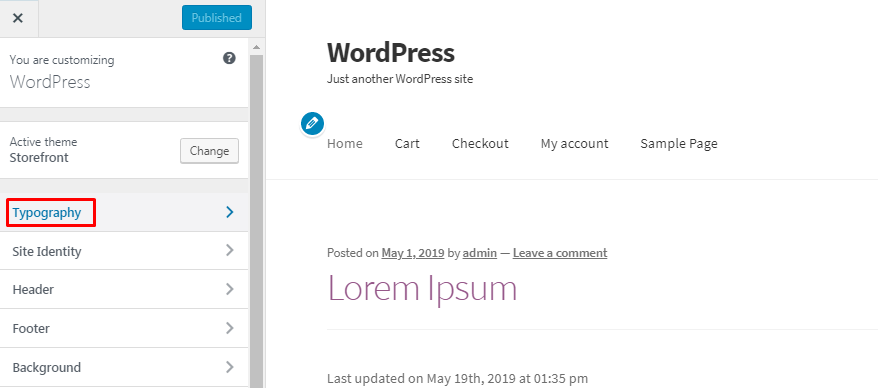
After activating the plugin, in your WordPress dashboard under the appearance menu click on customize. There will be a new Typography section here.
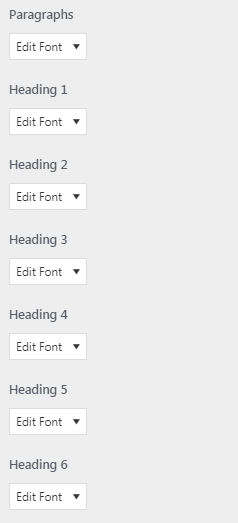
Under the typography section you can see various locations in which you can define a different font for.
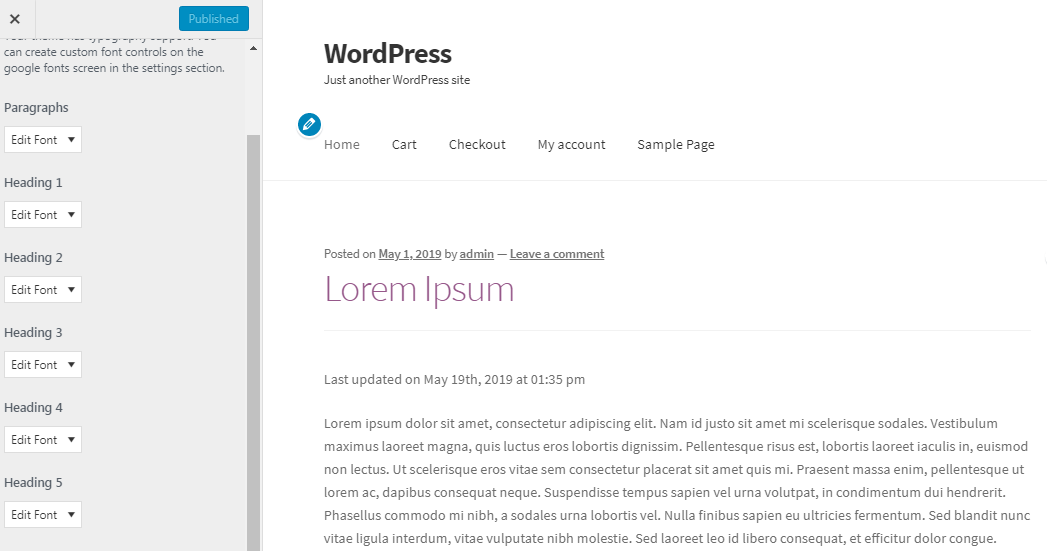
Clicking on Edit Font under any of the sections will allow you to choose from hundreds of different google fonts.
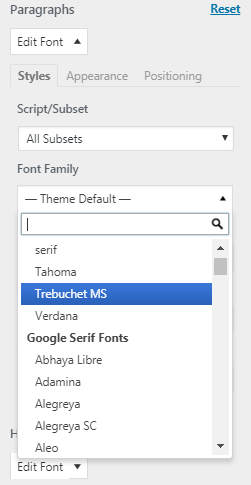
Should you choose any of these fonts, you will get a live preview of it on your website.
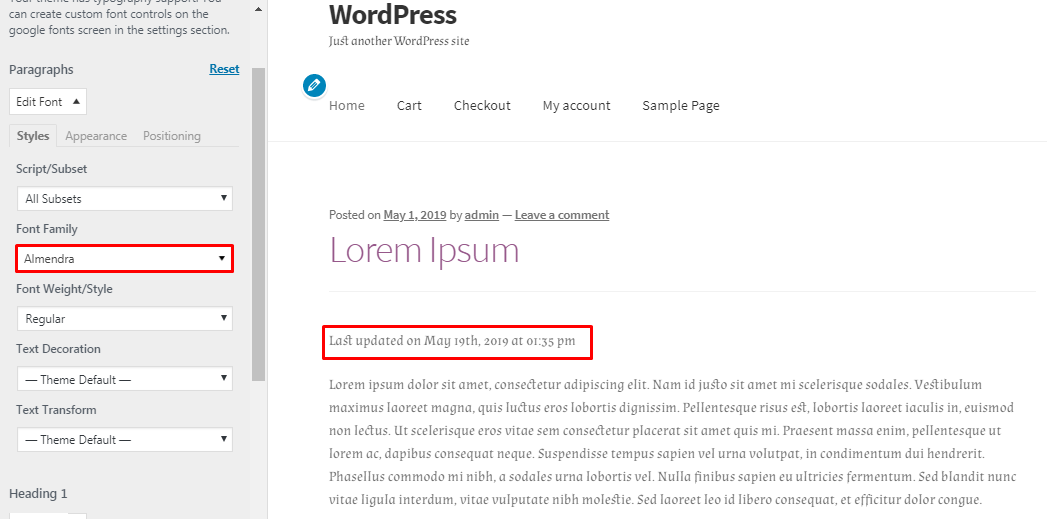
In the above example we have changed the paragraph font to Almendra and we can see a preview of the font on the right. You can also configure the font weight, text decoration and text transformation.
Once you are done selecting your desired font for the different sections of your website click on save changes or publish.
3. Defining Custom Font Controls
When changing the font you may realize that the number of sections for which you can define the font are limited. In our theme we can only define fonts for paragraphs and heading tags.
If we wanted to use custom fonts for any other sections of the website we would have to create custom font controls.
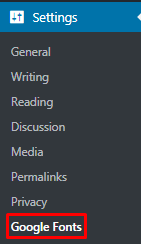
In your WordPress dashboard under the settings menu click on google fonts.
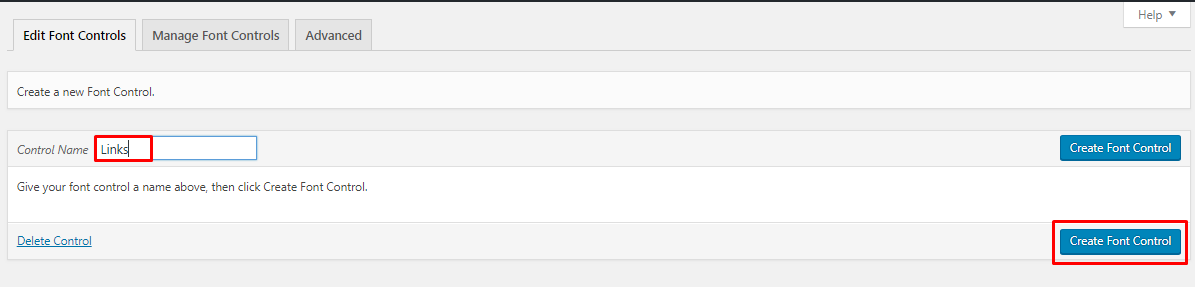
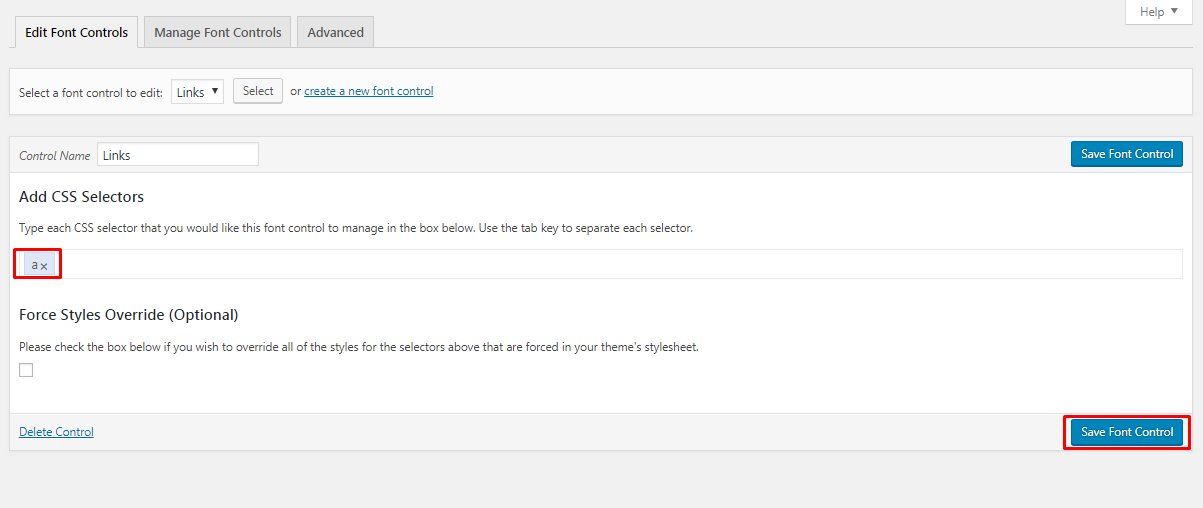
In this example we will define a custom font for links on the entire website. Enter a name for the custom font control and click on create font control.
You then need to define the css selector. For links the css selector is usually the <a> tag. If you wanted to define custom fonts for headings, you would use the h1, h2, h3, h4, h5 or h6 css selector here. Click on save font control.
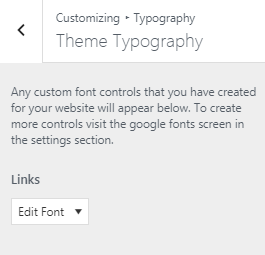
Navigating back to the customize section you will find your new font control under the typography section. We named our custom font control links as shown below.
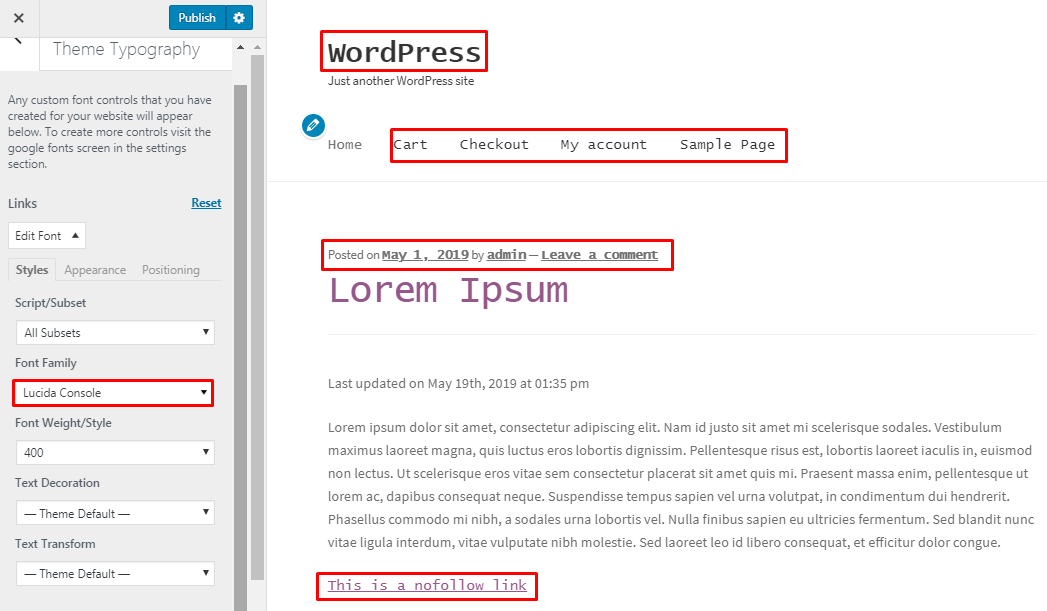
We have defined the Lucida Console font for all links on the website. You can see in the live preview all the links on the page now have a different font.
This is just an example of how you can define custom font controls. This feature of the plugin can be very useful if your theme is limiting you in defining custom fonts for various sections of your website.
Conclusion
Using many different custom fonts for different sections of your website will have an impact on the speed or performance of the website. It is generally recommended not to use more than 2 different custom fonts on a website. Using many different custom fonts can also look messy. Choosing the wrong font combination can also take a toll on your design. You therefore need to be careful when defining custom fonts. Use something that is legible, readable, blends with your design and at the same time makes you stand out from the crowd.
That’s it! I hope you have found this read helpful. Now you may also want to learn how to change font size in WordPress to create engaging content for visitors.