Having a table of contents on your WordPress site is a simple and brilliant way to keep your content systematized and let users find it easily.
Many people nowadays skim through content instead of reading it completely. It is highly recommended especially if you are writing long content on your website such as guides, tutorials, or other types of content that require users to scroll down a lot. You can either code a table of contents on to your website or you can simply install a plugin. Table of contents plugins are simple to set up and makes your website navigation much more user friendly.
There are many plugins that can easily create a table of content. In this tutorial we will cover how you can use one such plugin: Easy Table of Contents to create a table of content for your website.
Easy Table of Contents is a free WordPress plugin that automatically generates table of contents for your WordPress page or post. It’s easy to configure and has many easy to understand options. The appearance of the table of contents is highly customizable and it also supports smooth scrolling as well. The plugin is lightweight and does not take up server memory or slow down your website. It is compatible with most WordPress themes. It has received regularly update since the initial release in 2015. The reviews of the plugin are also great on the official plugin page on wordpress.org.
Installing the Plugin
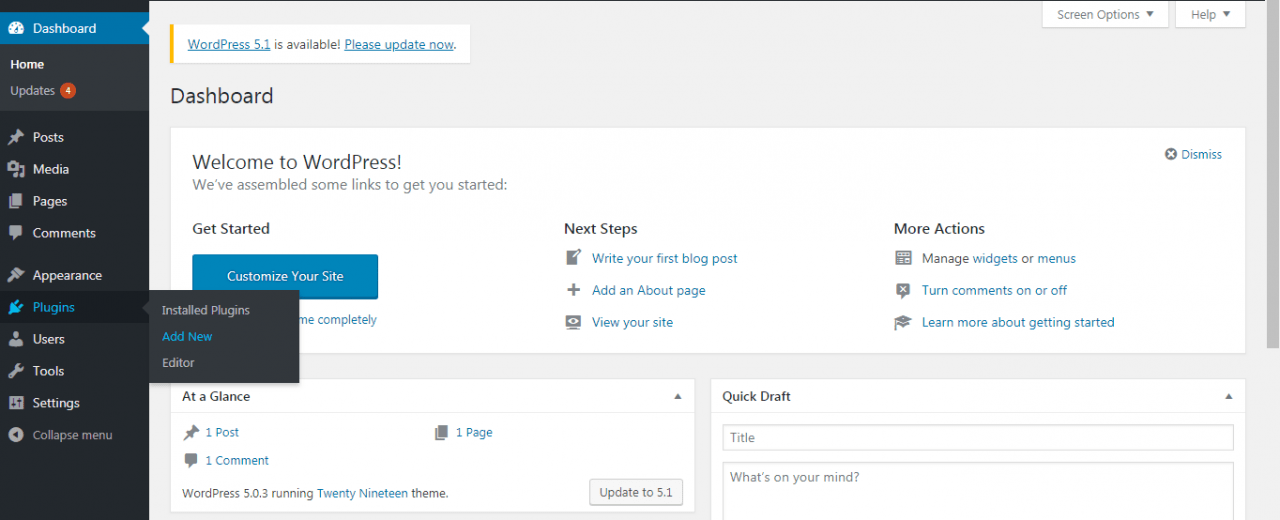
Login to your WordPress dashboard, on the left hand menu navigate to Plugins > Add new
Search for Easy Table of Contents in the search box
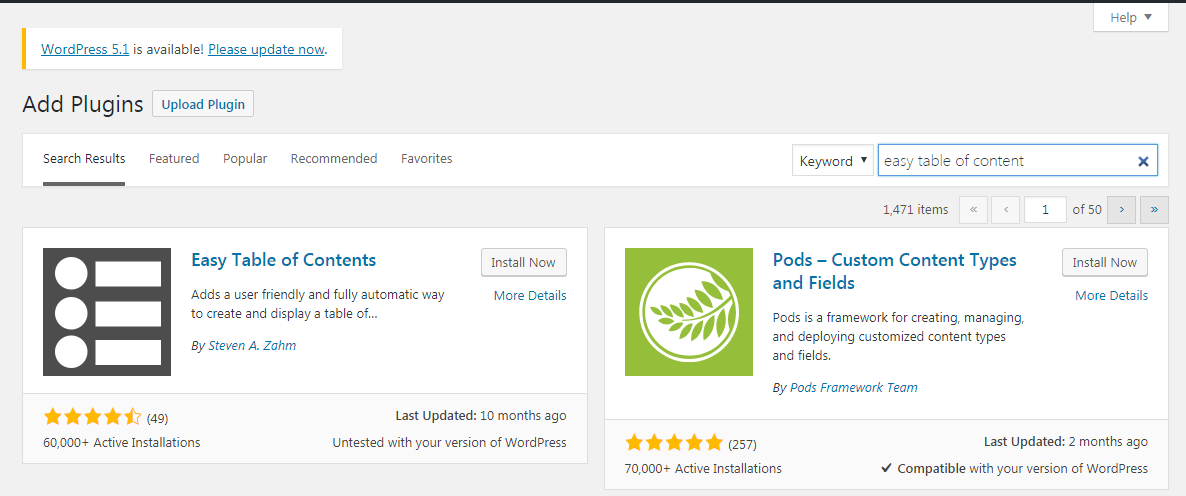
Click on Install Now and activate the plugin after installation is completed.
Once installed navigate to settings and Table of Content in your WordPress dashboard.
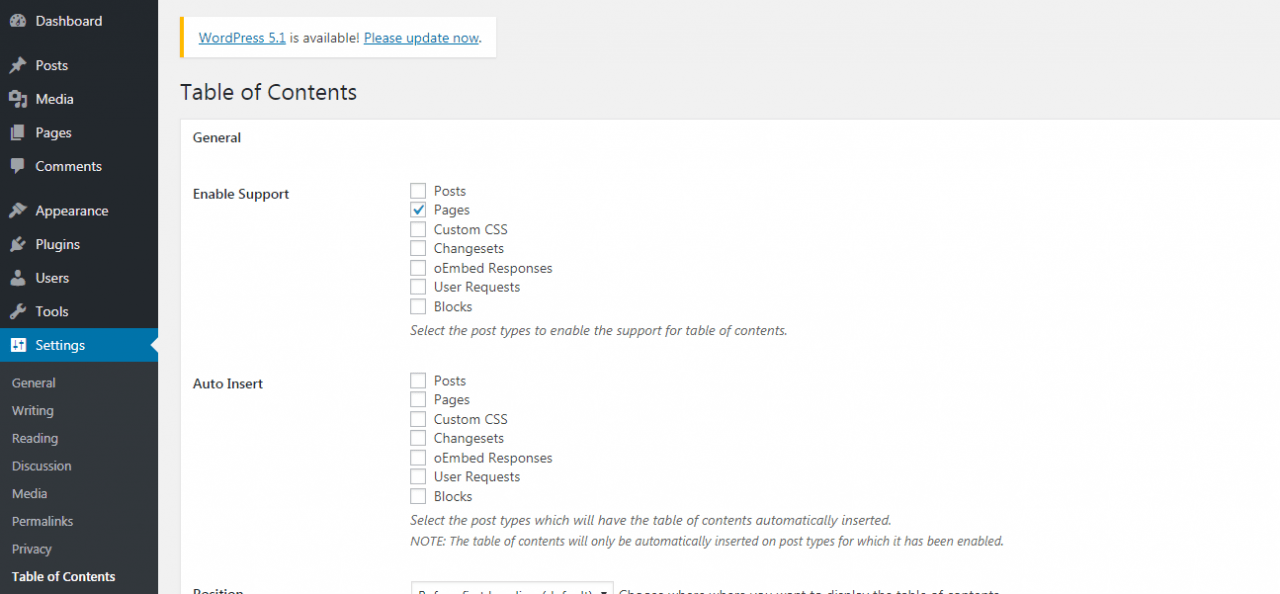
There are various options here split into 3 categories. General settings, appearance and advanced settings.
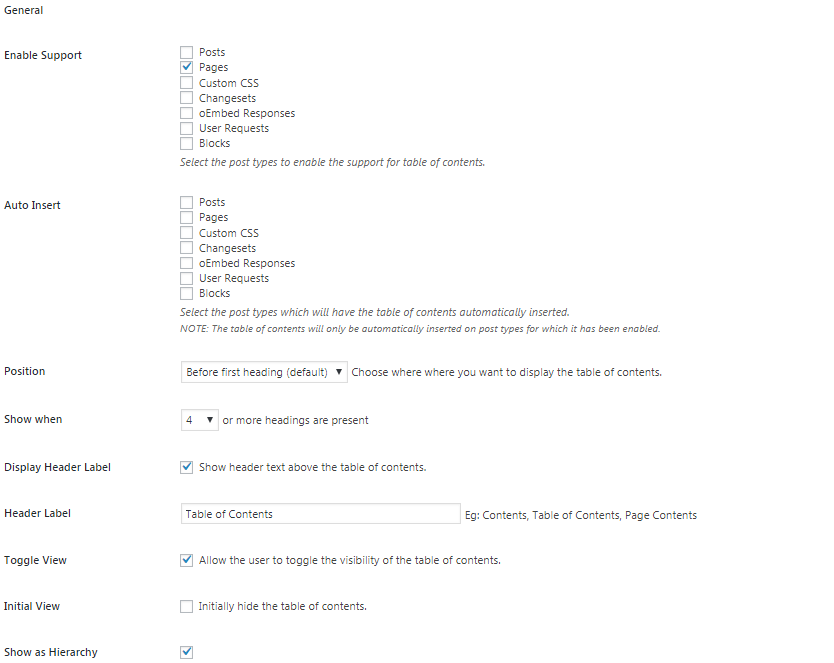
The general settings has various options that allow you to select where to display the table of contents, on pages or posts, where to auto insert the table of contents, the position of the table of contents, the header label and also allows you to enable or disable smooth scroll.
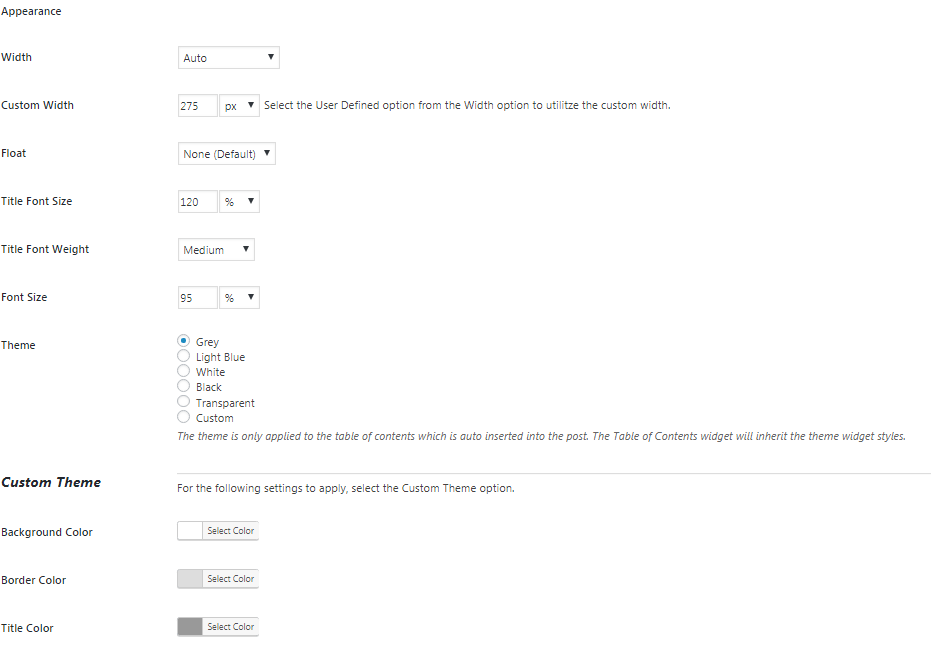
The appearance section allows you to change the look and feel of the table of contents. Here you can set the width, change font sizes and font colours, change the default themes provided or make a custom theme.
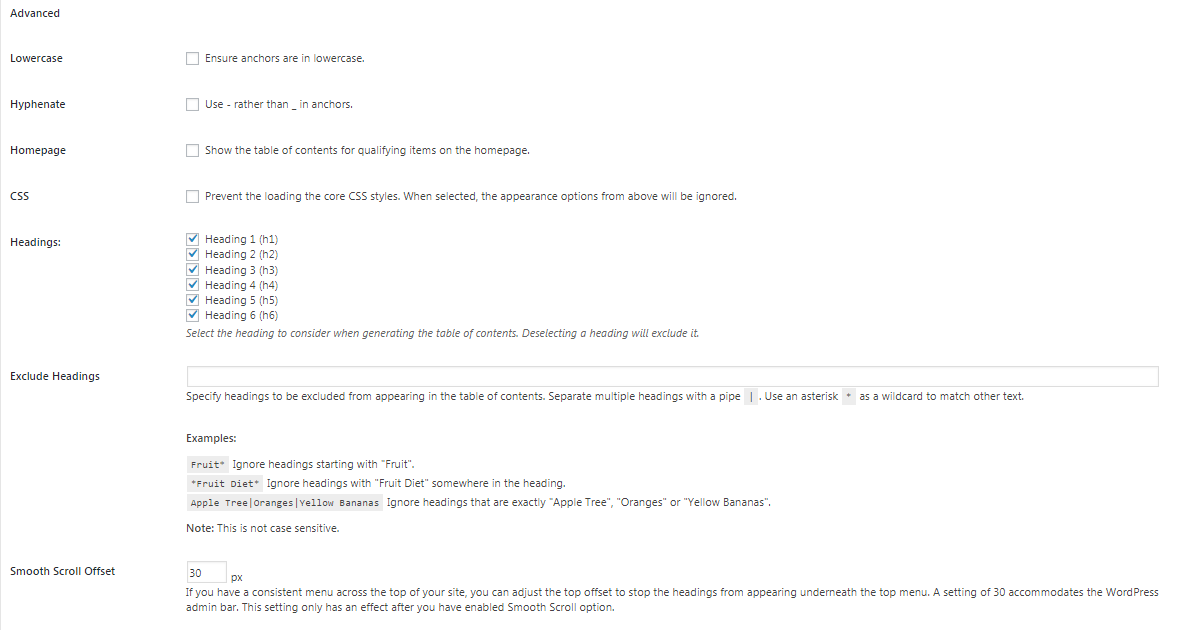
In the advanced settings tab you can set the anchors to use lowercase or uppercase, you can select the heading tags to use when generating the table of contents and fine tune the smooth scroll. Most of these options are self-explanatory but in most cases you will not require them.
Creating a Table of Contents
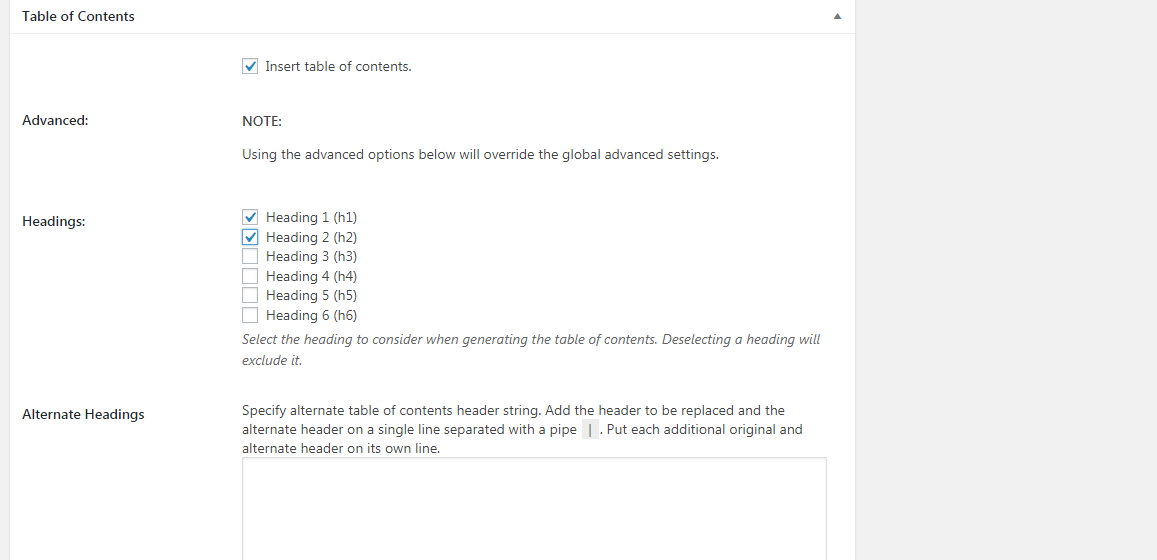
If you have not setup the plugin to auto insert the table of contents, you will have to navigate to the post or page you want to insert it on. Navigate to the bottom of the page or post and in the Table of Content options, select Insert table of contents. Specify the headings you would like to use for the table of contents and update the post.
The plugin will generate a table of content based on the heading tags specified in your post (H1, H2, H3 etc)
If you want to show the main content headings you would format as follows:
<h1>Item 1 </h1>
<h1>Item 2 </h1>
<h1>Item 3 </h1>
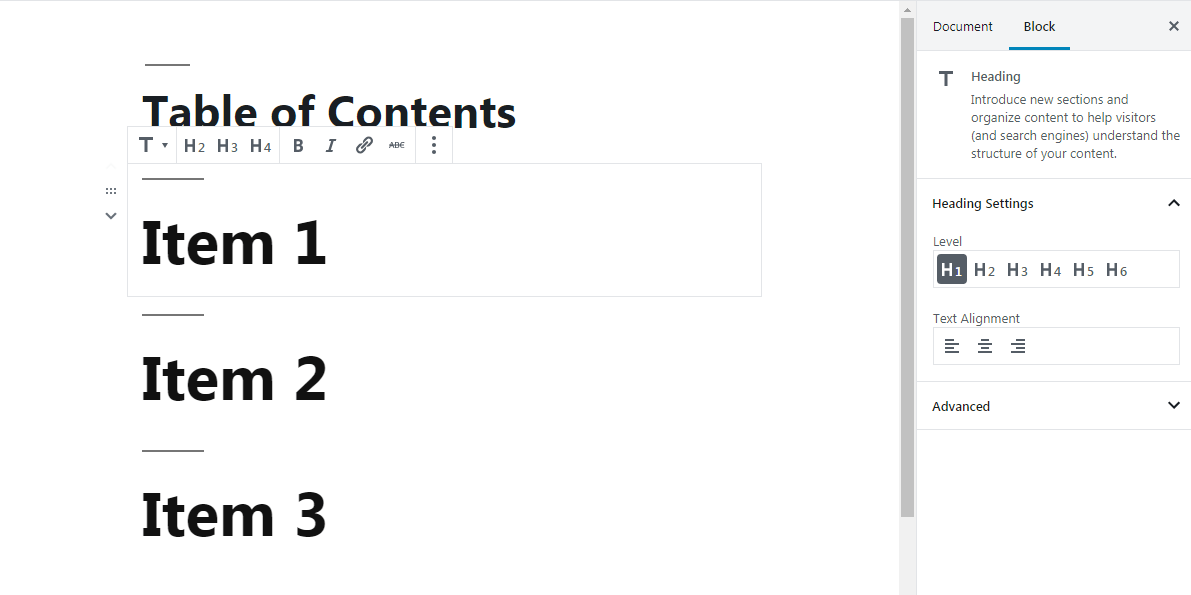
Using the new Gutenberg editor here is an example of what you would have to do.
You can also create nested tables to show various levels in the table of contents for example:
<h1>Item 1 </h1>
<h2>Item 1.1 </h2>
<h1>Item 2 </h1>
<h2>Item 1.2 </h2>
<h1>Item 3 </h1>
<h2>Item 1.3</h2>
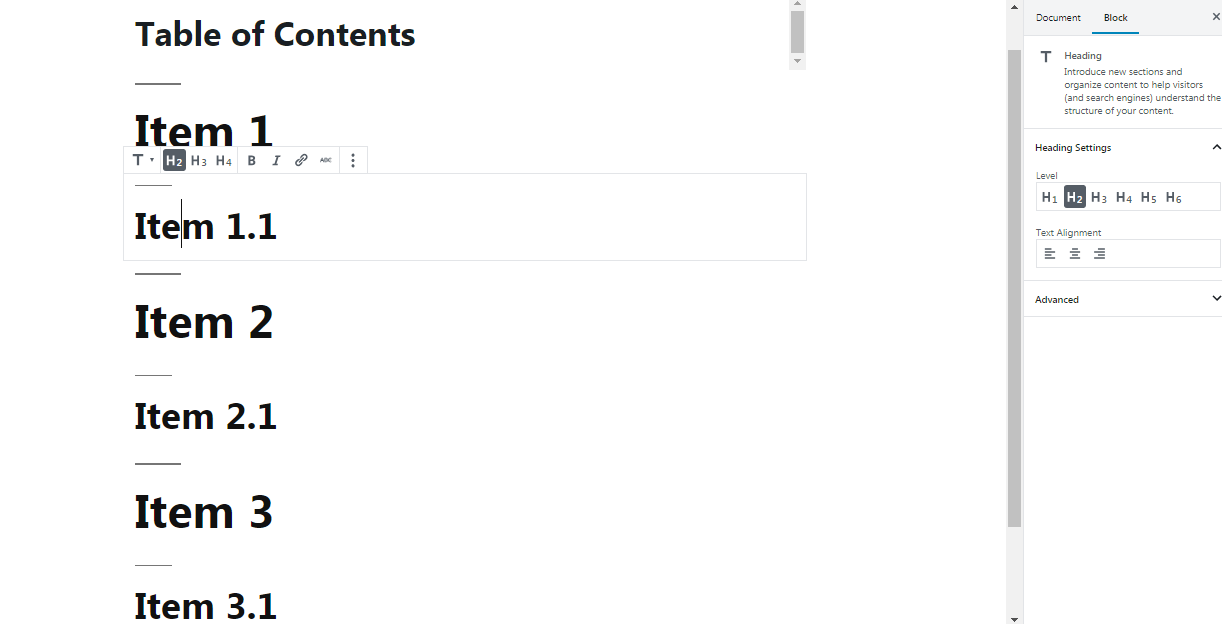
Below is an example of the table of content generated by this plugin using the above structure.

Clicking on any of this will scroll to the relevant section.
You can make up to 6 levels in your table of contents using various heading tags from H1 to H6
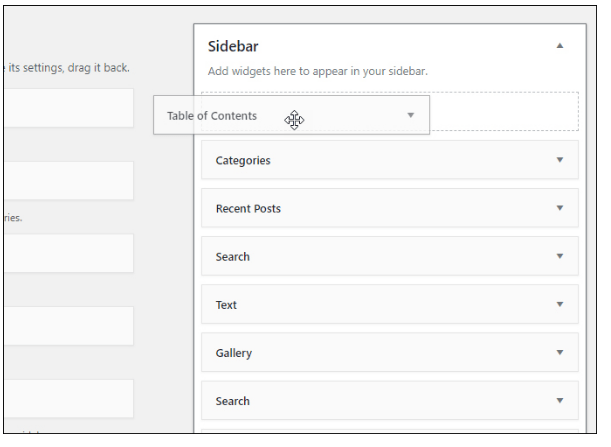
You can also add the table of content to the sidebar. Navigate to Appearance > Widgets on your WordPress dashboard and drag the Table of Contents widget to the relevant sidebar.
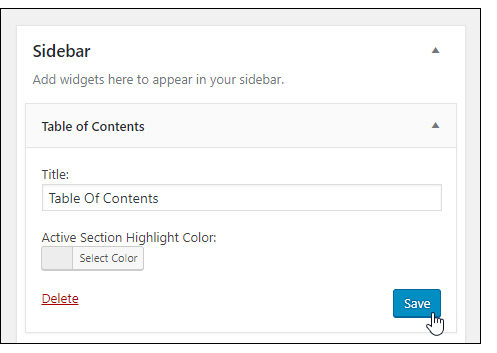
The widget allows you to change the title and highlight colour for the active item.
Readers are impatient nowadays and need to access information swiftly. Whilst it is a good idea to generate complete and comprehensive content, it is also important to make it easy to use and navigable. Incorporating a table of content on your blog post can also improve search engine ranking. When you add a table of content it is possible for google to understand the sub headings and also display them in the search results. Therefore whenever you see potential and need for having a table of contents in your site pages and especially on your blog posts it’s a good idea to incorporate one.
Hopefully this guide came in helpful for you, you may also want to learn how to create custom post types to offer diversified content formats to your site visitors.
Just curious if you are able to set the Main Titles of the content in a post to and the related subtitles to and skip tags altogether as my websites main title/headline will be the and I don’t want that as part of the Table Of Contents.
So are you trying to exclude the main title/headline of your post from appearing in the table of contents? If yes, then you can go to Advanced settings >> Headings, deselect the H1 (usually reserved for the main title/headline of a post), save changes. Let me know if I get it wrong.